Finished: 1940's Swedish Cardigan, or: My First Steek!

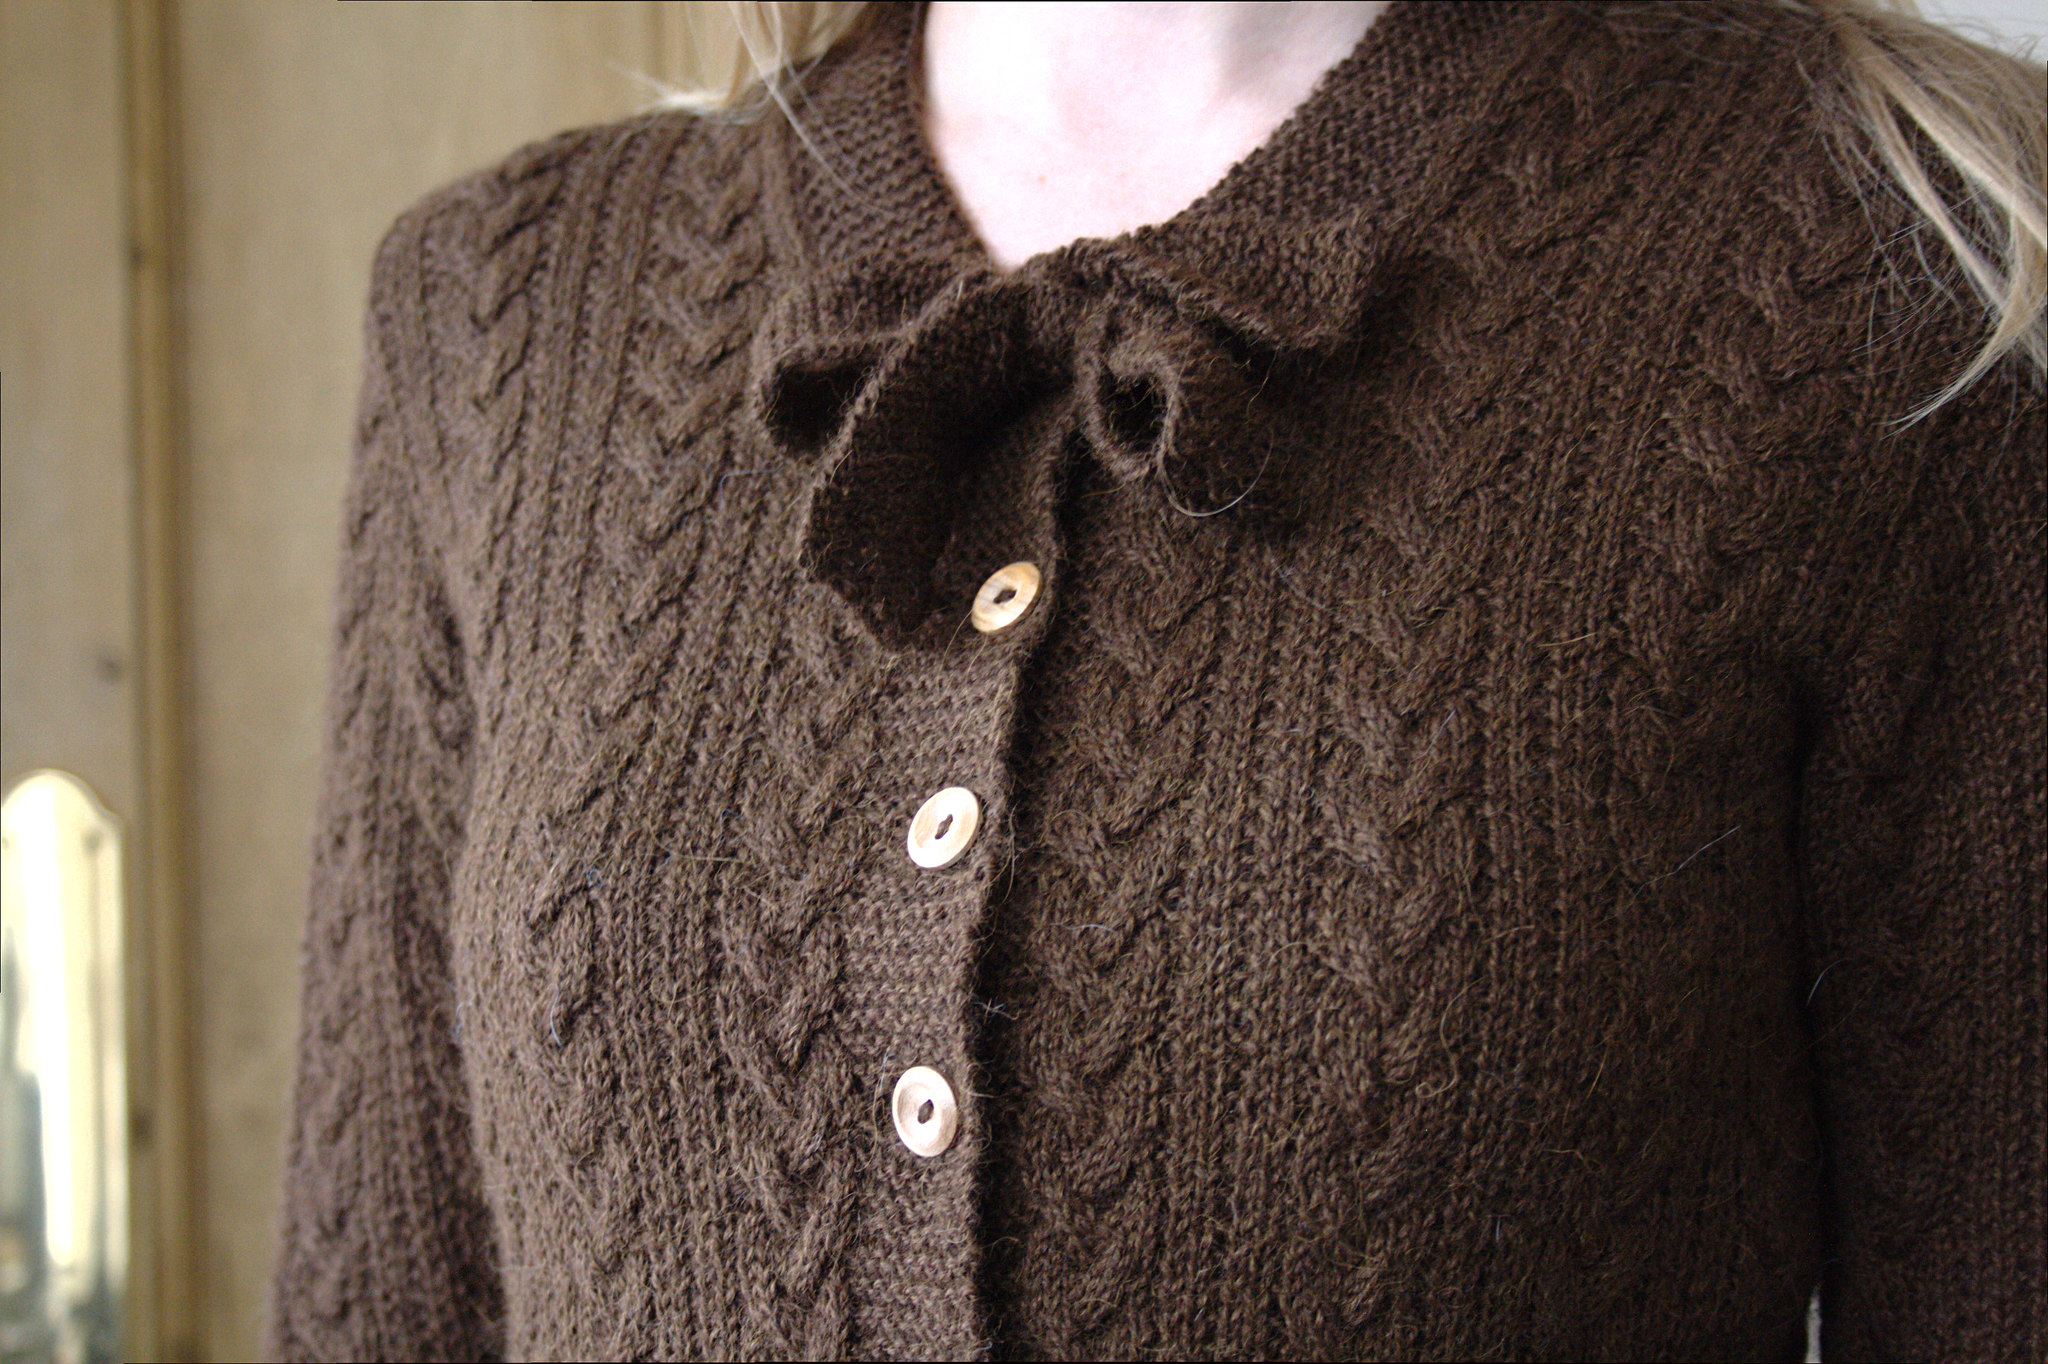
I couldn't be more excited about the Finished Object I am showing you today, I honestly think that this is my favorite hand knit to date. It has sparked a serious colorwork obsession.

The cardigan pattern comes from a Dutch knitting magazine called Nitwell, edition Fall 1946. Or rather: it is actually a Swedish magazine called Stickat that was translated to Dutch and published under the name Nitwell. (If you watch the wonderful Kammebornia podcast you'll see one of the original Swedish Stickat magazines in the intro, of which I also have a Dutch version.)

After my experience with the Christmas Jumper, I knew I would want to avoid having to purl colorwork as much as I could. Unfortunately - as most of my fellow vintage knitters will probably know - despite the fact that "fair isle" was very populair in the 1940's due to rationing, the patterns themselves generally aren't constructed in the traditional Fair Isle way. They are usually knitted flat and seamed rather than knitted in the round with steeks. So was the case with this pattern. So I made the decision to convert it to circular knitting and then steeking it to make a cardigan, something I had never done before. To help me get started, I read some entries on Kate Davies' blog and purchased Alice Starmore's book of Fair Isle Knitting.


Gauge
The original pattern is knitted at 27 sts per 4 inches, but the yarn I used - Cascade 220 fingering - is rather thin and with 3.5 mm needles I got a gauge of 36 sts. per inch in stranded knitting. I didn't want to go up more needle sizes because I was afraid that the fabric would be too open so I went with the 36 sts and re-calculated the whole pattern. (In retrospect I could have easily gone for a looser gauge). Annoyingly it meant that I had to knit the non stranded parts on 2.75 mm needles to get the same gauge and for the body I had just over 300 stitches on the needles. Needless to say, the cardigan took quite a while to knit!

Construction
I decided to steek the center front and the armholes with a 9 stitch wide steek. I started knitting in the round right from the beginning but have since discovered that it is better to knit the ribbing flat, that way you don't have the steeks potentially sticking out at the bottom and it reduces bulk. I knitted the body in the round up to the neckline. This is where the colorwork actually stops, so I just knitted flat from there on. I had also been dying to try Tasha's wonderful tutorial on knitting seamless 'set in' sleeves, where you pick up the stitches around the armhole and knit the sleeves down in the round, but still get sleeve cap shaping as for a traditional set-in sleeve by using short rows. When I was knitting the sleeves I was actually very close to ripping them out because they where puckering around the armhole, but luckily I decided to be lazy and just left it, hoping that it would block out, which it did.

For the steeks I opted for a crocheted reinforcement and cutting the steeks open was probably one of the most fun and rewarding things I have done in knitting - definitely not scary! I do still need to finish the steeks somehow - either sew them down or cover them with a cute ribbon. I knitted the sleeve cuffs and waist ribbing in a 1 x 1 twisted rib (where you knit the knit sts trough the back loop) because I have been wanting to try that out for garments, but to be honest I think I like the look of a plain rib better. For garments anyway.
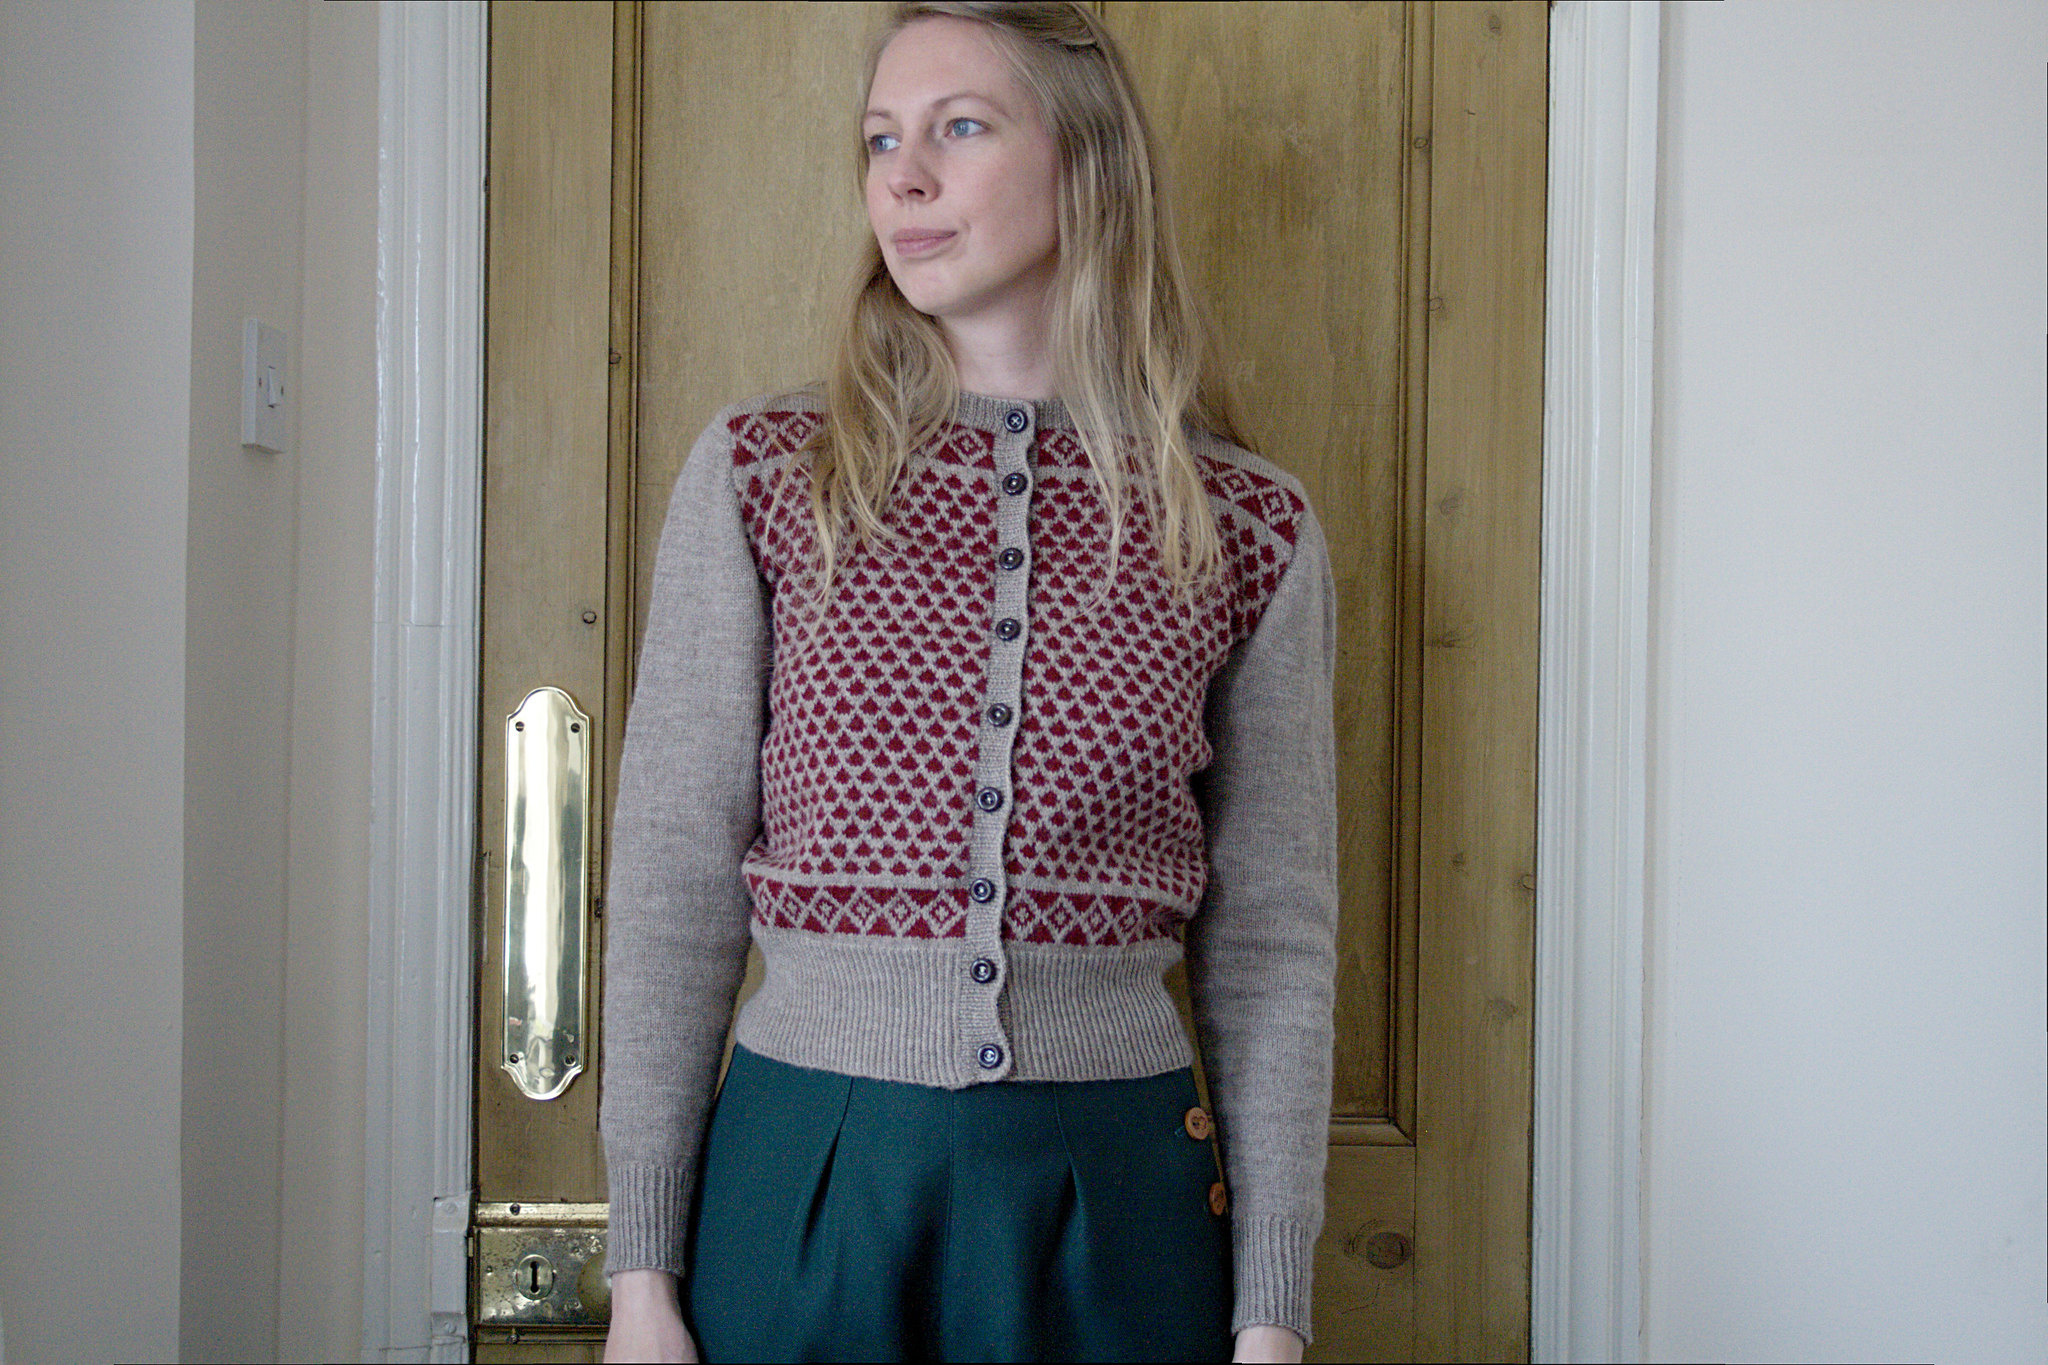


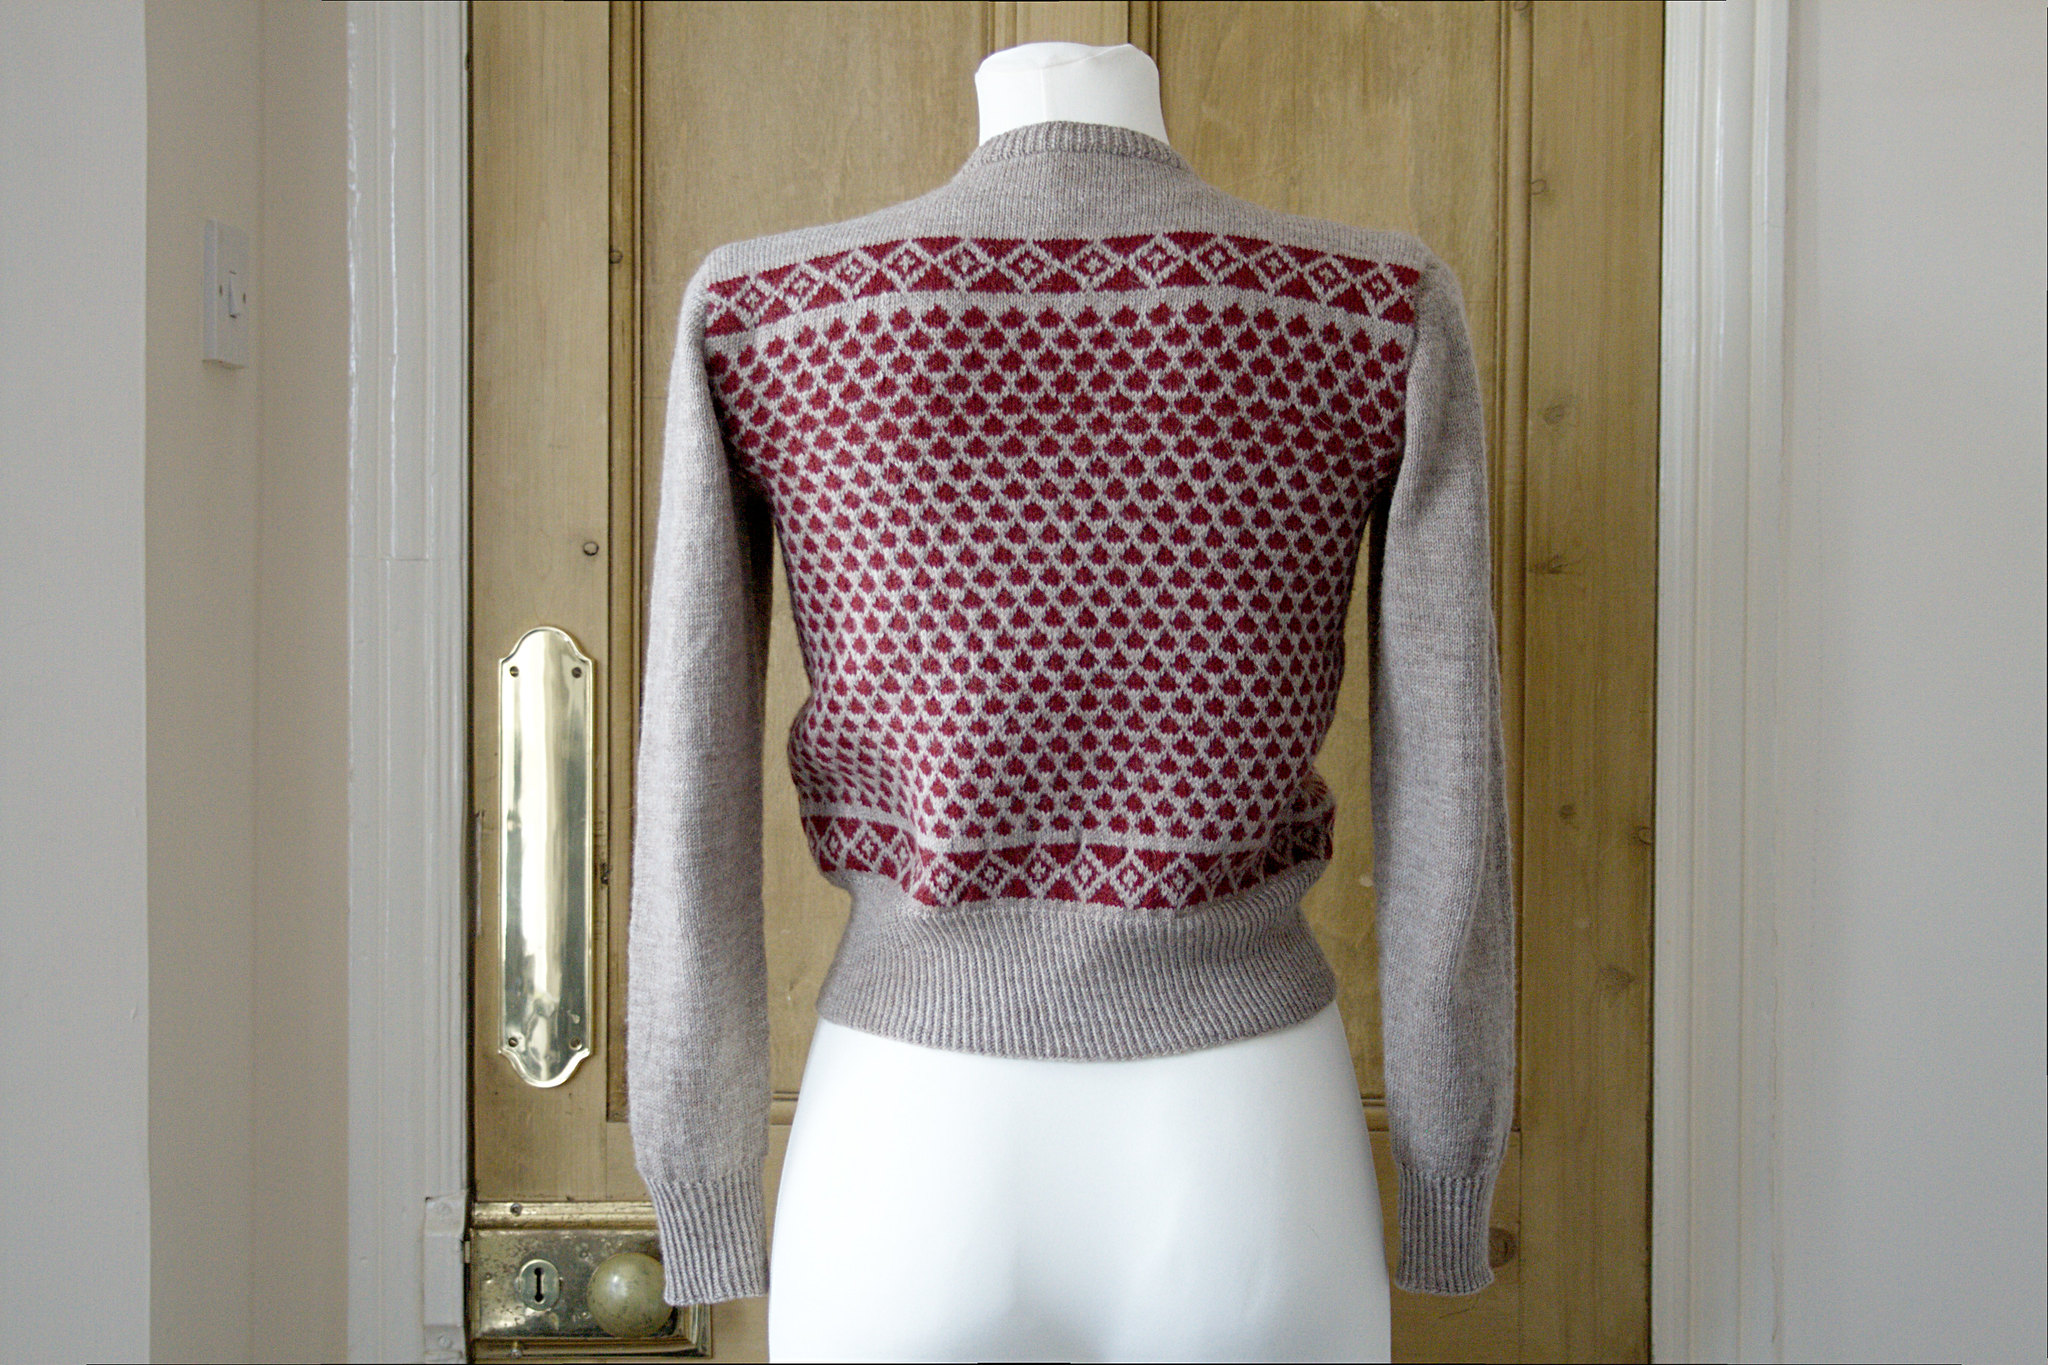

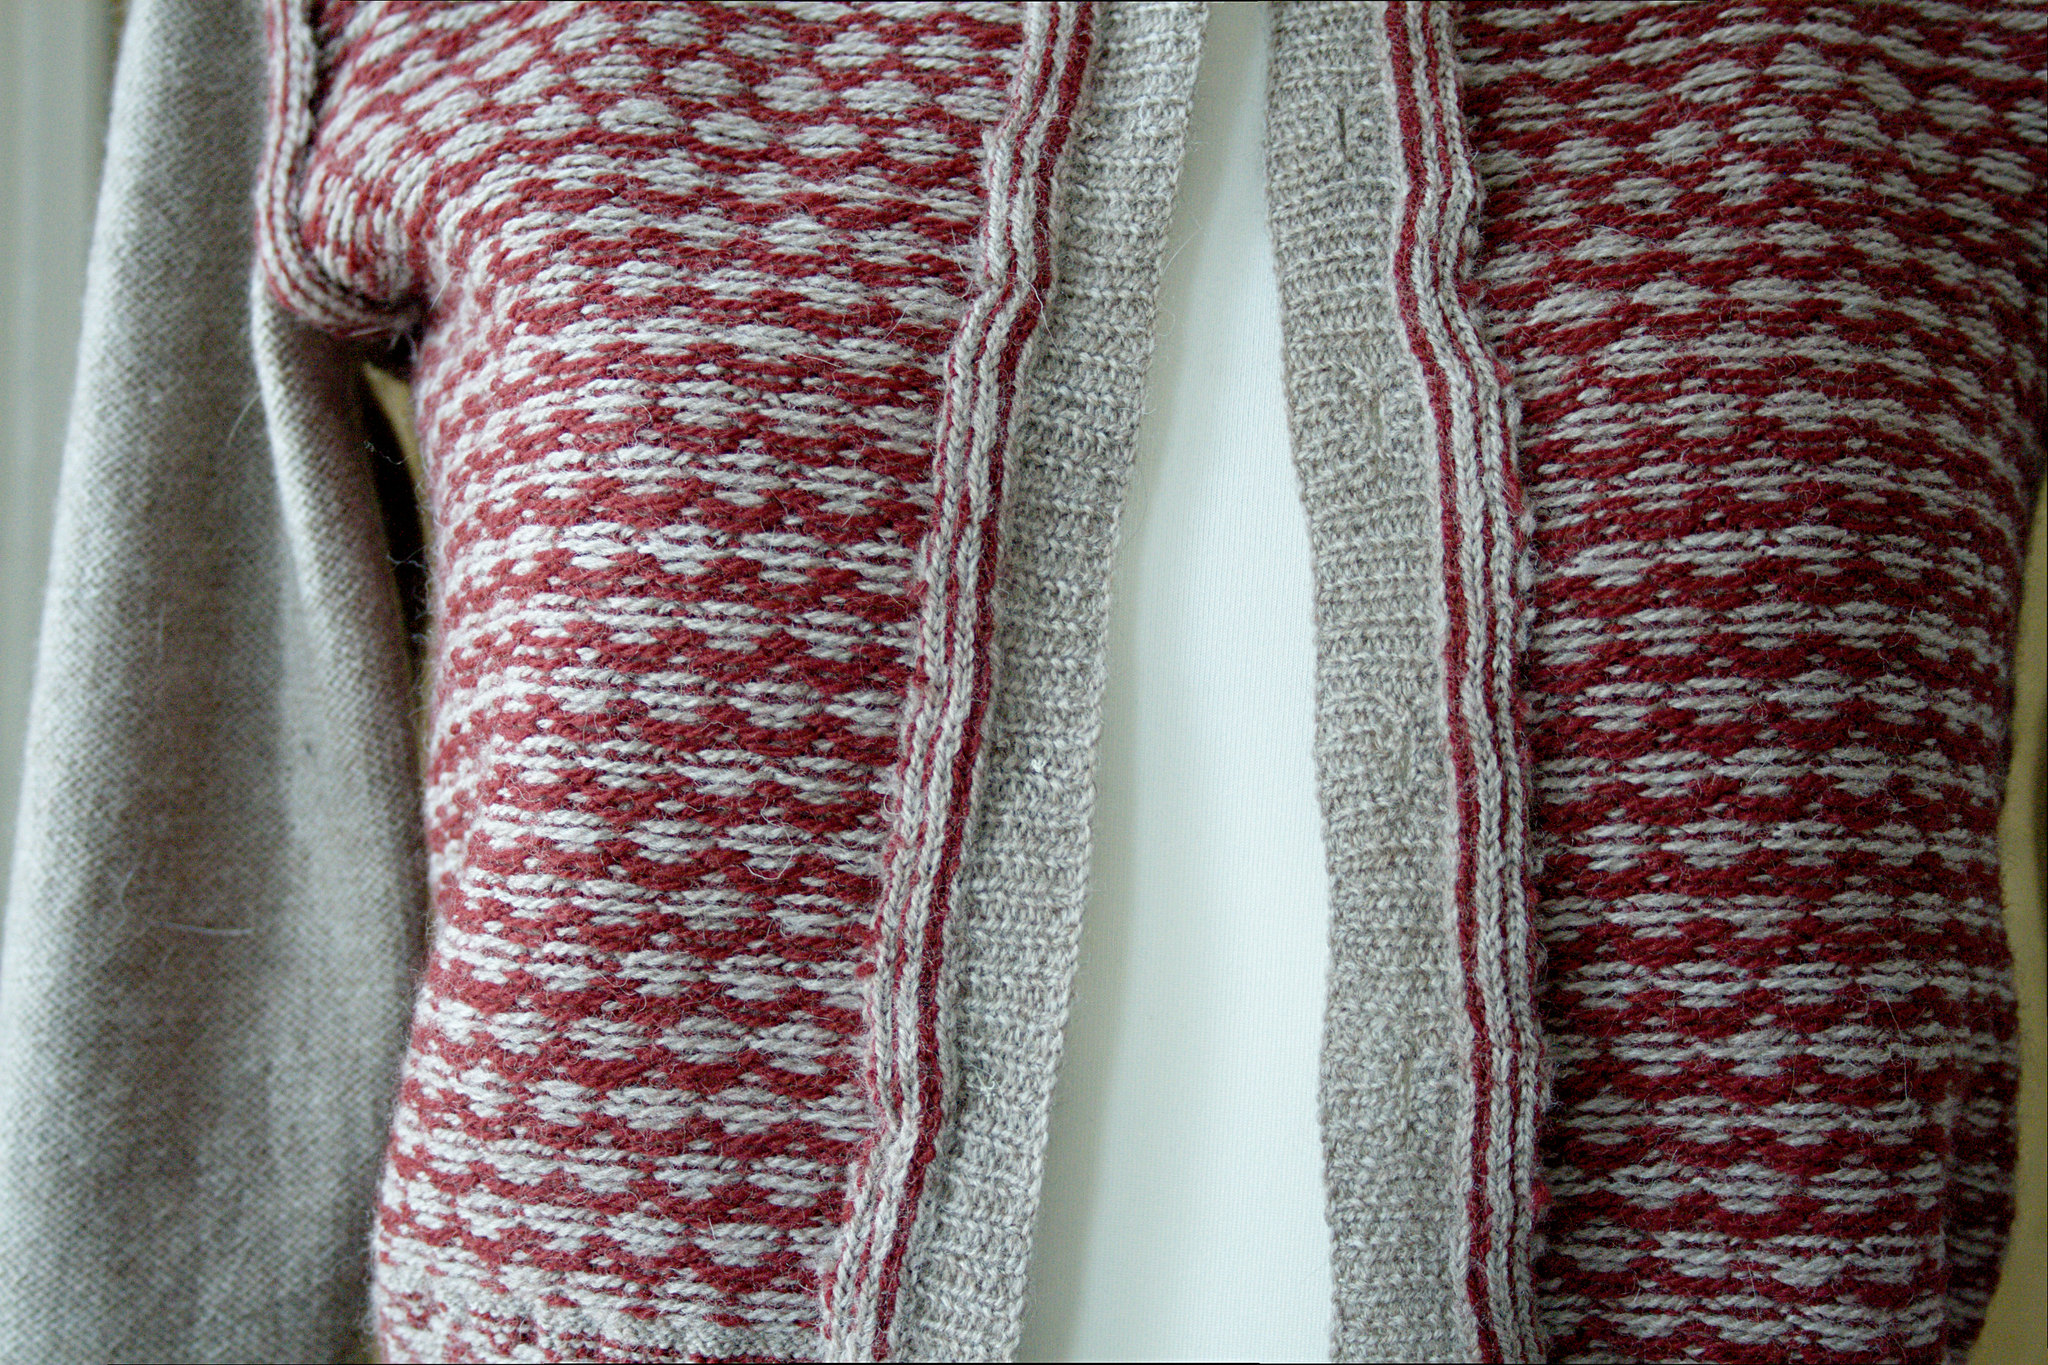


I do still need to get better at getting an even gauge in stranded knitting. When I was knitting on this cardigan I got quite a lot of puckering in the colorwork (luckily 95% has disappeared with blocking). I also made the mistake of switching the yarns from one hand to the other - if you look at the upper chest section of the colorwork you will actually see some sort of striping which was caused by switching the yarns. But I foresee a lot more colorwork knitting in my future, so I'm sure I'll get plenty of practice ;)

Pattern: "Sportjakje" from Nitwell, Fall 1946
Yarn: Cascade 220 Fingering - Burgundy and Doeskin Heather
Started: Fabruary 22
Finished: May 8
Used: Doeskin Heather: 4.72 skeins = 1180.0 meters (1290.4 yards), 236 grams / Burgundy: 1.3 skeins = 325.0 meters (355.4 yards), 65 grams
Buttons: Vintage glass, eBay
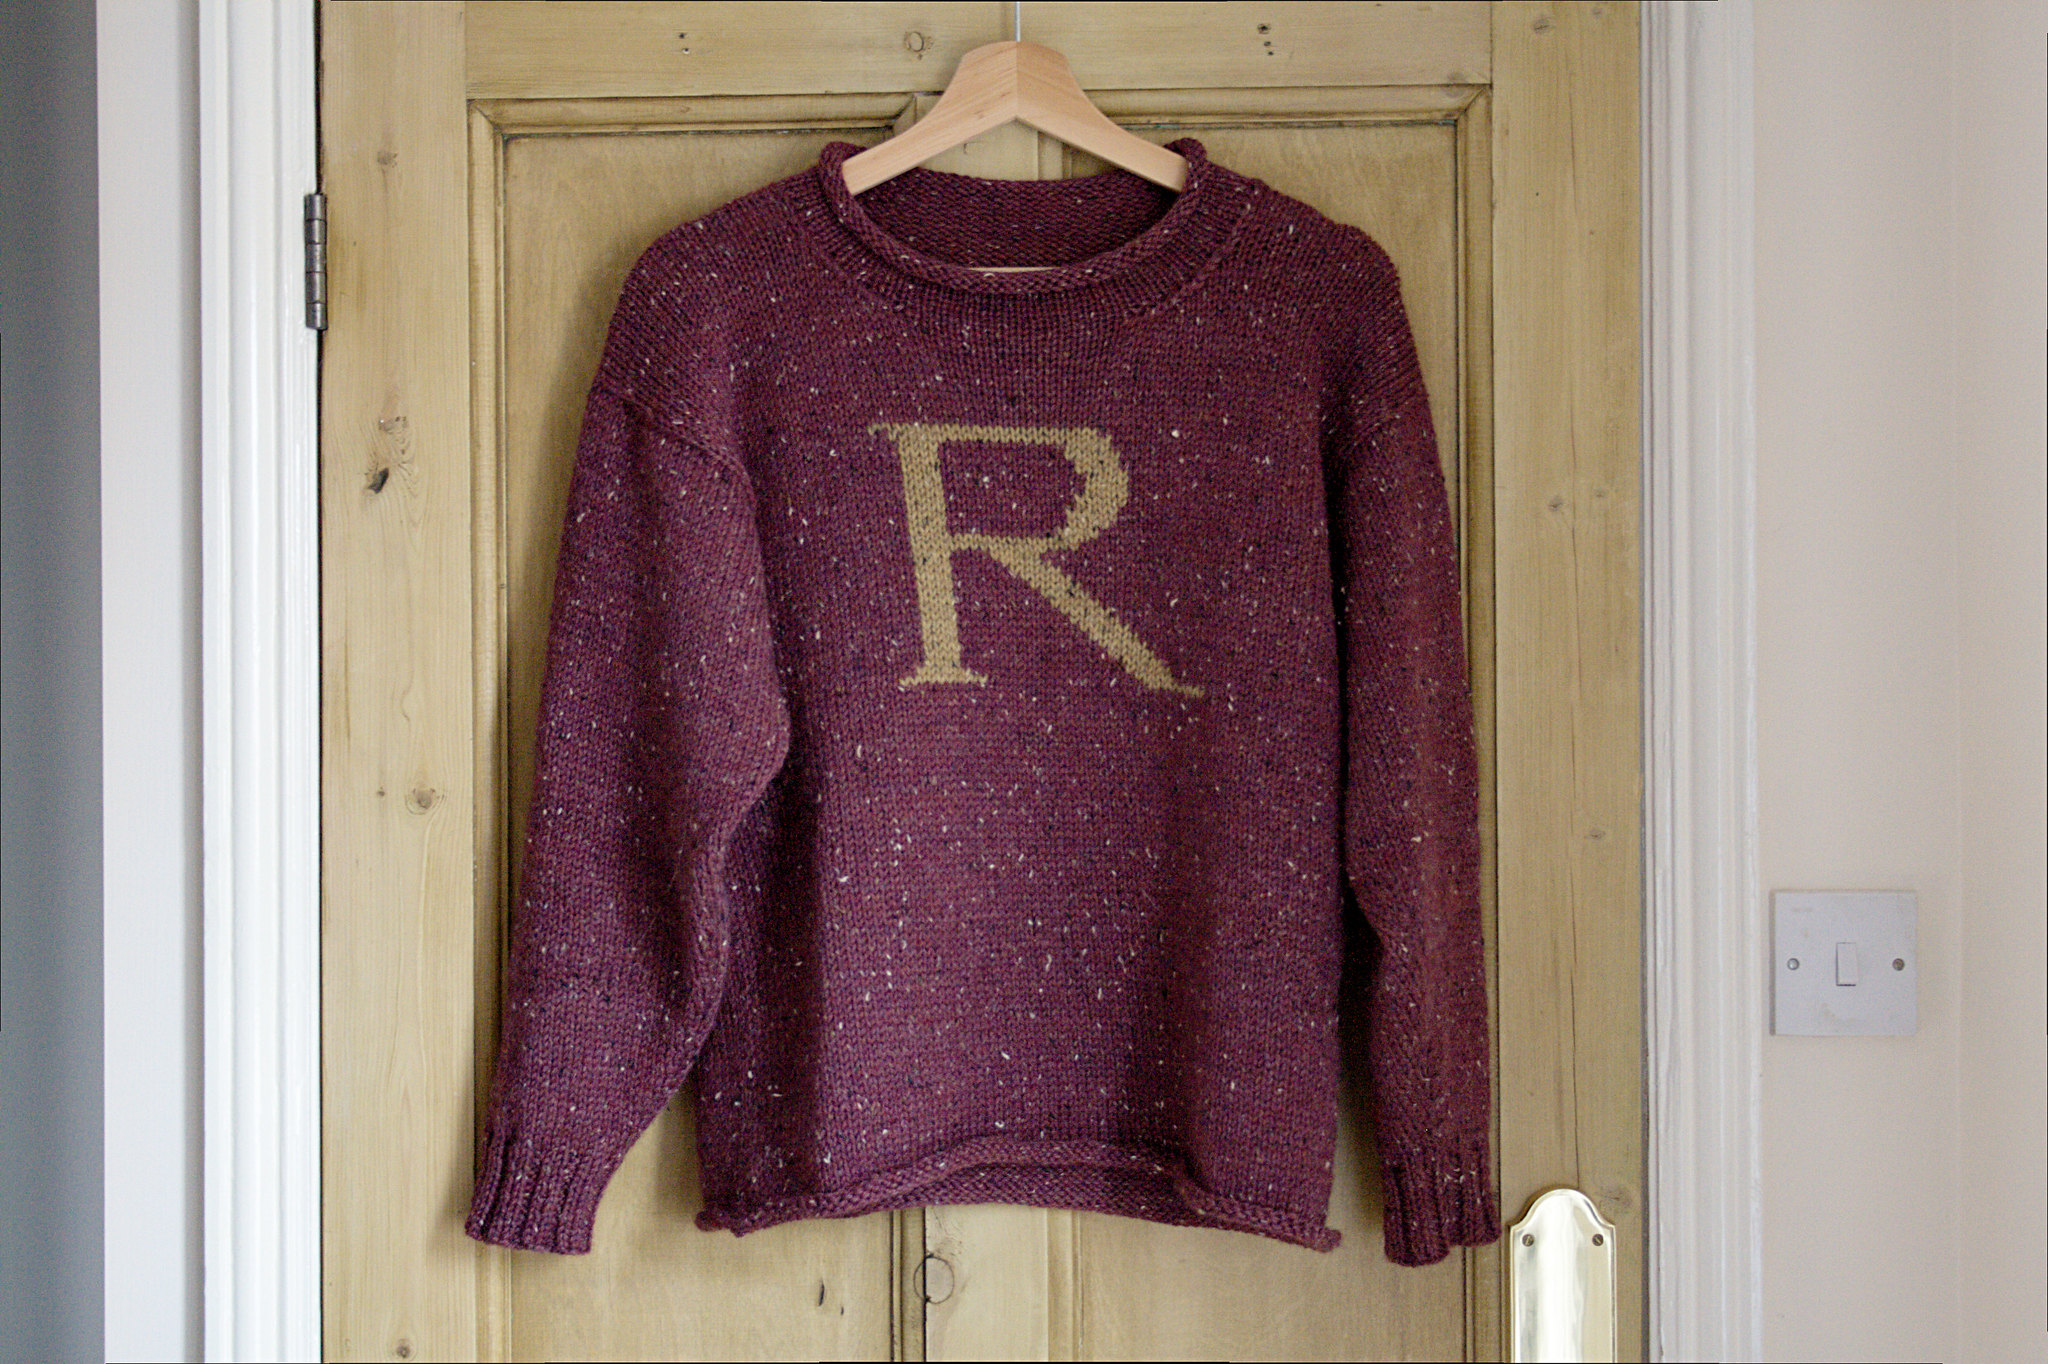
Finished: a Weasley Jumper


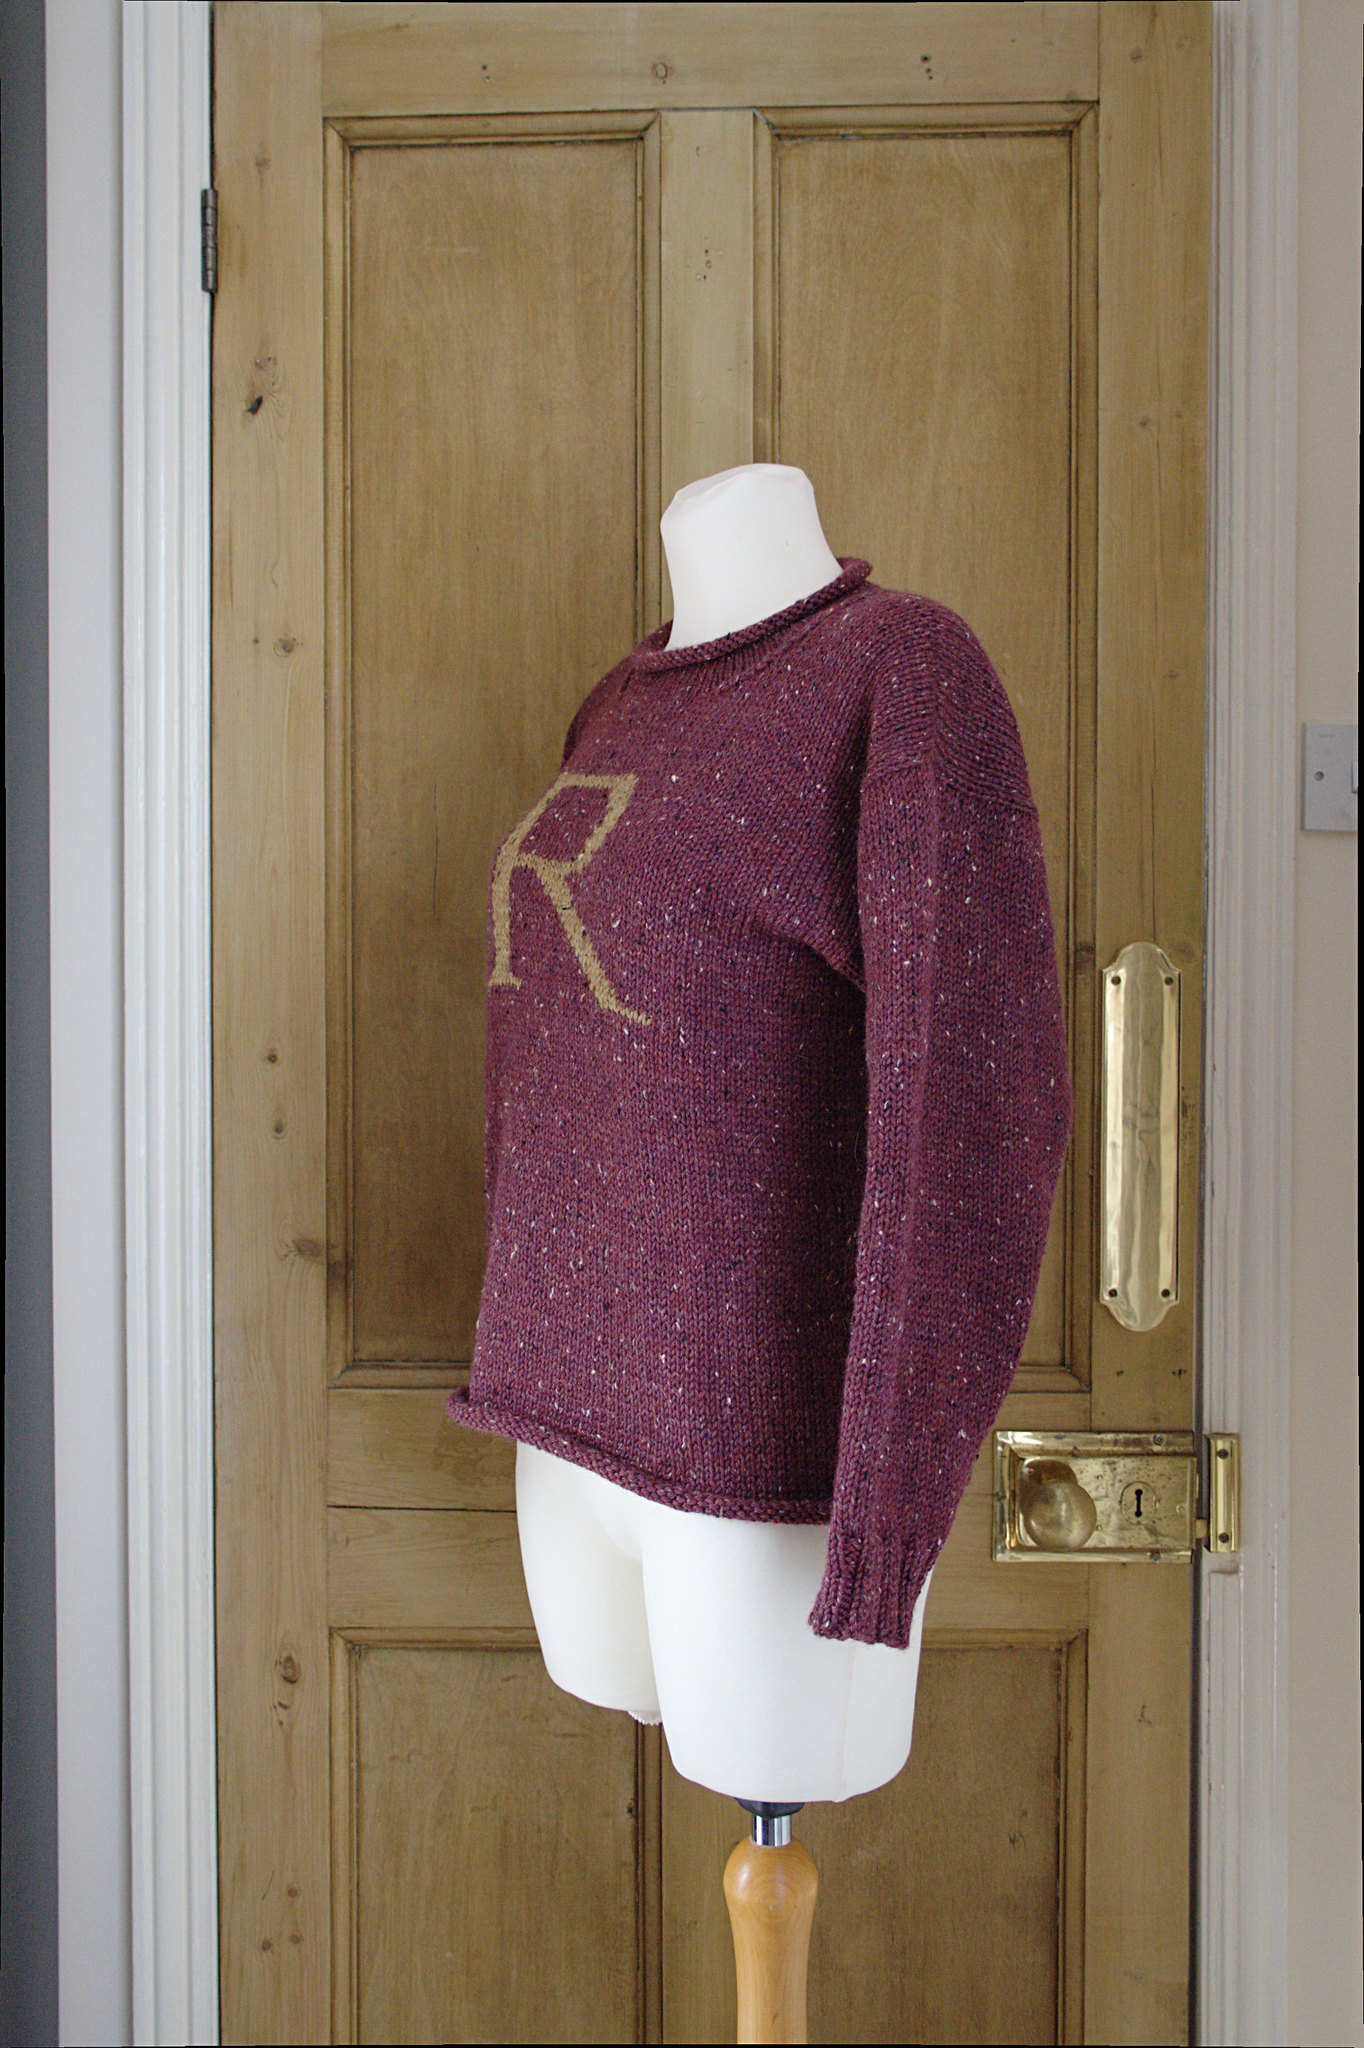
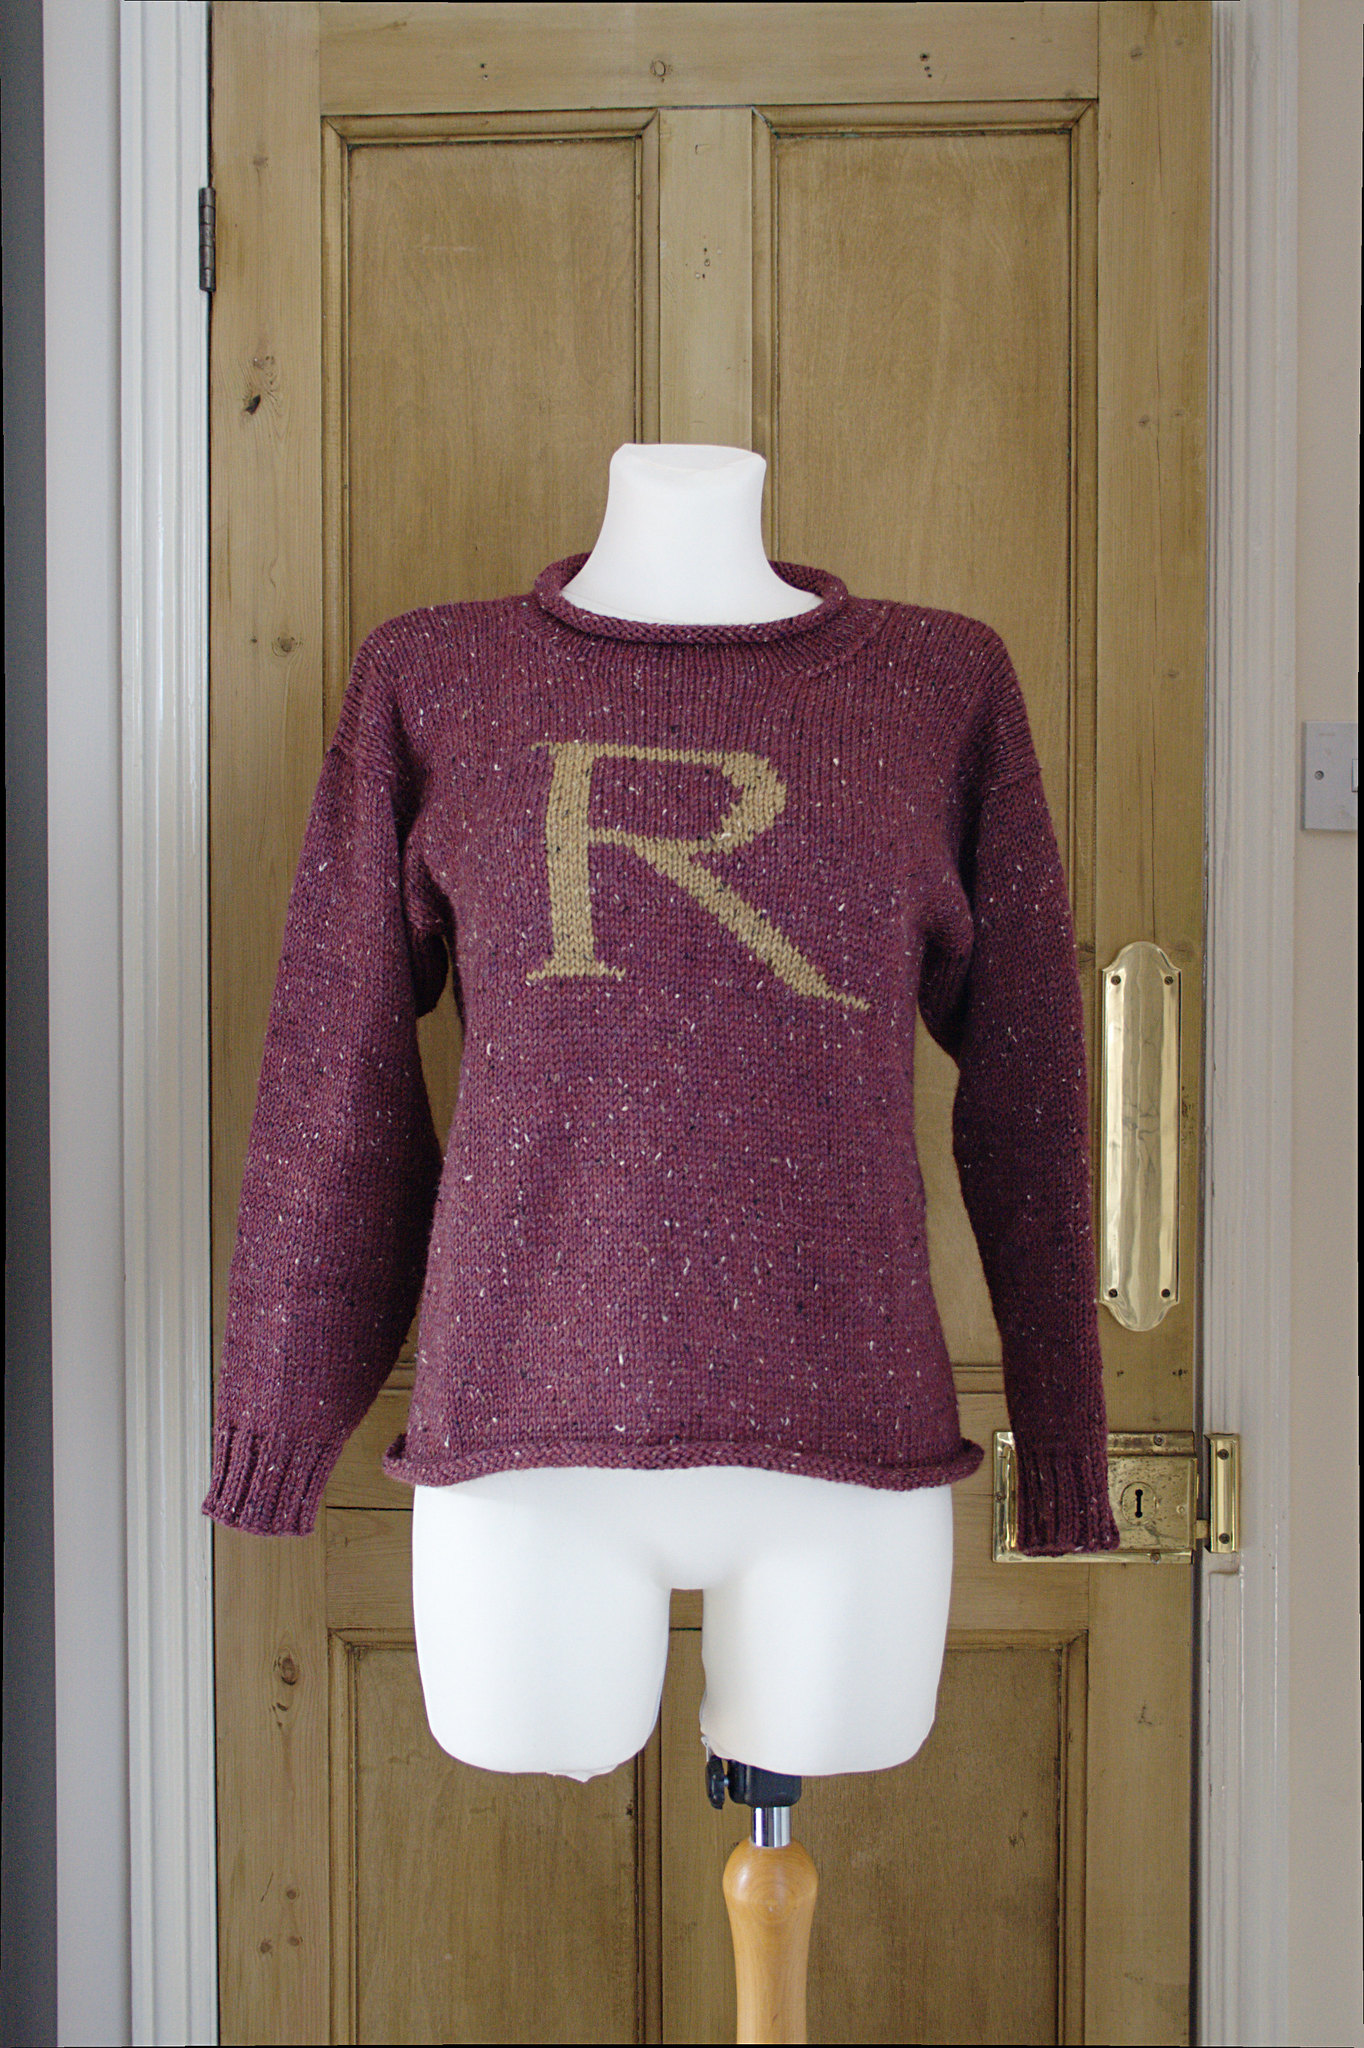
When Katie of the Inside Number 23 podcast announced that she would be hosting a Harry Potter KAL (knit along) I just knew I HAD to make a Weasley Jumper. I realized that it would actually be a very welcome knit since my wardrobe was lacking a nice baggy sweater to wear around the house - I only had one and that one has almost been worn to shreds now.

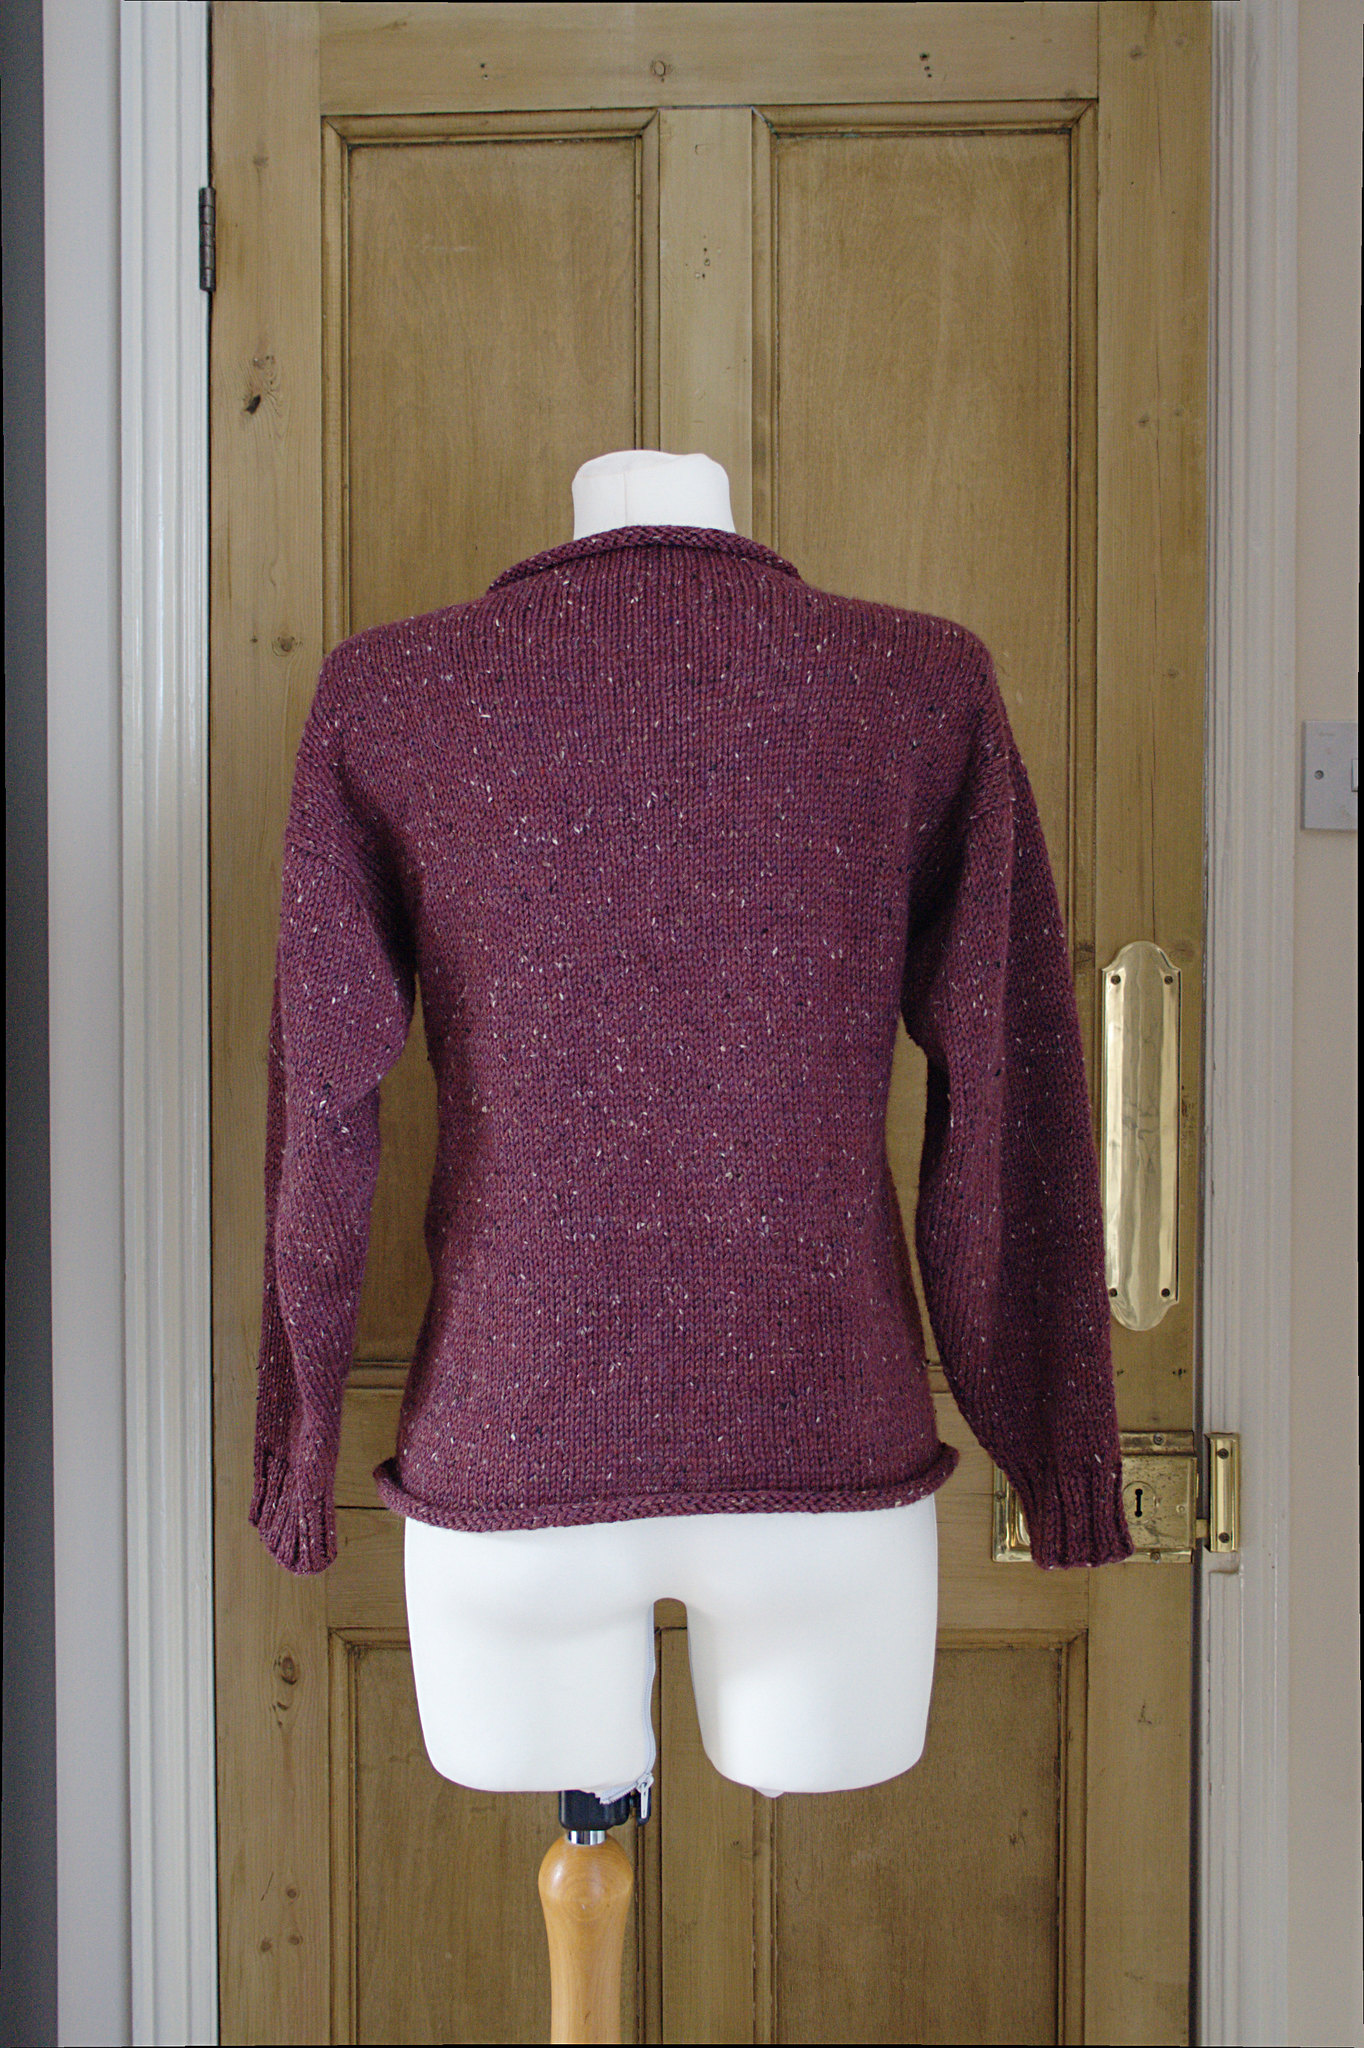
I've also been wanting a tweed sweater for ages so I decided to place an order with Knit Picks now that they ship to the UK (and free from £25!). I got Knit Picks Wool of the Andes Tweed, which is a worsted weight yarn. The pattern is actually designed for Aran weight so I knit one size bigger to get the right measurements for me.

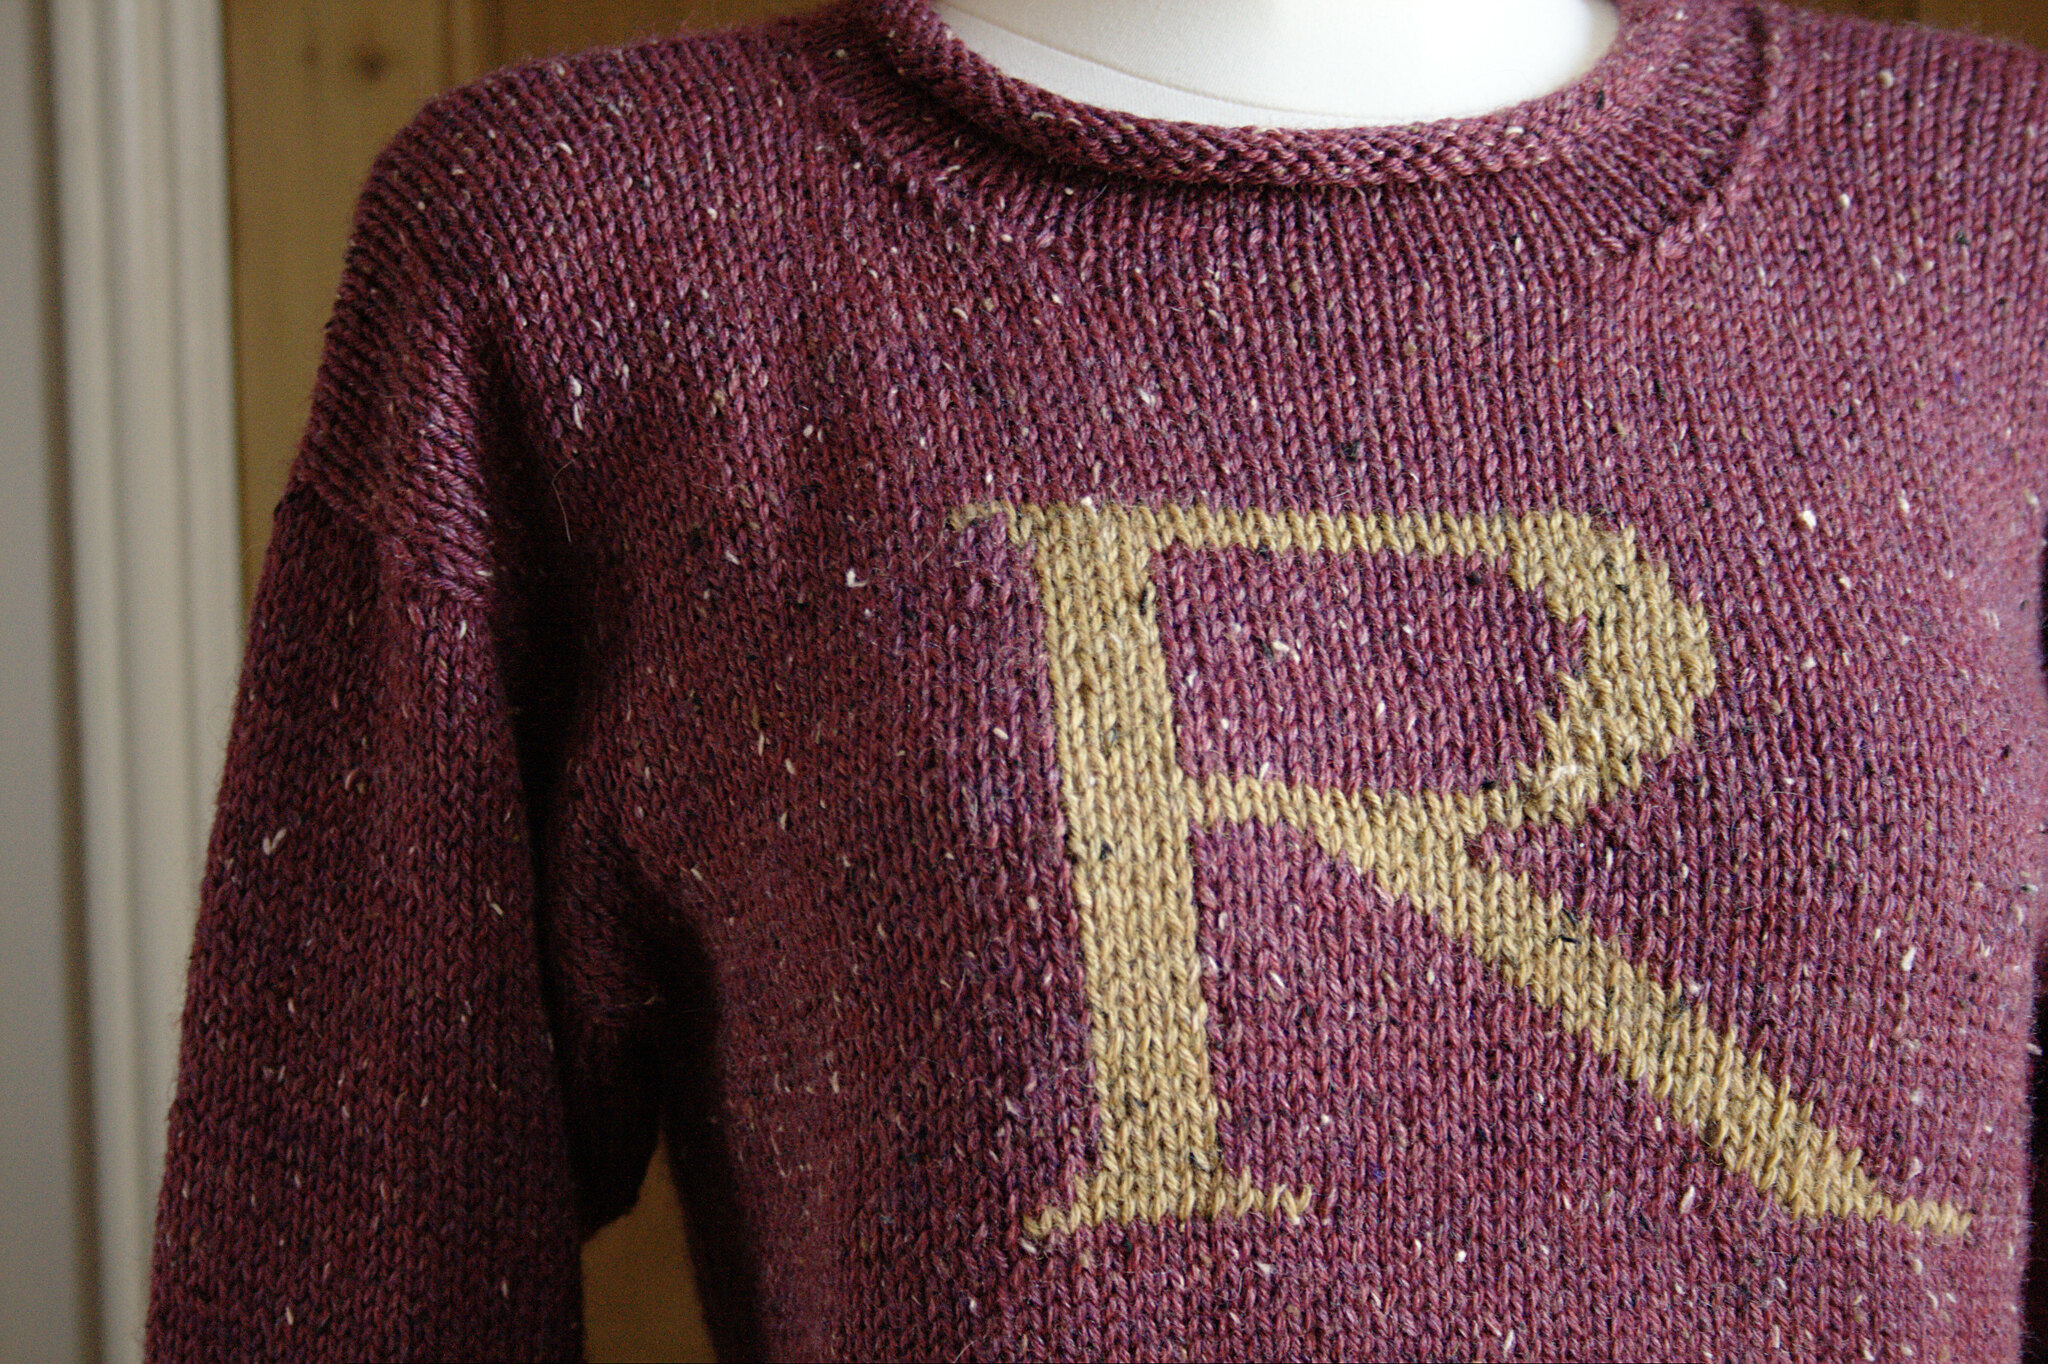
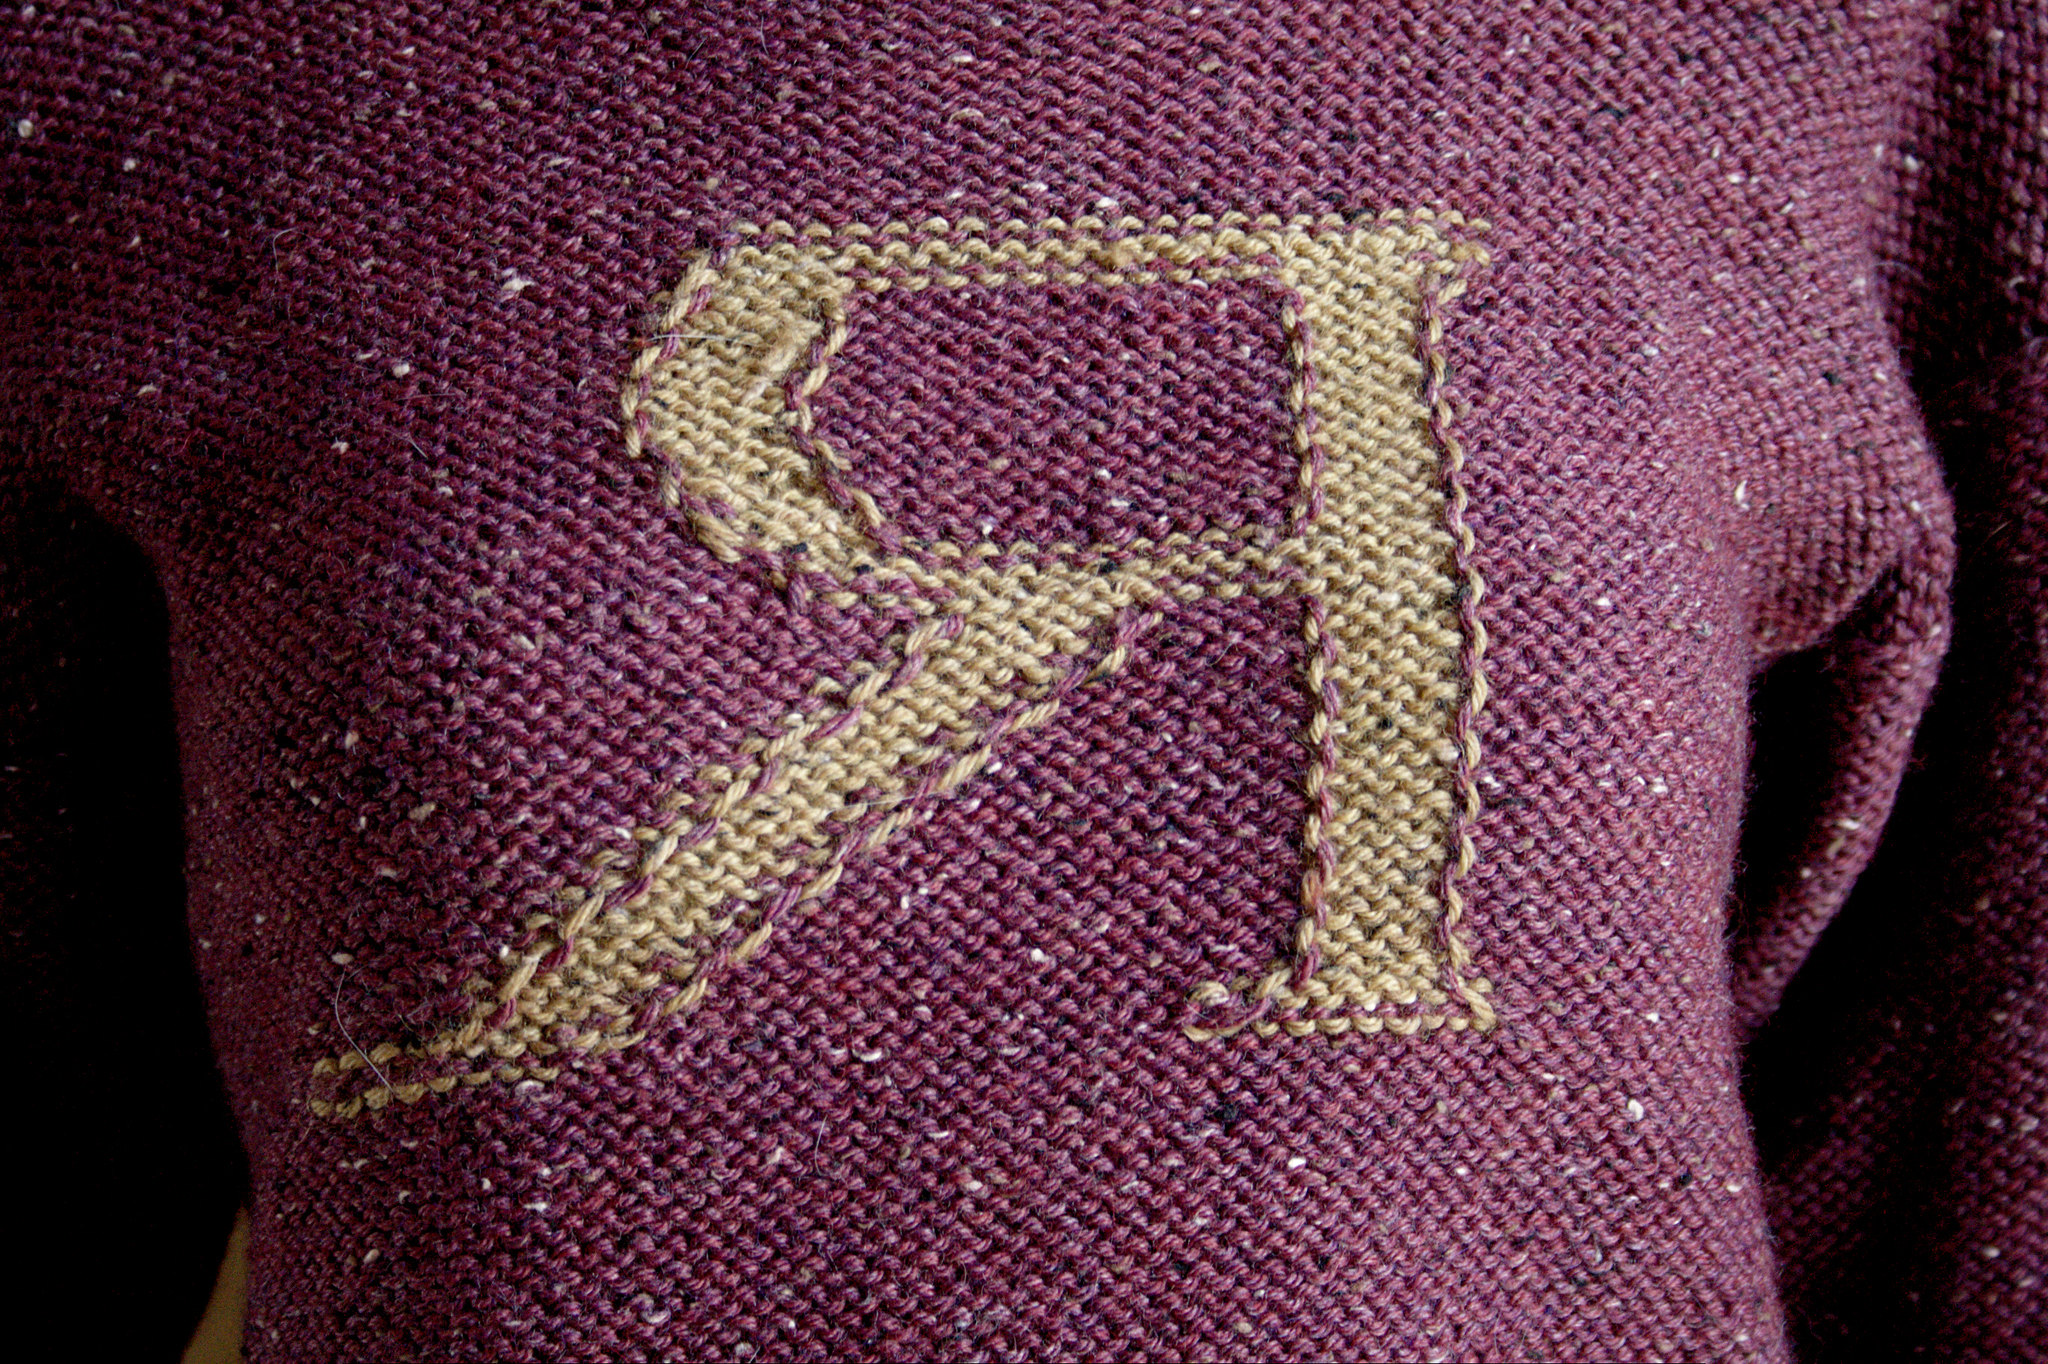
It was my first time doing intarsia. At the beginning it was a bit of a mess because I was too stubborn (or lazy) to cut the yarn off the ball and wind in onto some bobbins. At one point I was knitting with 5 balls at the same time. But I had to rip it back and restart because I didn't center the R properly so this time I did wind them around some makeshift cardboard bobbins. I definitely learned my lesson for the next time I'm doing intarsia!

For the chart I used the R from this website, but stretched it out a little to make it wider so that it would look more like the R on Ron's sweater in the movie.


Pattern: The Weasley Sweater - by Alison Hansel
Yarn: Knit Picks Wool of the Andes Tweed - Barn Door Heather and Brass Heather
Started: March 12th
Finished: April 14th
Used: Red: 8.5 skeins = 50.3 meters (55.0 yards), 425 grams / Yellow: 0.08 skeins = 92.5 meters (101.2 yards), 4 grams
Mods: None

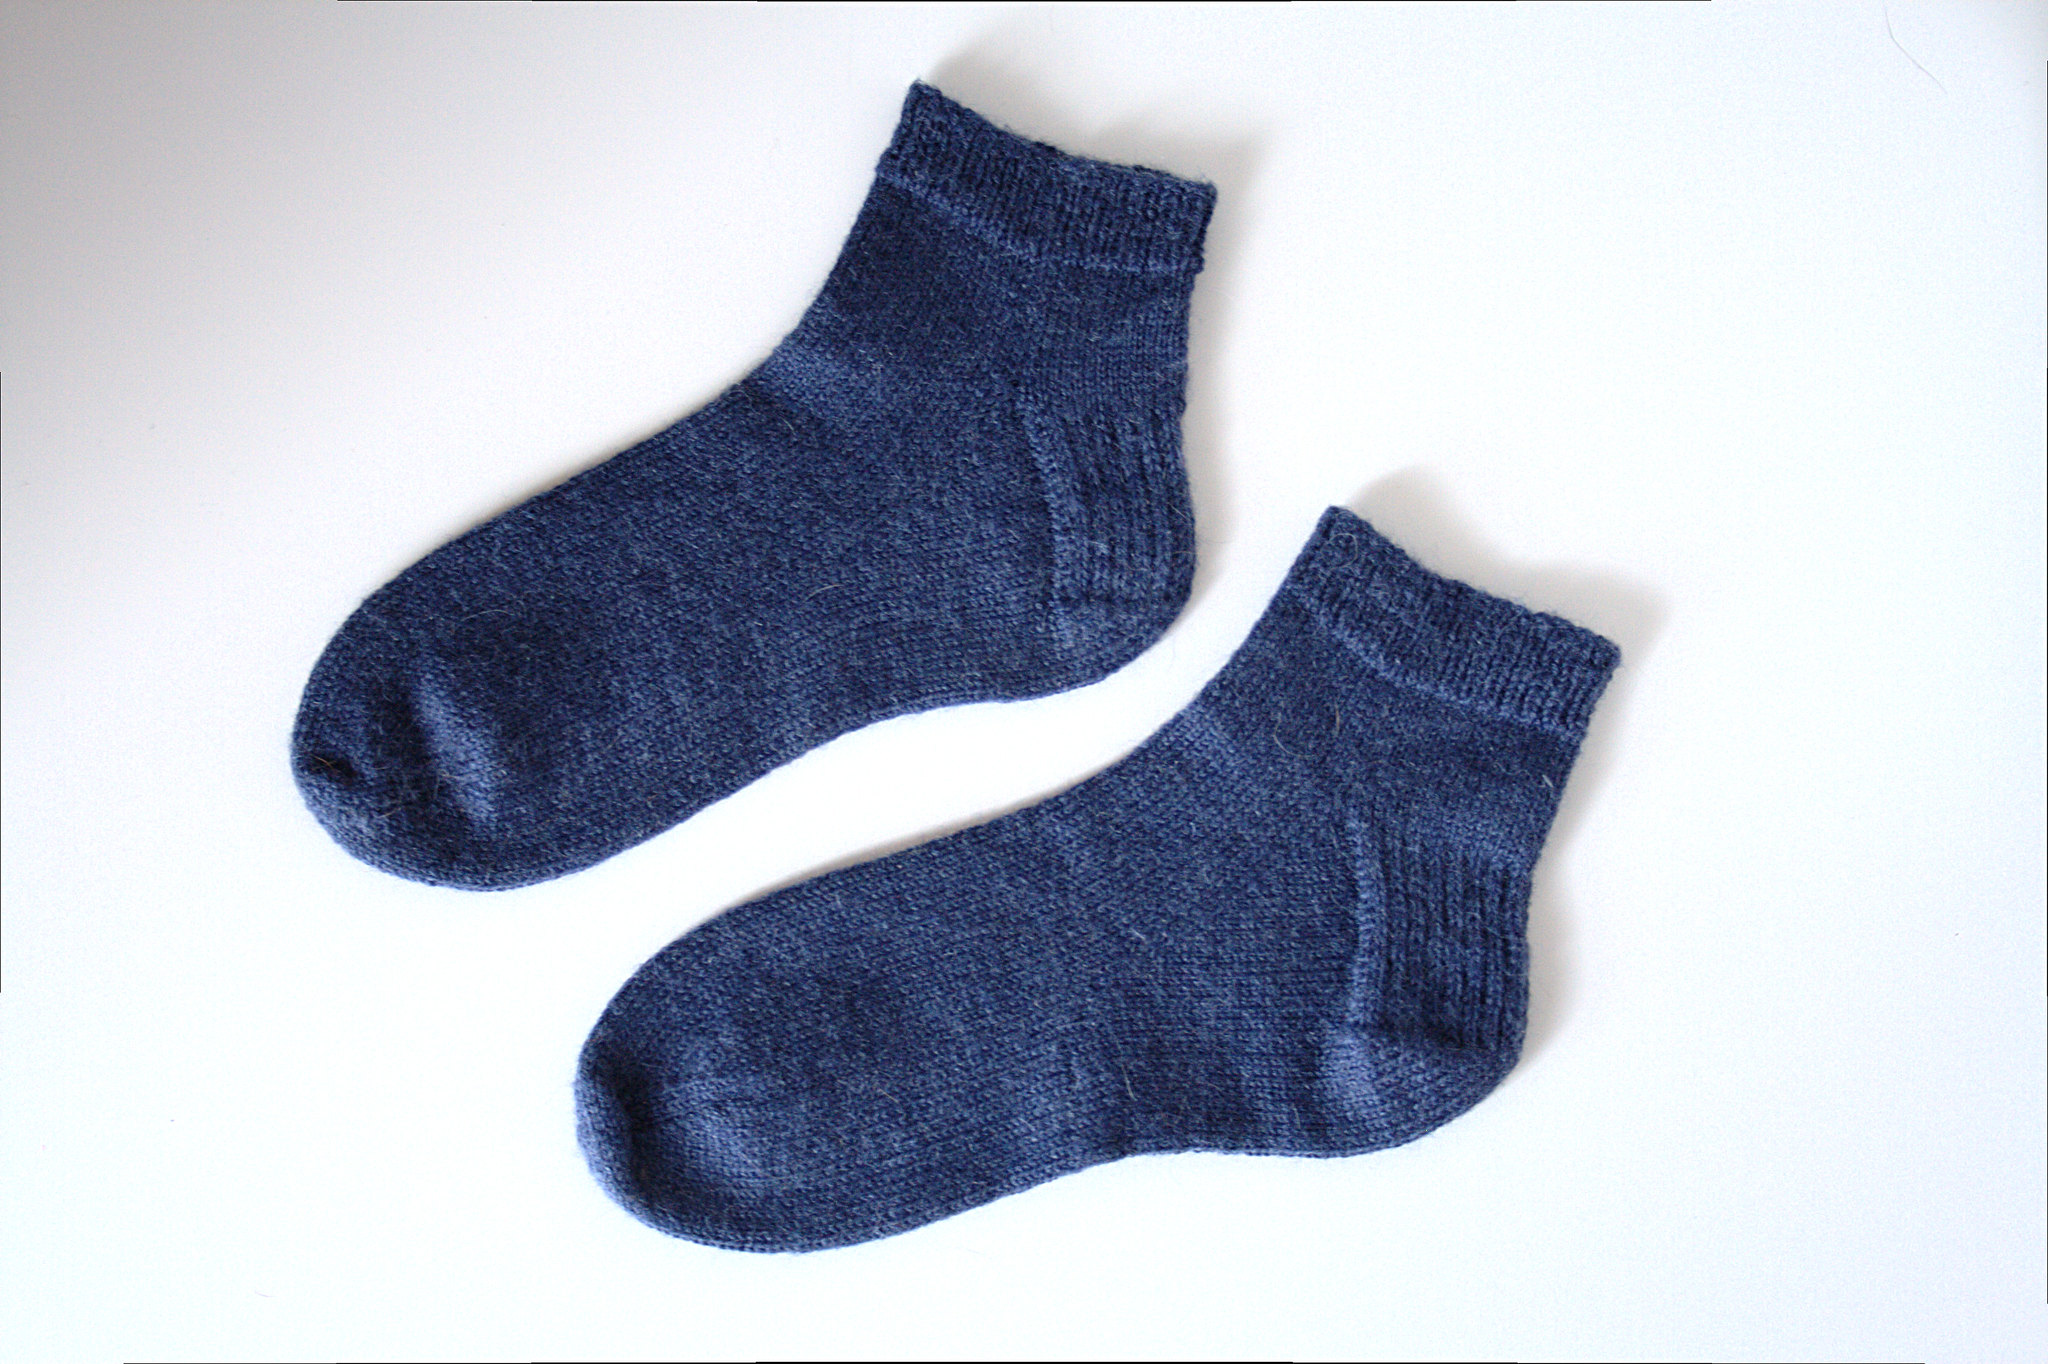
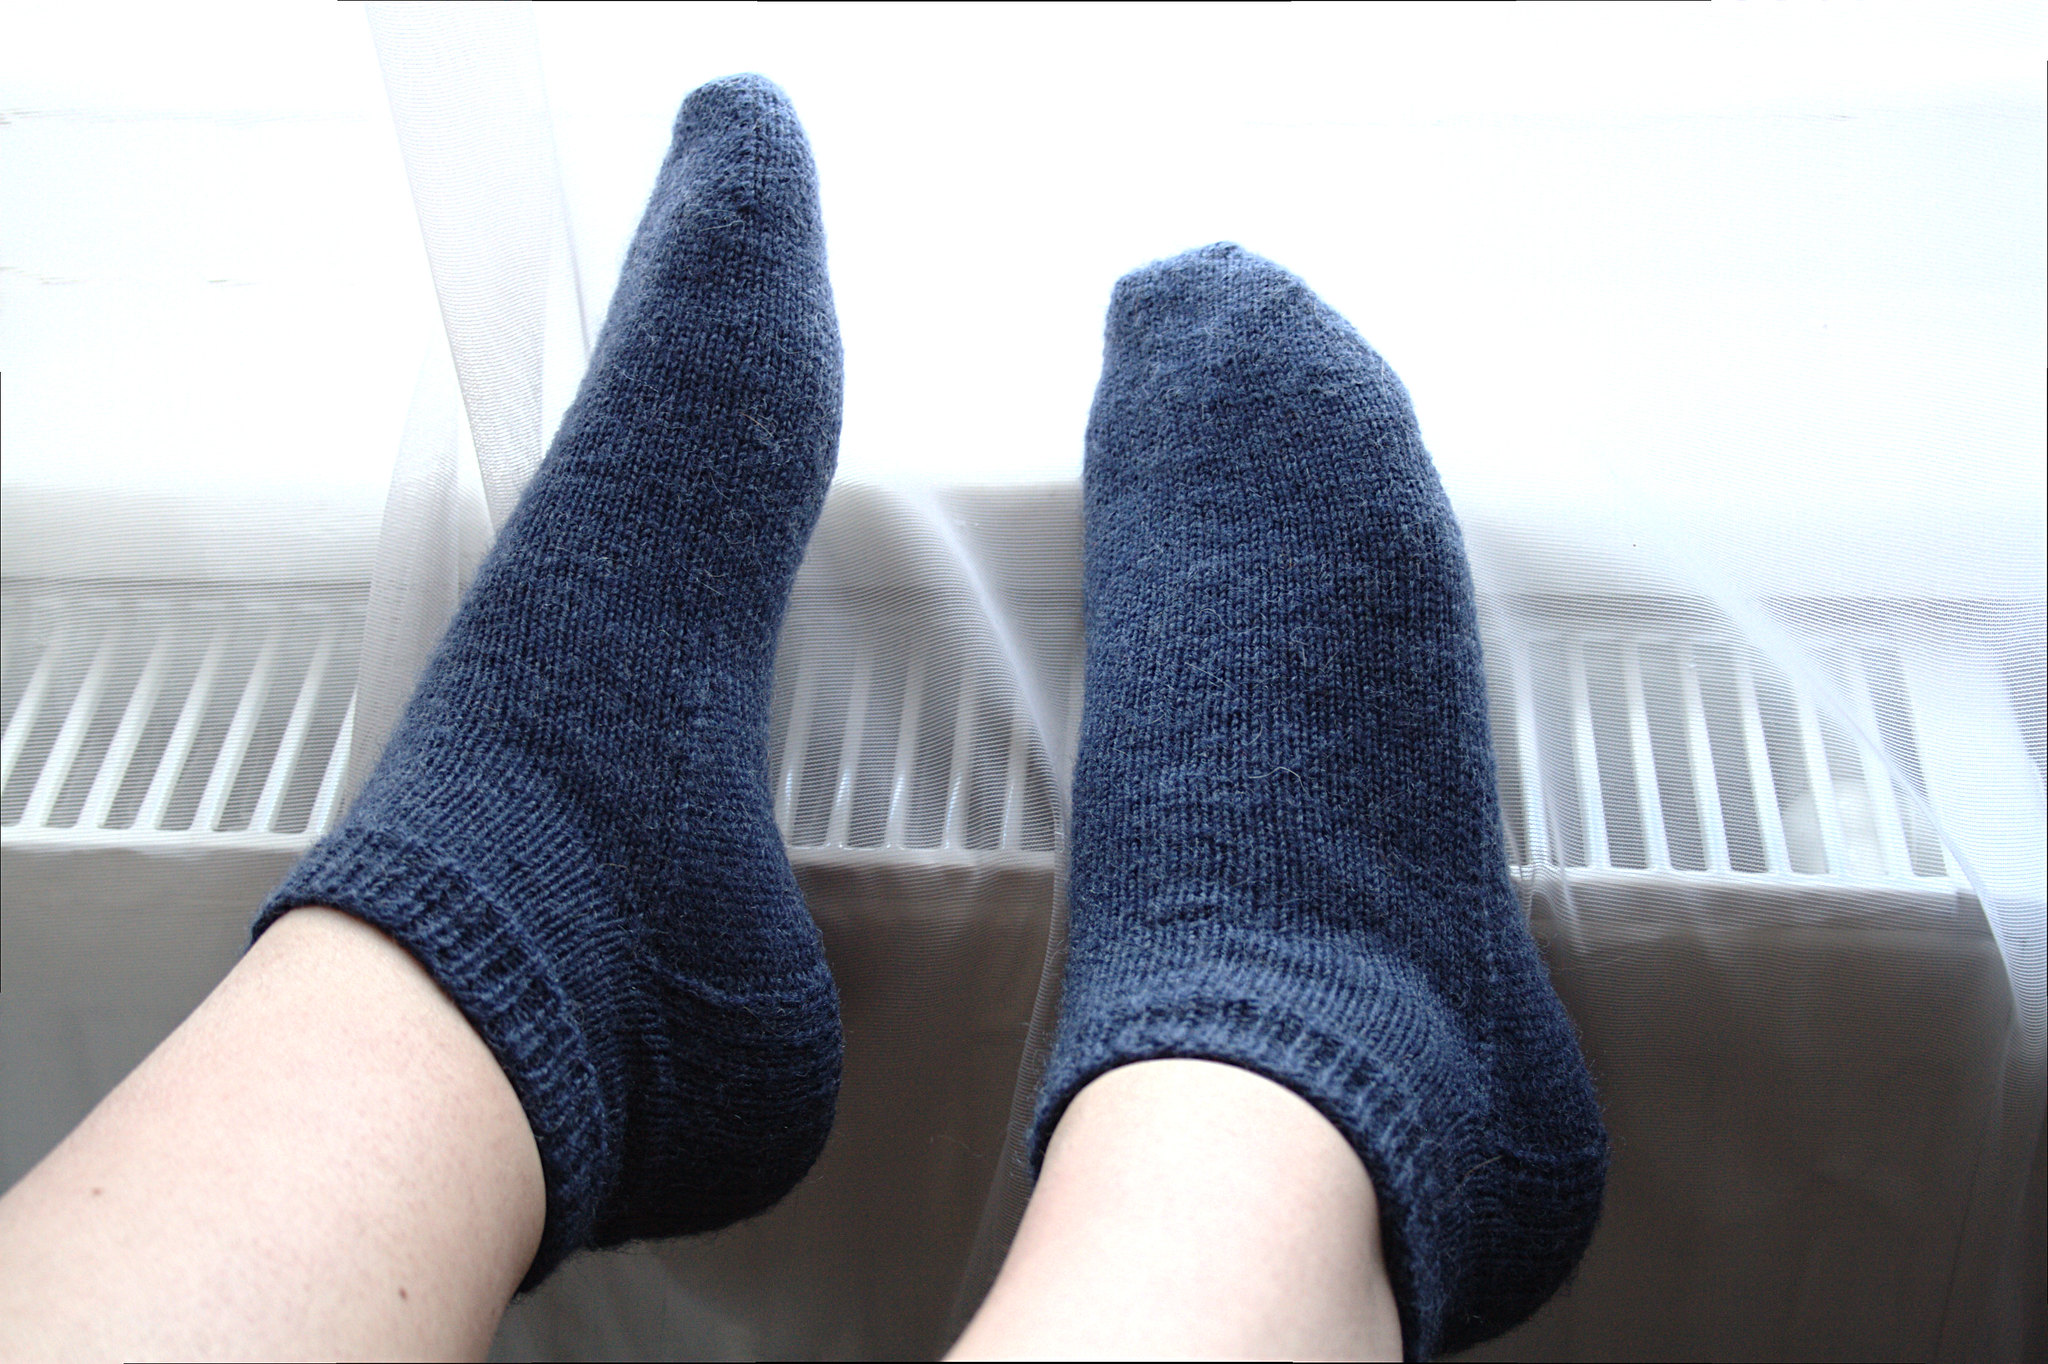
Finished: Socks!

I have fallen in love with sock knitting. If you would have told me I would be knitting socks back when I started knitting, I would have never believed you. As I've mentioned in the past I was somewhat of a garment-knitter snob. I only wanted to knit garments - sock knitting was for granny's. Why on earth would you want to knit socks? Which is kind of ironic considering the fact that most non-knitters consider knitting in general to be a 'granny thing' - you'd think I would be more open-minded. I guess, like most people, I had the stereotypical mental image of thick, scratchy, itchy, socks.


I'm not sure when I started to warm up to the idea of knitting socks. I guess, when I started to open up to the idea of knitting other things than just garments, socks just naturally came along with it. But when I started watching knitting podcasts and I saw so many gorgeous pairs of hand knitted socks pass the screen I finally started to realize that they are actually an accessory that can add a fun or cute touch to your outfit.

I was still a little bit intimidated by the idea of sock knitting. By watching all the podcasts I heard so many unfamiliar terms, like 'heel flap and gusset', 'fish lips kiss heel', 'heel turn', 'gusset decreases', 'after thought heel' etc., etc. - sock knitting just sounded very involved. But come december, I just couldn't resist any longer. I already had some sock yarn in my stash - Drops Fabel - which I purchased ages ago for another project but the yarn wasn't right for it (I didn't know what sock yarn was when I ordered it). I had to order needles but unfortunately the needles I wanted - 100 cm KnitPro Zings - where out of stock everywhere and I had to wait for them to come back in. Finally, at the beginning of January I cast on my first pair of socks.


My first experience of knitting socks actually wasn't great. Fortunately I realized that this had nothing to do with the concept of knitting socks - it was the yarn. Drops Fabel is rather rough. I found it uncomfortable to knit with and I also don't really like the way it feels on my feet. I also found the colour rather boring, so that is why I turned them into short socks. It was a good test run though, and the socks turned out quite well. It gave me a chance to test the fit and tweak the pattern to make my own recipe. The pattern I used was Voolenvine's Favorite Socks and I also watched the Craftsy class Essential Techniques for Sock Knitting by Ann Budd. I highly recommend this class if you want to learn sock knitting because I think it helps to have a visual explanation for things like turning the heel and picking up stitches for the gusset.


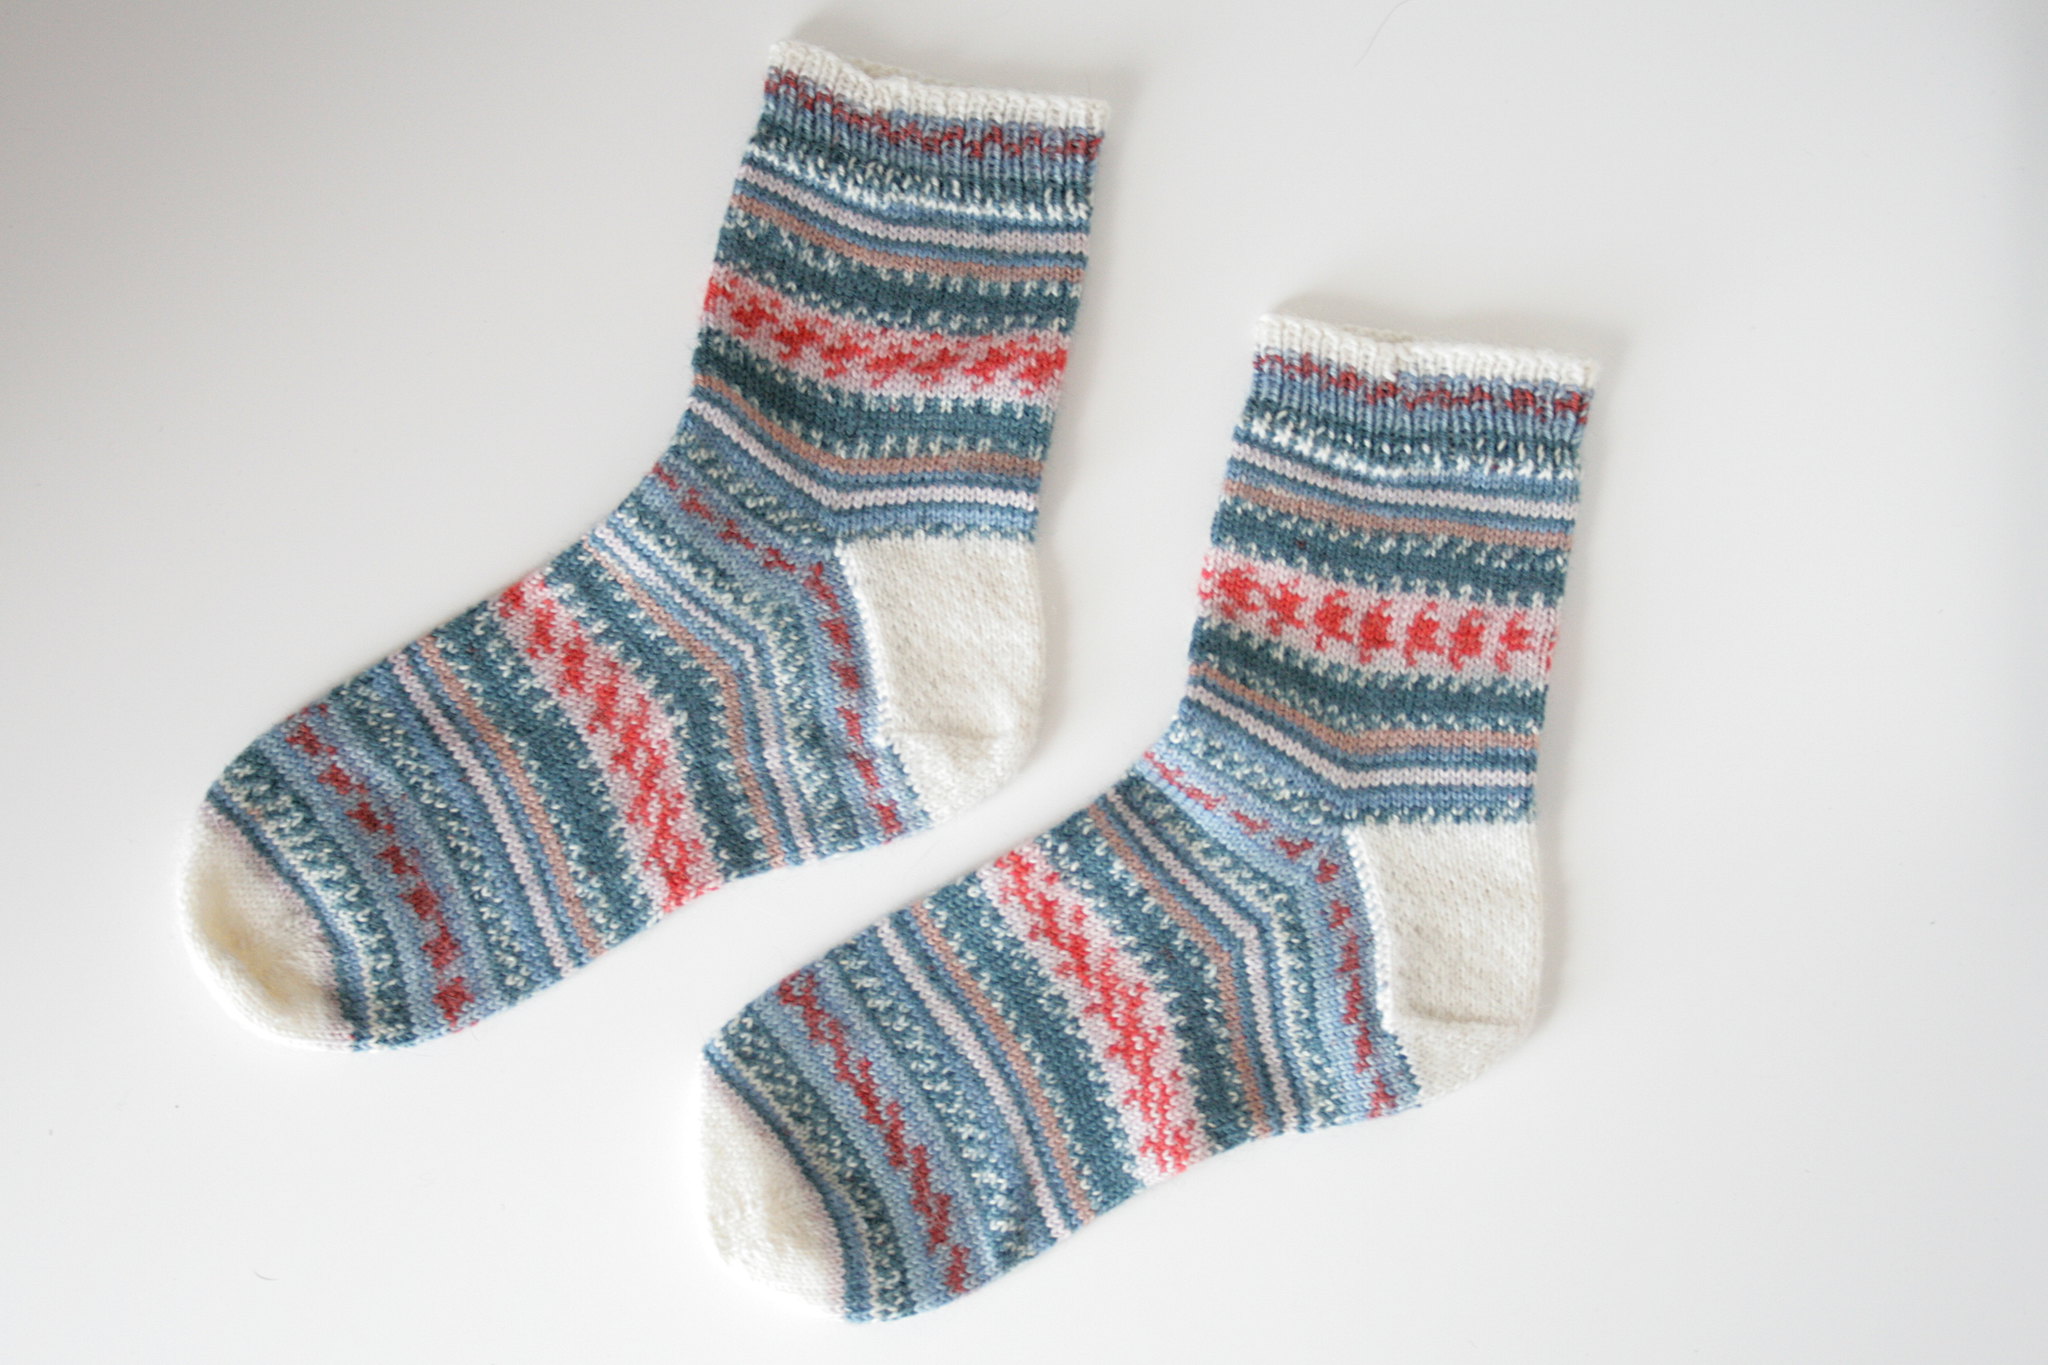
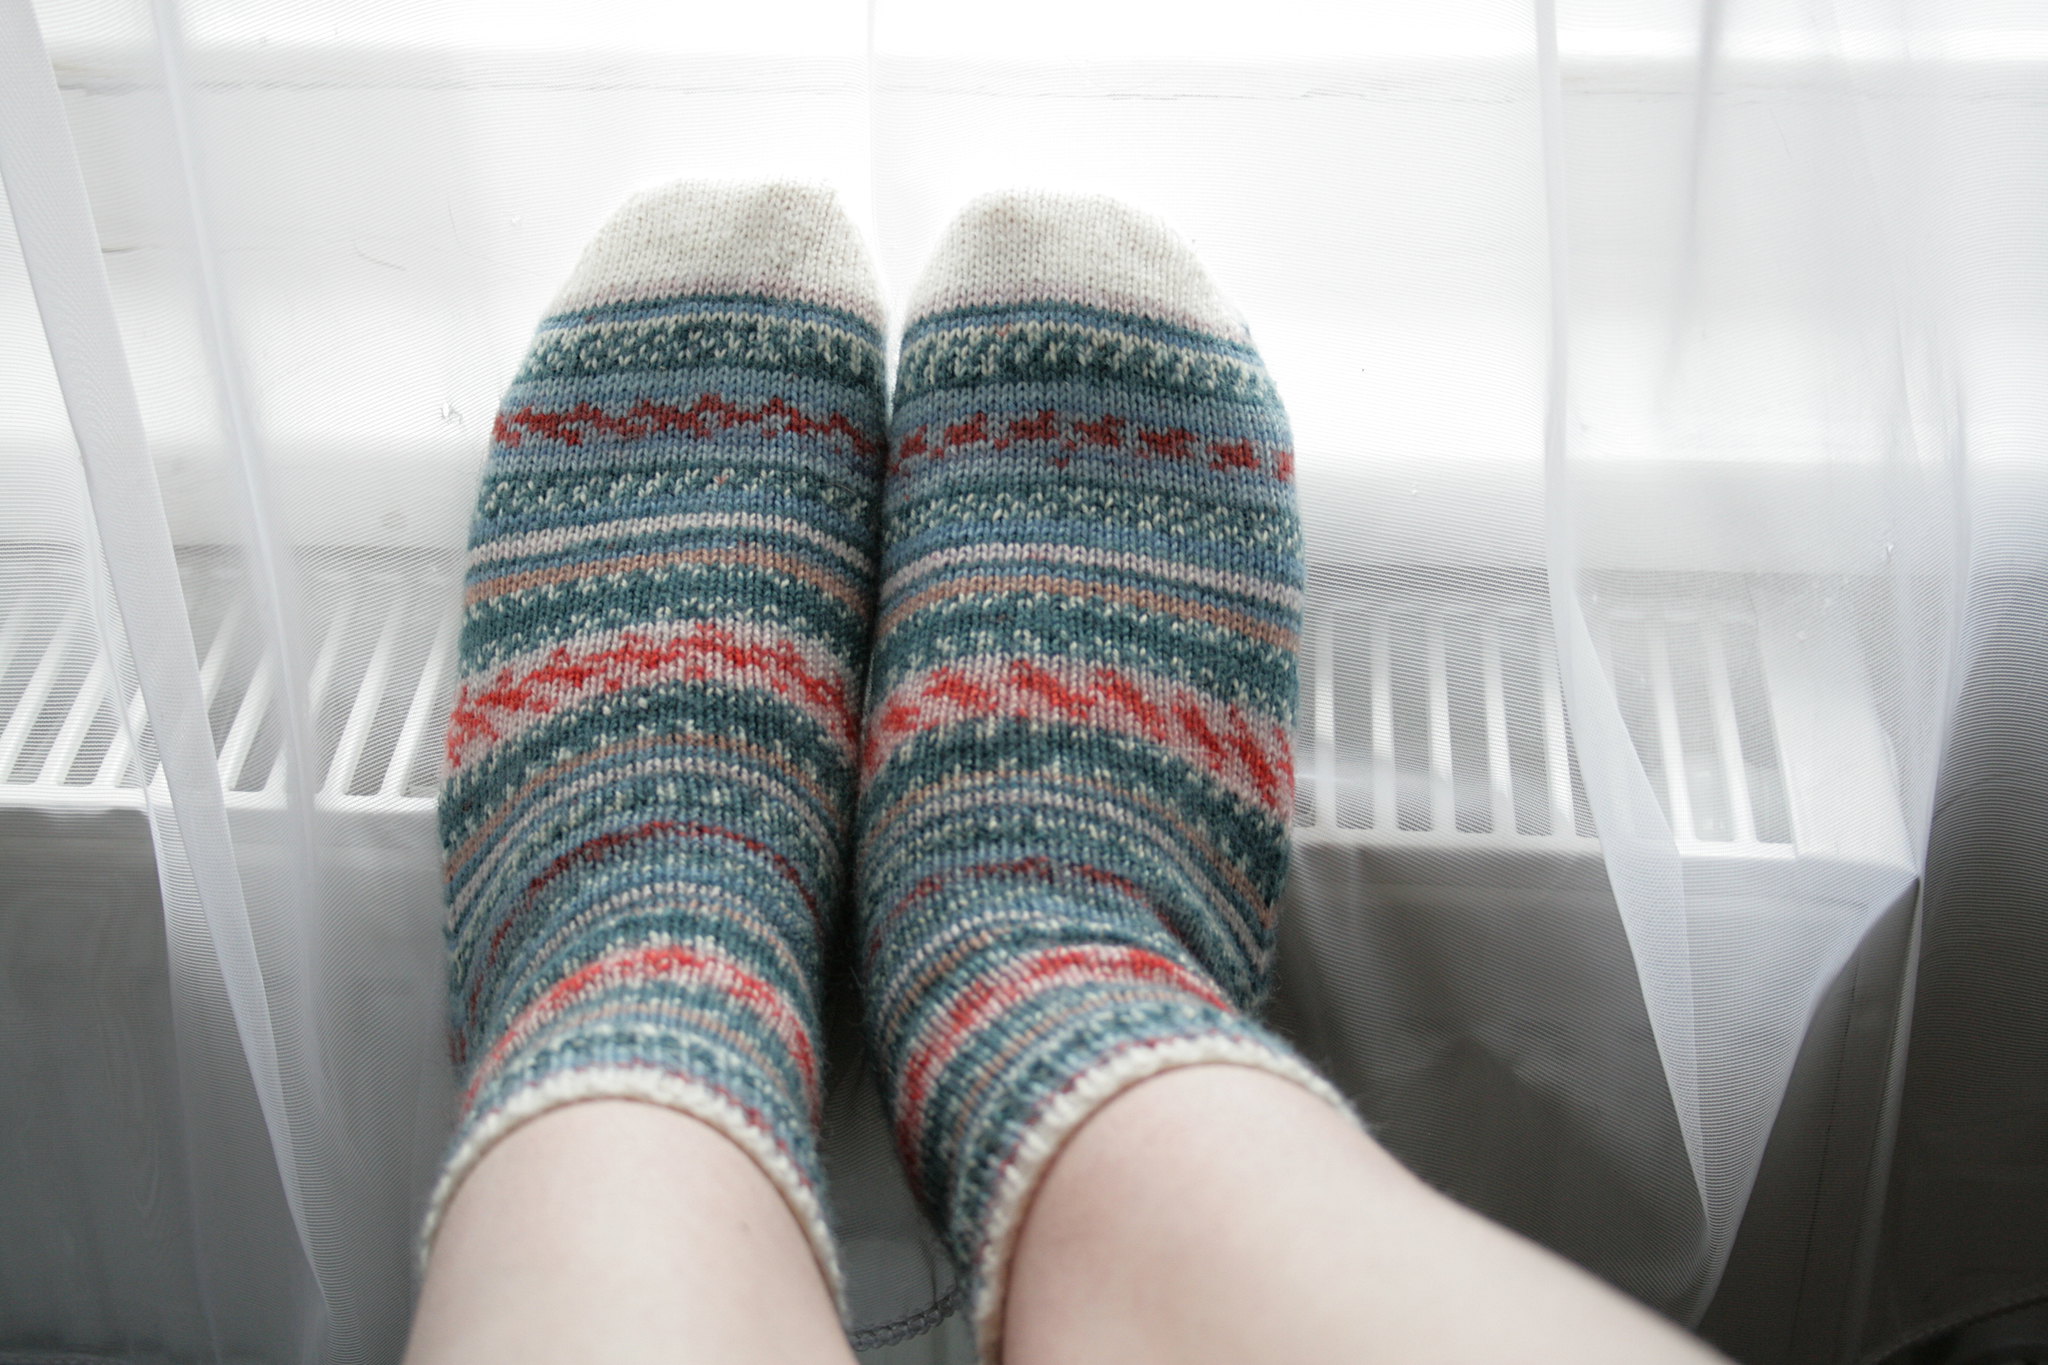
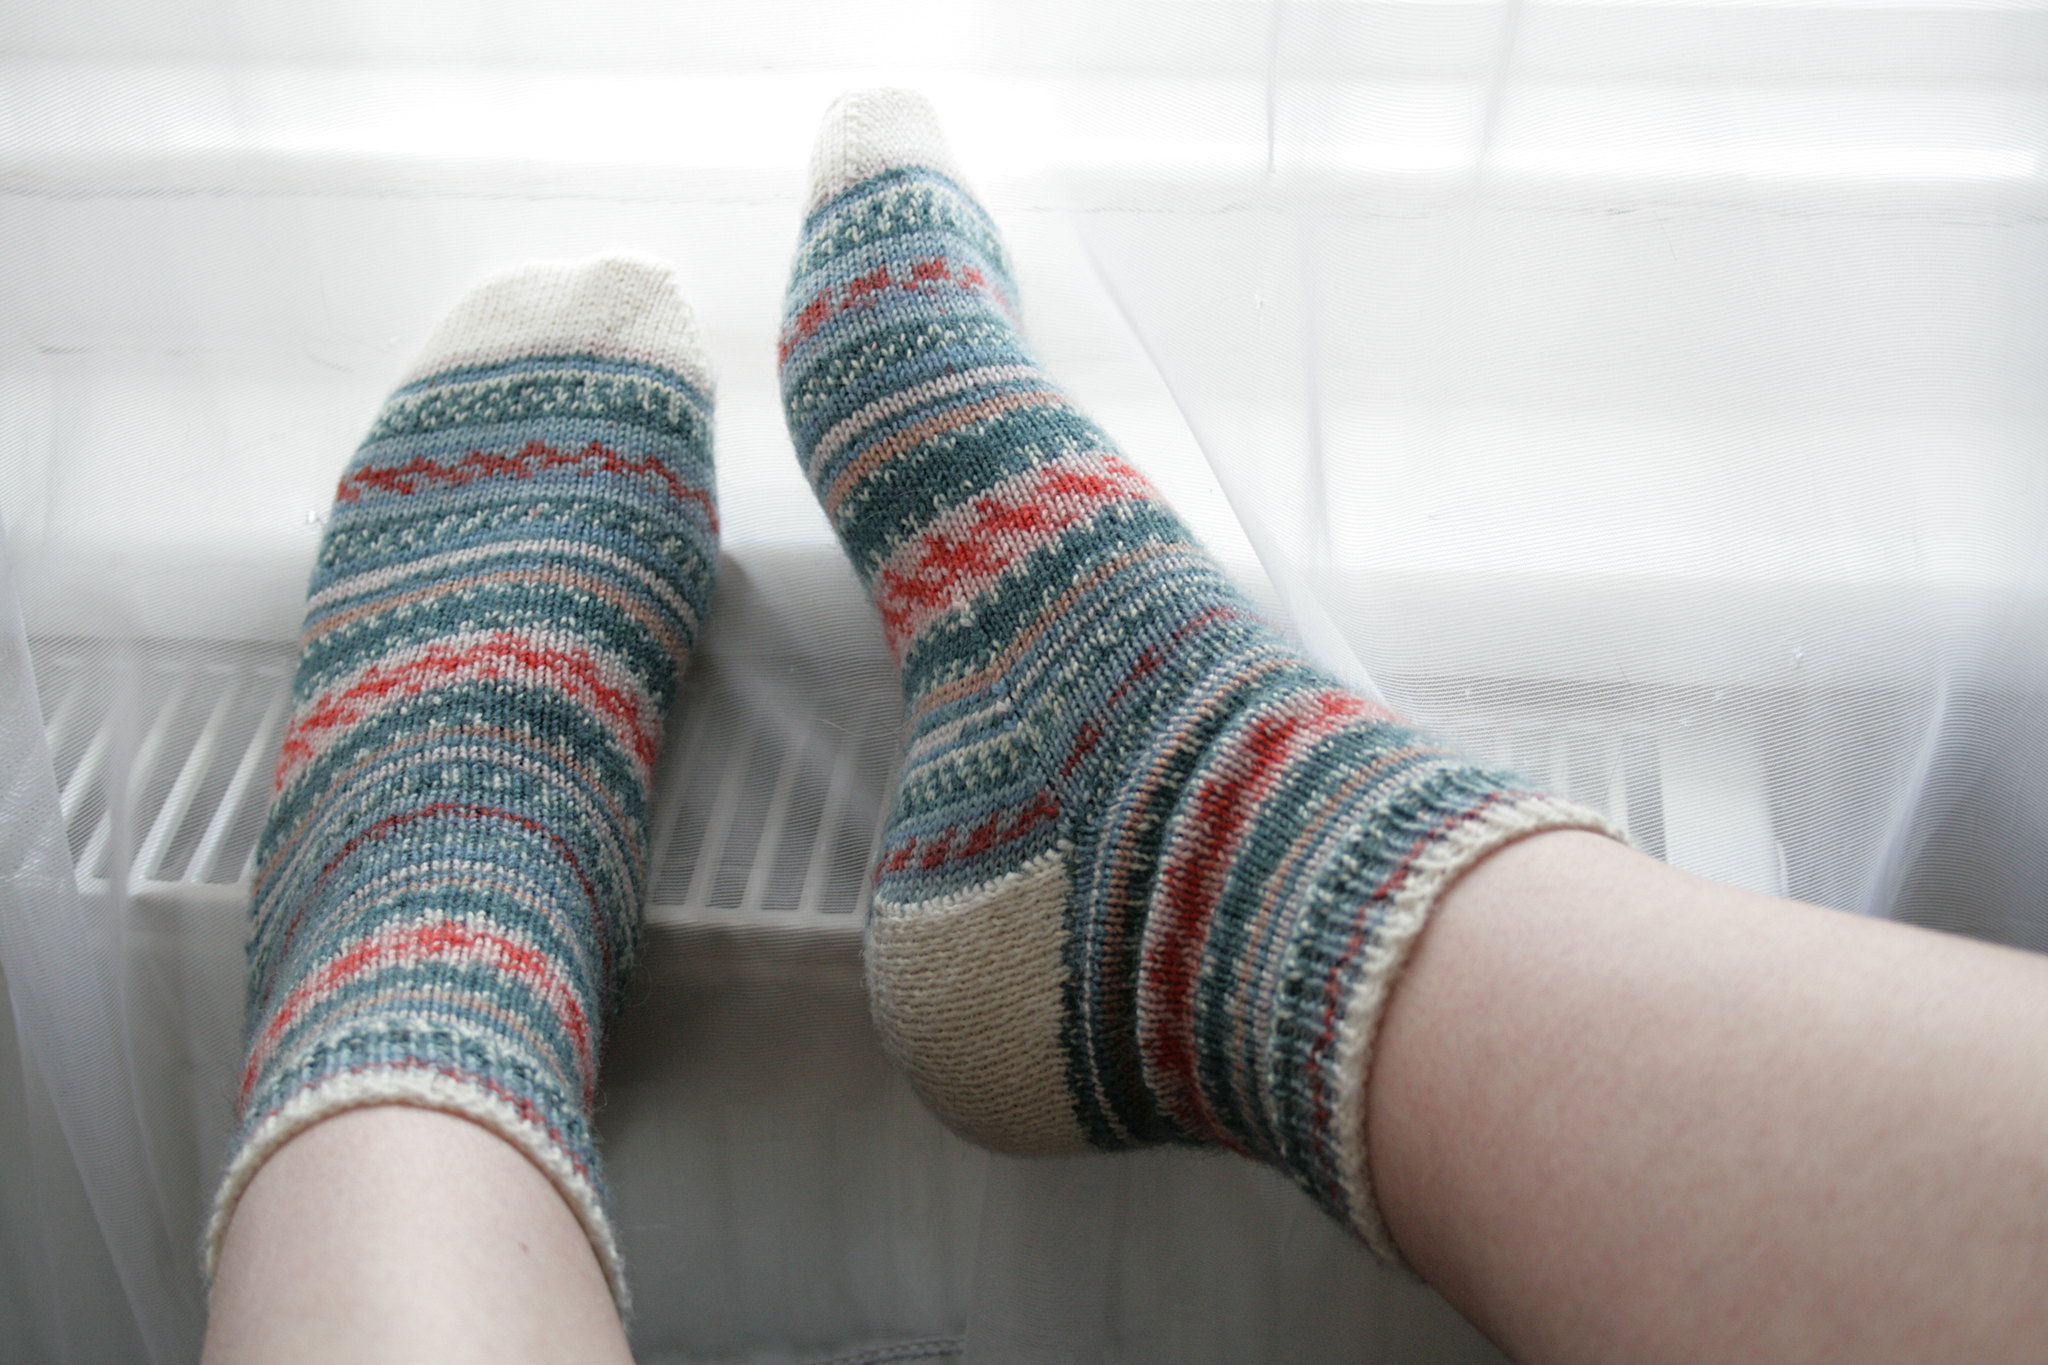
My second pair of socks was on the needles quickly after. This time I used the now very famous Regia Arne and Carlos yarn in the Summer Night colorway. The yarn was a birthday/Christmas gift from my mom. I had seen some people on Ravelry who knitted it with white contrasting heels and toes and I did the same. I did use Drops Fabel again but for just heels and toes the yarn is fine. I found my first pair of socks a bit too tight around the foot and the toes so I went from a standard 64 sts to 68 sts. Then I knit the socks just past the end of my pinky toe before starting the toe decreases. I only decreased to 36 sts, making the toe quite flat but it just really fits my feet a lot better than a more pointy toe.


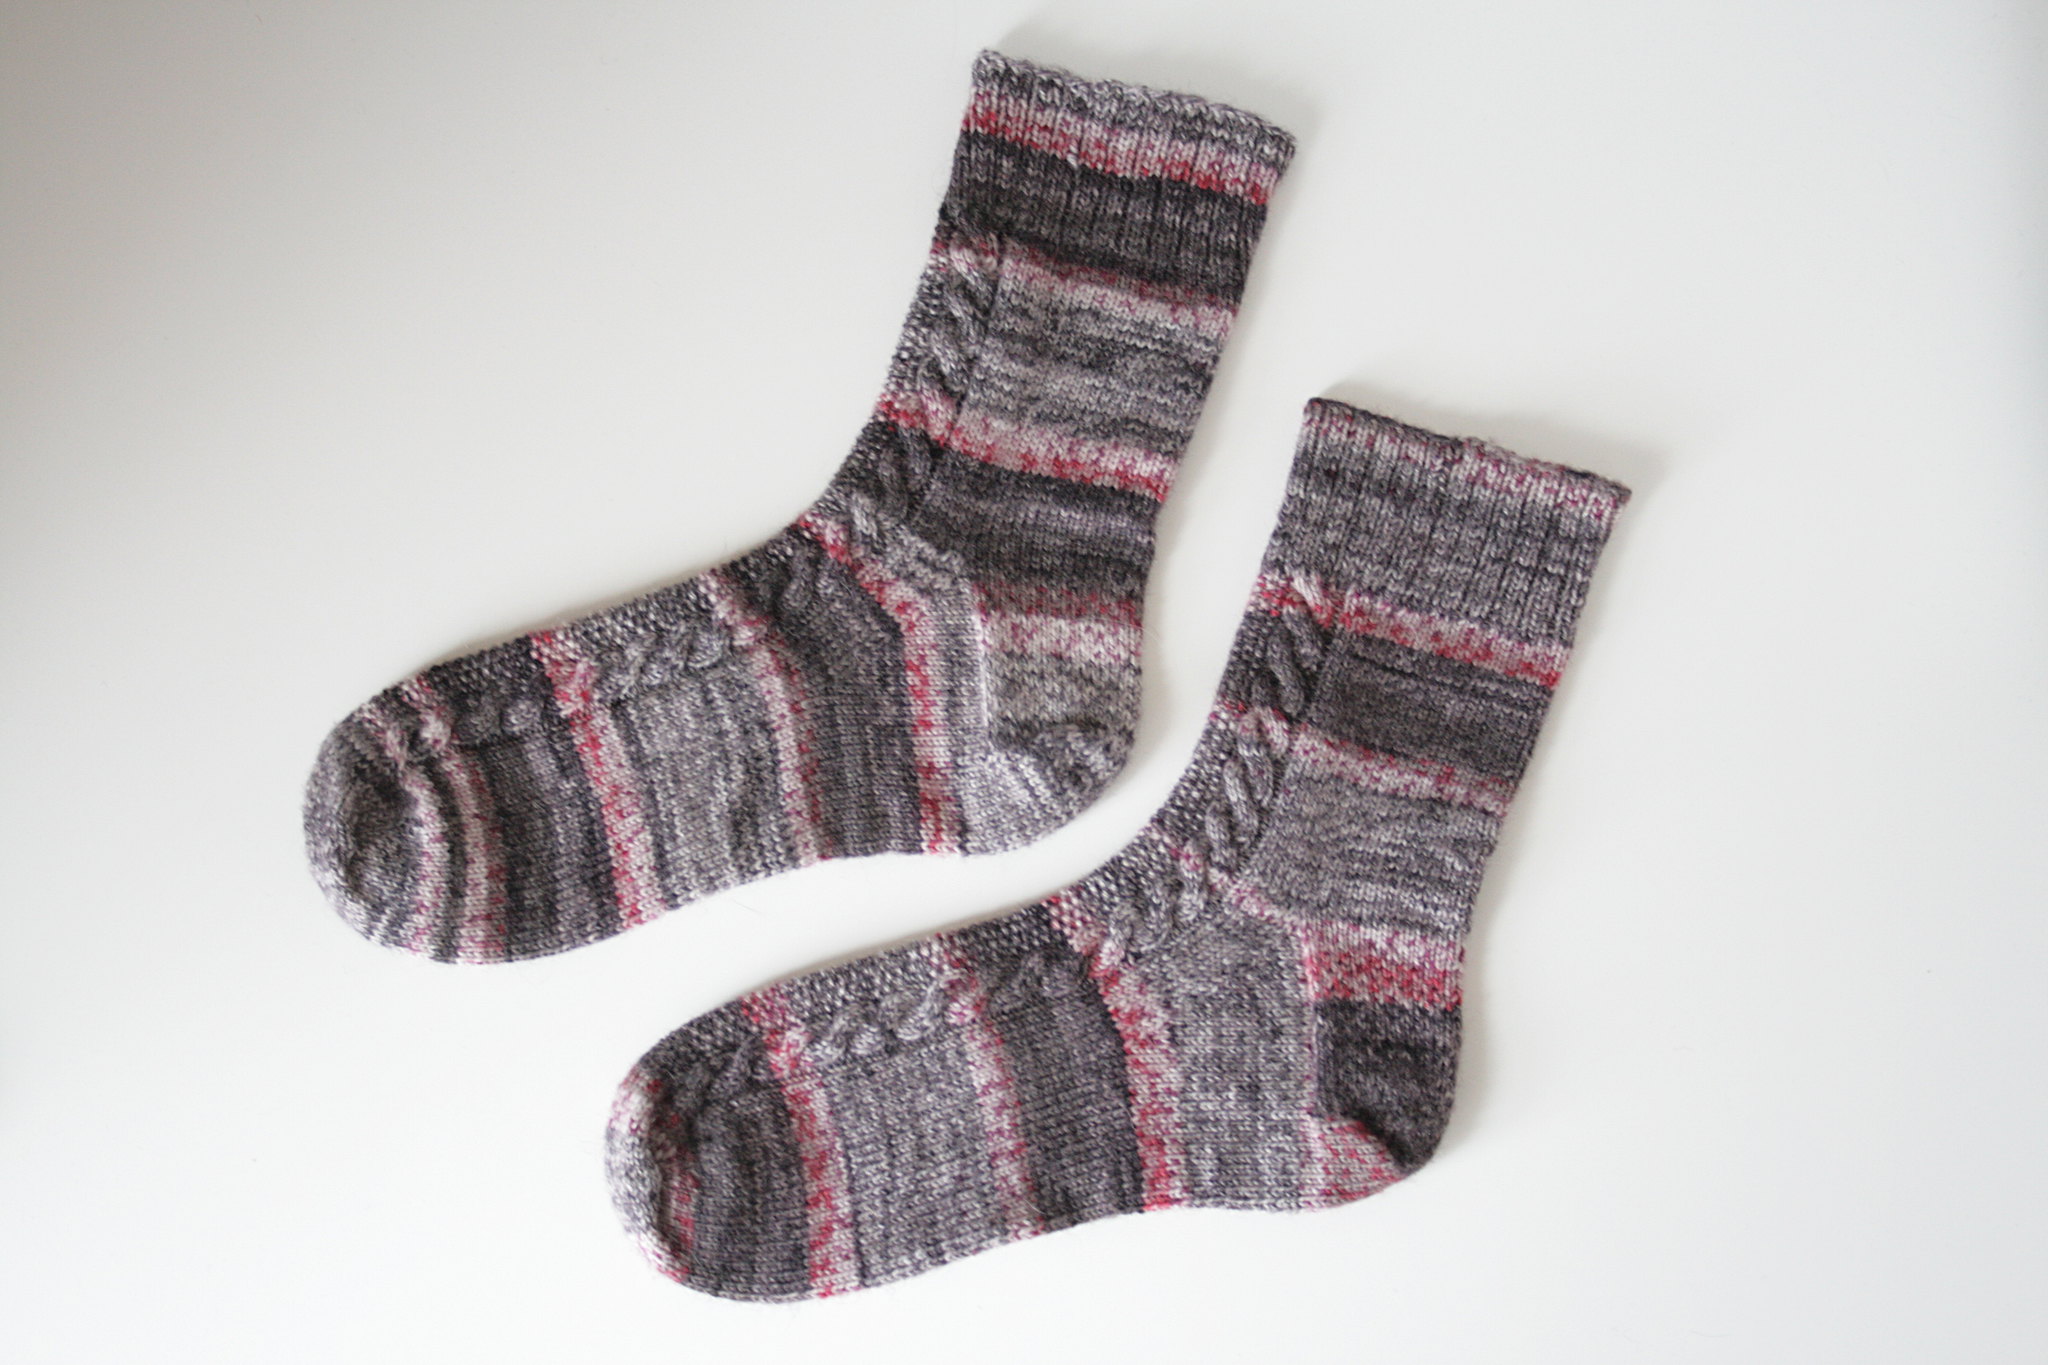
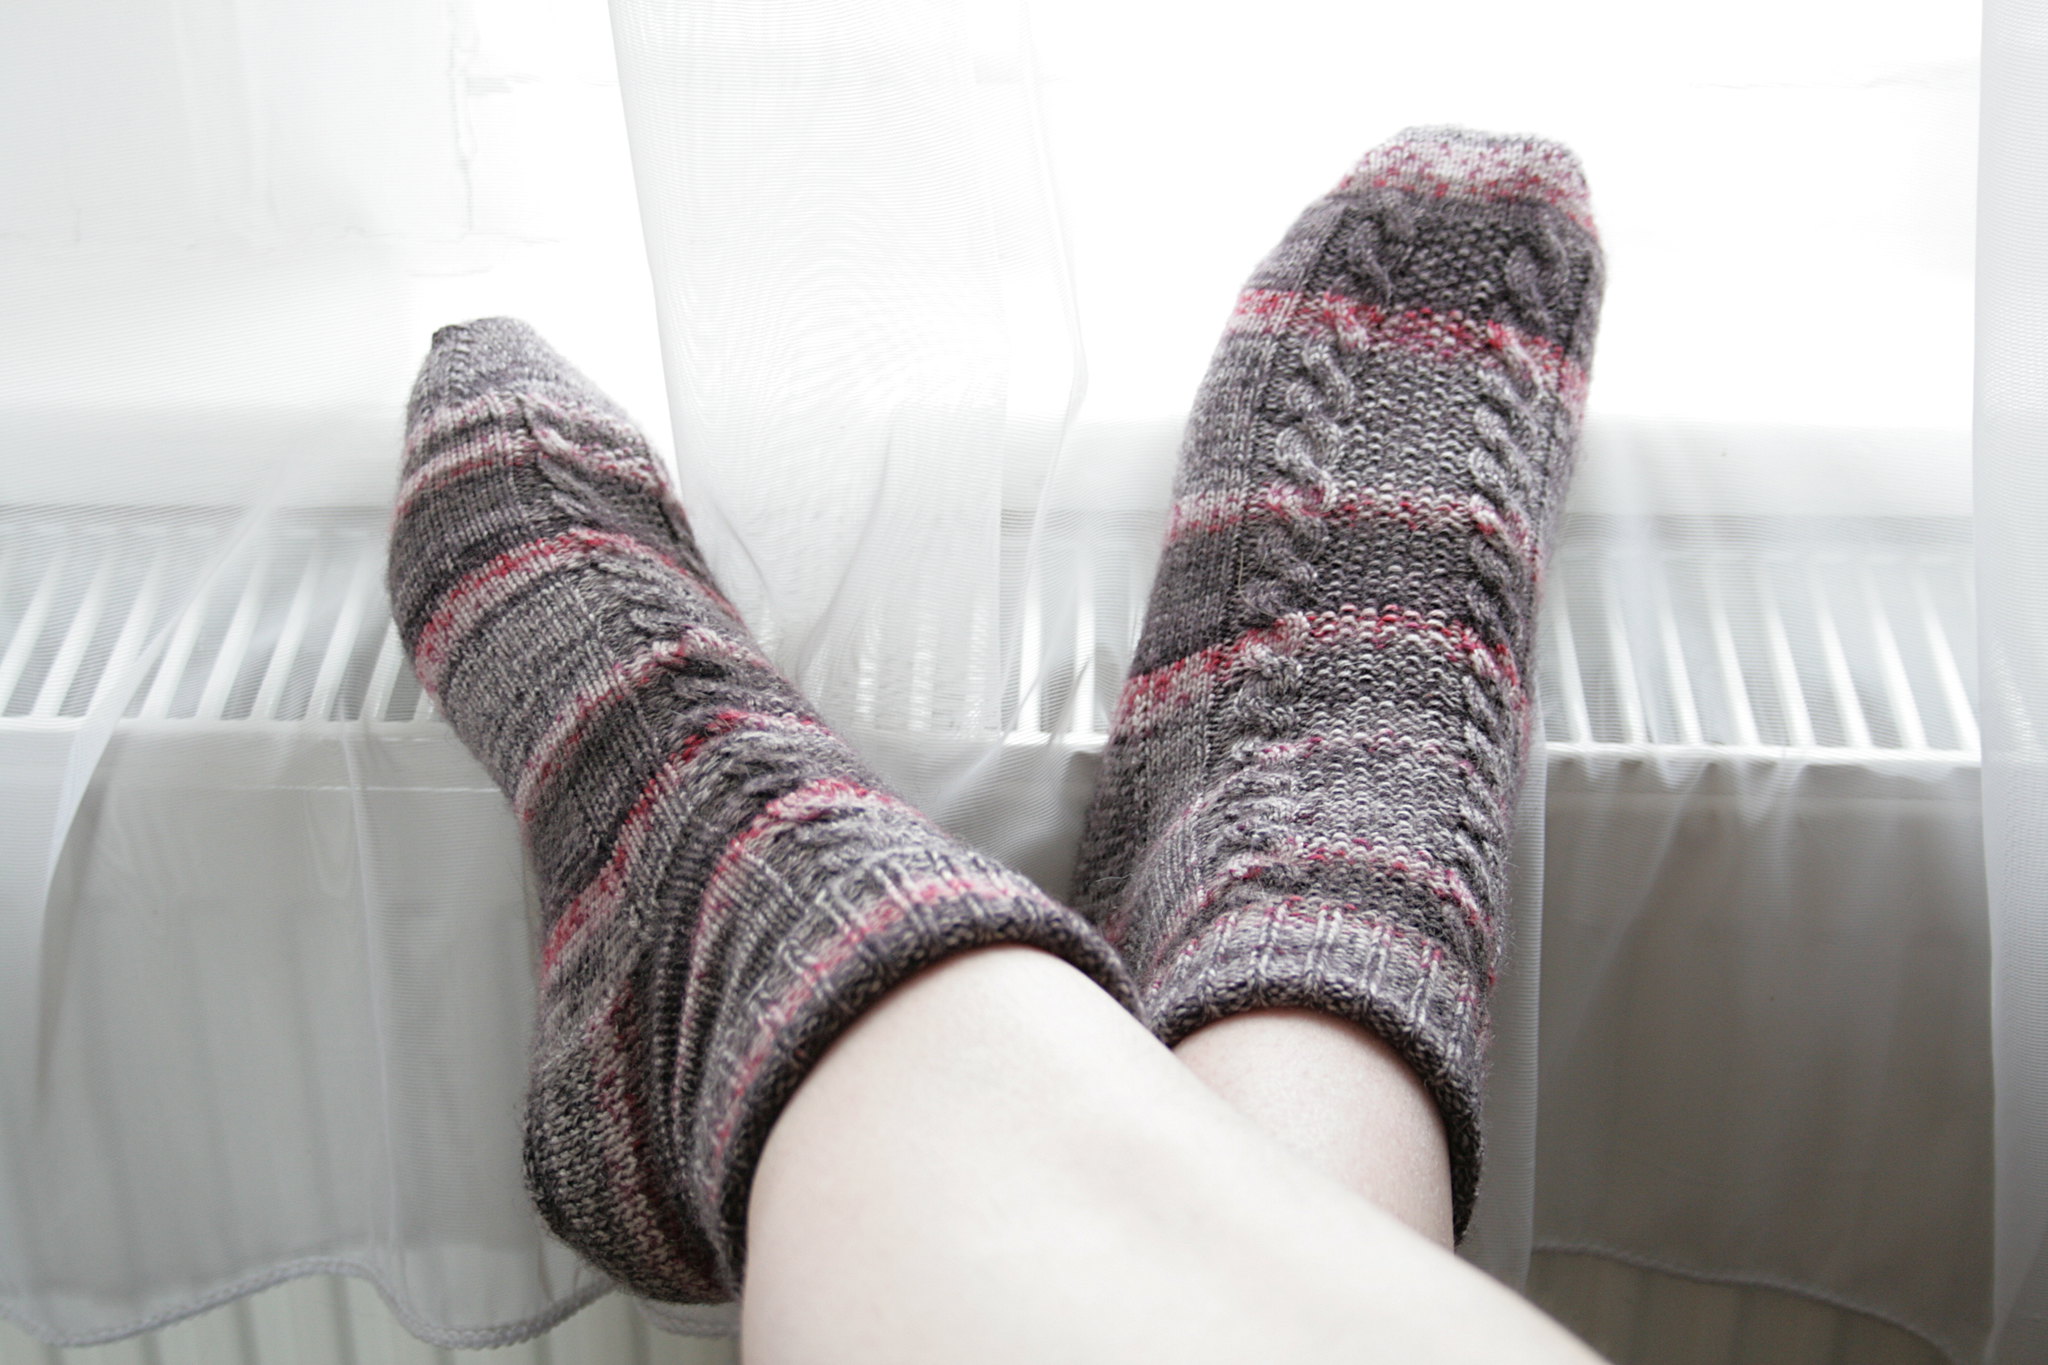
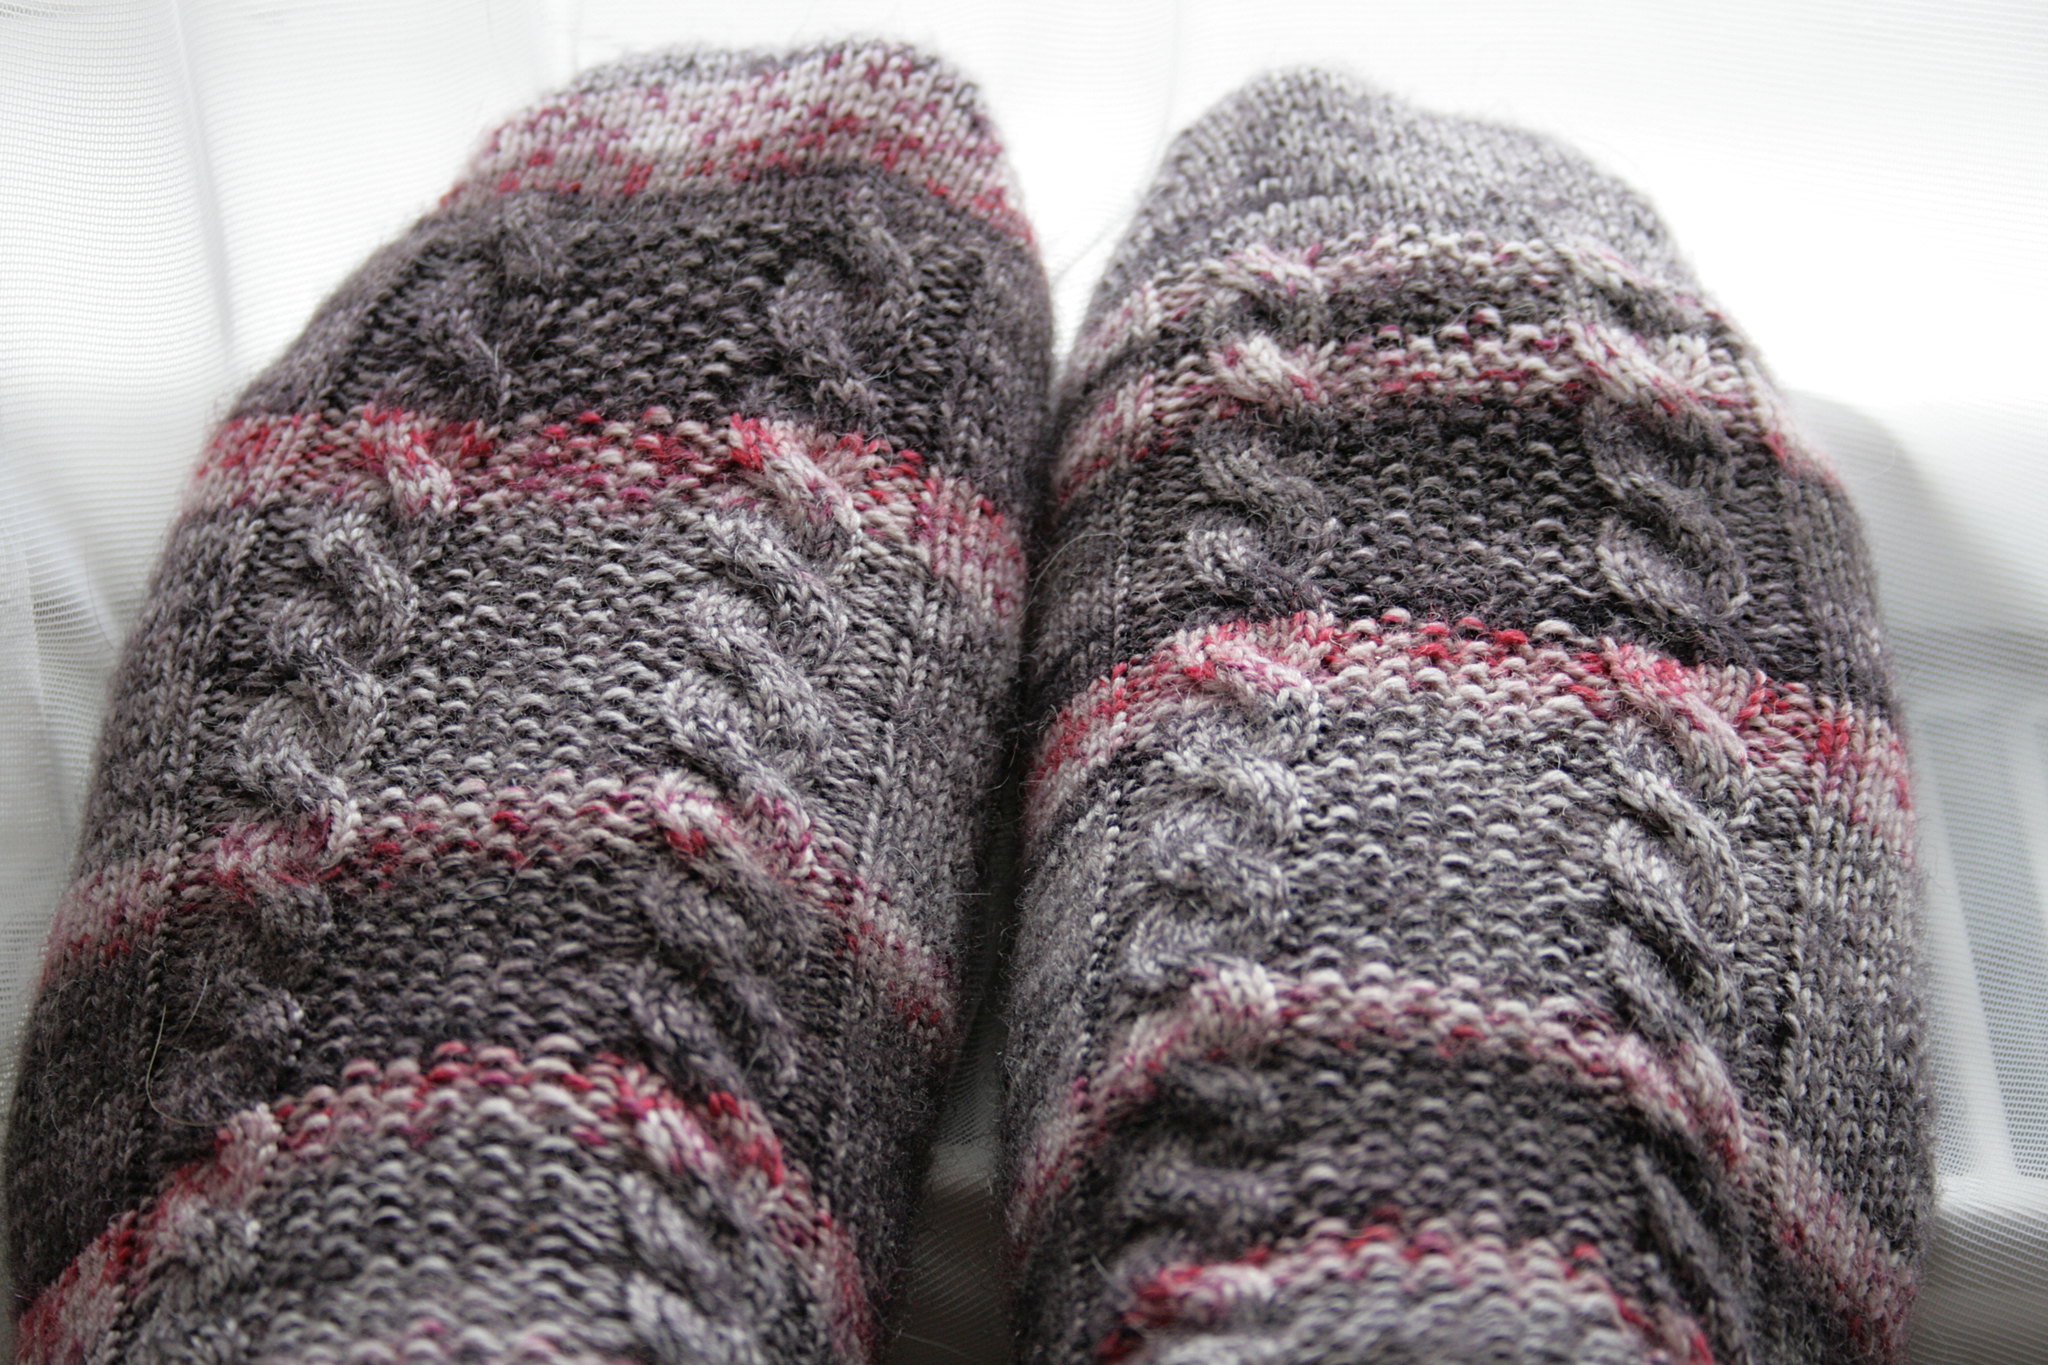
On to the third pair of socks. I wanted to use a self striping yarn again and got some Bergere de France Goomy 50 in "Imprim Prun". I decided it would be fun to make up my own pattern for these so I designed something with cables. (Bizzarly enough I was browsing Ravelry a few days ago for some sock patterns and found an almost identical pattern!) I made one more tweak in the fit this time: I didn't really like the way that the heels of the other socks fit, so I decided to give the "Dutch heel" a try (how appropriate!) and I fits me só much better! This will definitely be my go-to heel from now on. These socks took a lot longer to finish because the cables where very tedious to knit, I think due to the tight gauge, so I got a little fed up with them half way through.


By now I have already acquired a sizable amount of sock yarn, including some lovely hand dyed yarn from indie dyers like Baerenwolle and The Wool Barn. I really blame the knitting podcasts for the all enabling! Needless to say, you will be seeing many more socks on this blog (don't worry, I still mainly consider myself a garment knitter and am still obsessed with vintage knitting!). The pair of sock I currently have on my needle are for the mister - to my surprise as per his request. They are just a boring pair of black socks so I am definitely trying to plough trough them as quick as I can so that I can move on to the shiny hand dyed sock yarn! 

Next Season's Knitting Plans: S/S 2016

Spring is here! (Well in theory anyway, I have yet to detect spring-y weather where I live.) I always find it harder to think about/plan warm weather knits than cold weather knits. Which, I guess, makes sense since you don't generally want to wear wool in the summer anyway. And so my "to-knit list" for warmer weather is significantly shorter than the one for cold weather. When I wrote my post about cold weather knitting plans, you guys really seemed to enjoy that and even though I didn't follow up on all of the knitting plans in that list, it really helped me to put some of the project ideas that are floating around in my head in order. So I figured I would make it a recurring thing.

First of all, to have a little look back at the cold weather knitting plans: I managed to knit 4 out of 6 items on the list! I knitted the lacy cardigan, the cabled cardigan, the Christmas sweater and the colorwork cardigan. I am a little behind on schedule because I had originally planned to start knitting for warmer weather in march, but I am still working on the colorwork cardigan and I am also knitting an unplanned jumper. The unplanned jumper is a Weasley jumper that I am knitting for the Harry Potter KAL hosted by the super lovely Katie of the the Inside Number 23 podcast.


I am hoping to have both of those finished at the beginning of April, after which I will switch to warmer weather knitting. Like last year I am planning to switch back to cold weather knitting again in September so that gives me 5 months of warmer weather knitting. I am going to allow myself a little more slack this time and only plan 4 project since I expect to lose my knitting mojo a little during the summer - I have for the past two years anyway.

1. Baggy cardigan
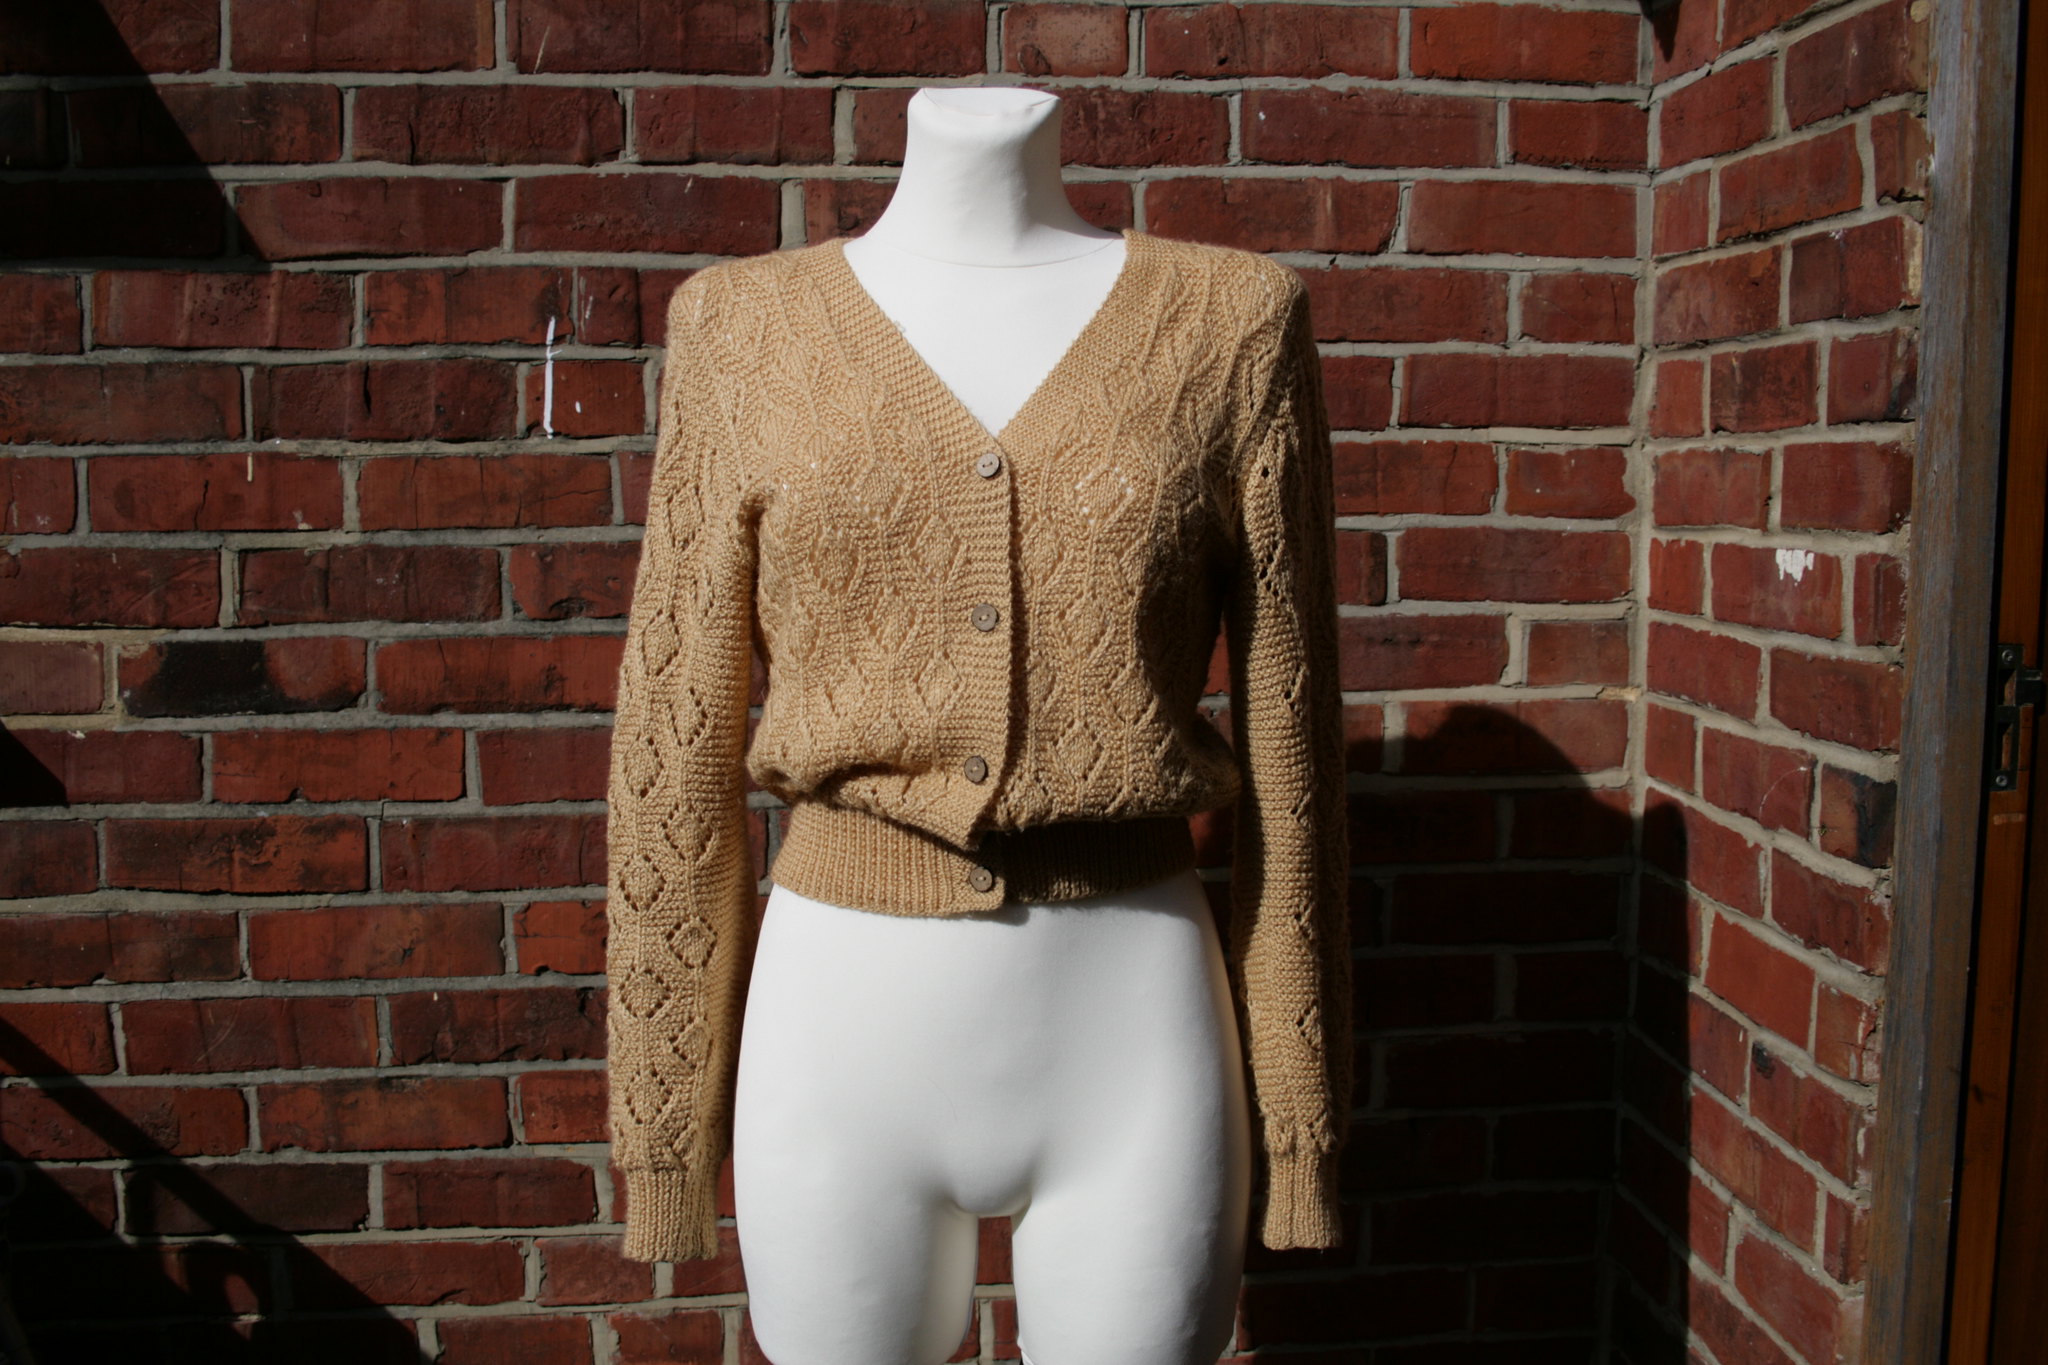
When I posted about my finished butterscotch cardigan (pictured below) I mentioned that I had worn that cardigan a lot during spring and summer and that I definitely needed another one. I am either going to design a cardigan myself or I am going to kit the same cardigan again but with a different stitch pattern.

2. Long sleeve jumper
I've been wanting to knit a second version the of Elinor Jumper, but this time with a little more ease and in a cotton blend yarn to make it a little more summer friendly.

3. 3/4 sleeve jumper
I have also been thinking of re-doing the Althea jumper I made last summer, which turned out too fitted. It fits, I can wear it, but it's very tiny and I find it very hard to wear it with anything. This time I have more experience with cotton yarn so I can prevent the mistakes I made last time.

4. Short sleeve sweater/top
For the last item I want to knit something with short sleeves but I haven't really decided what I want to knit yet. There are a couple of patterns I am considering. The Fair Isle Yoke jumper actually has my preference but it's not the most practical garment for warmer weather..


Finished: Tri-cable Stitch Jumper

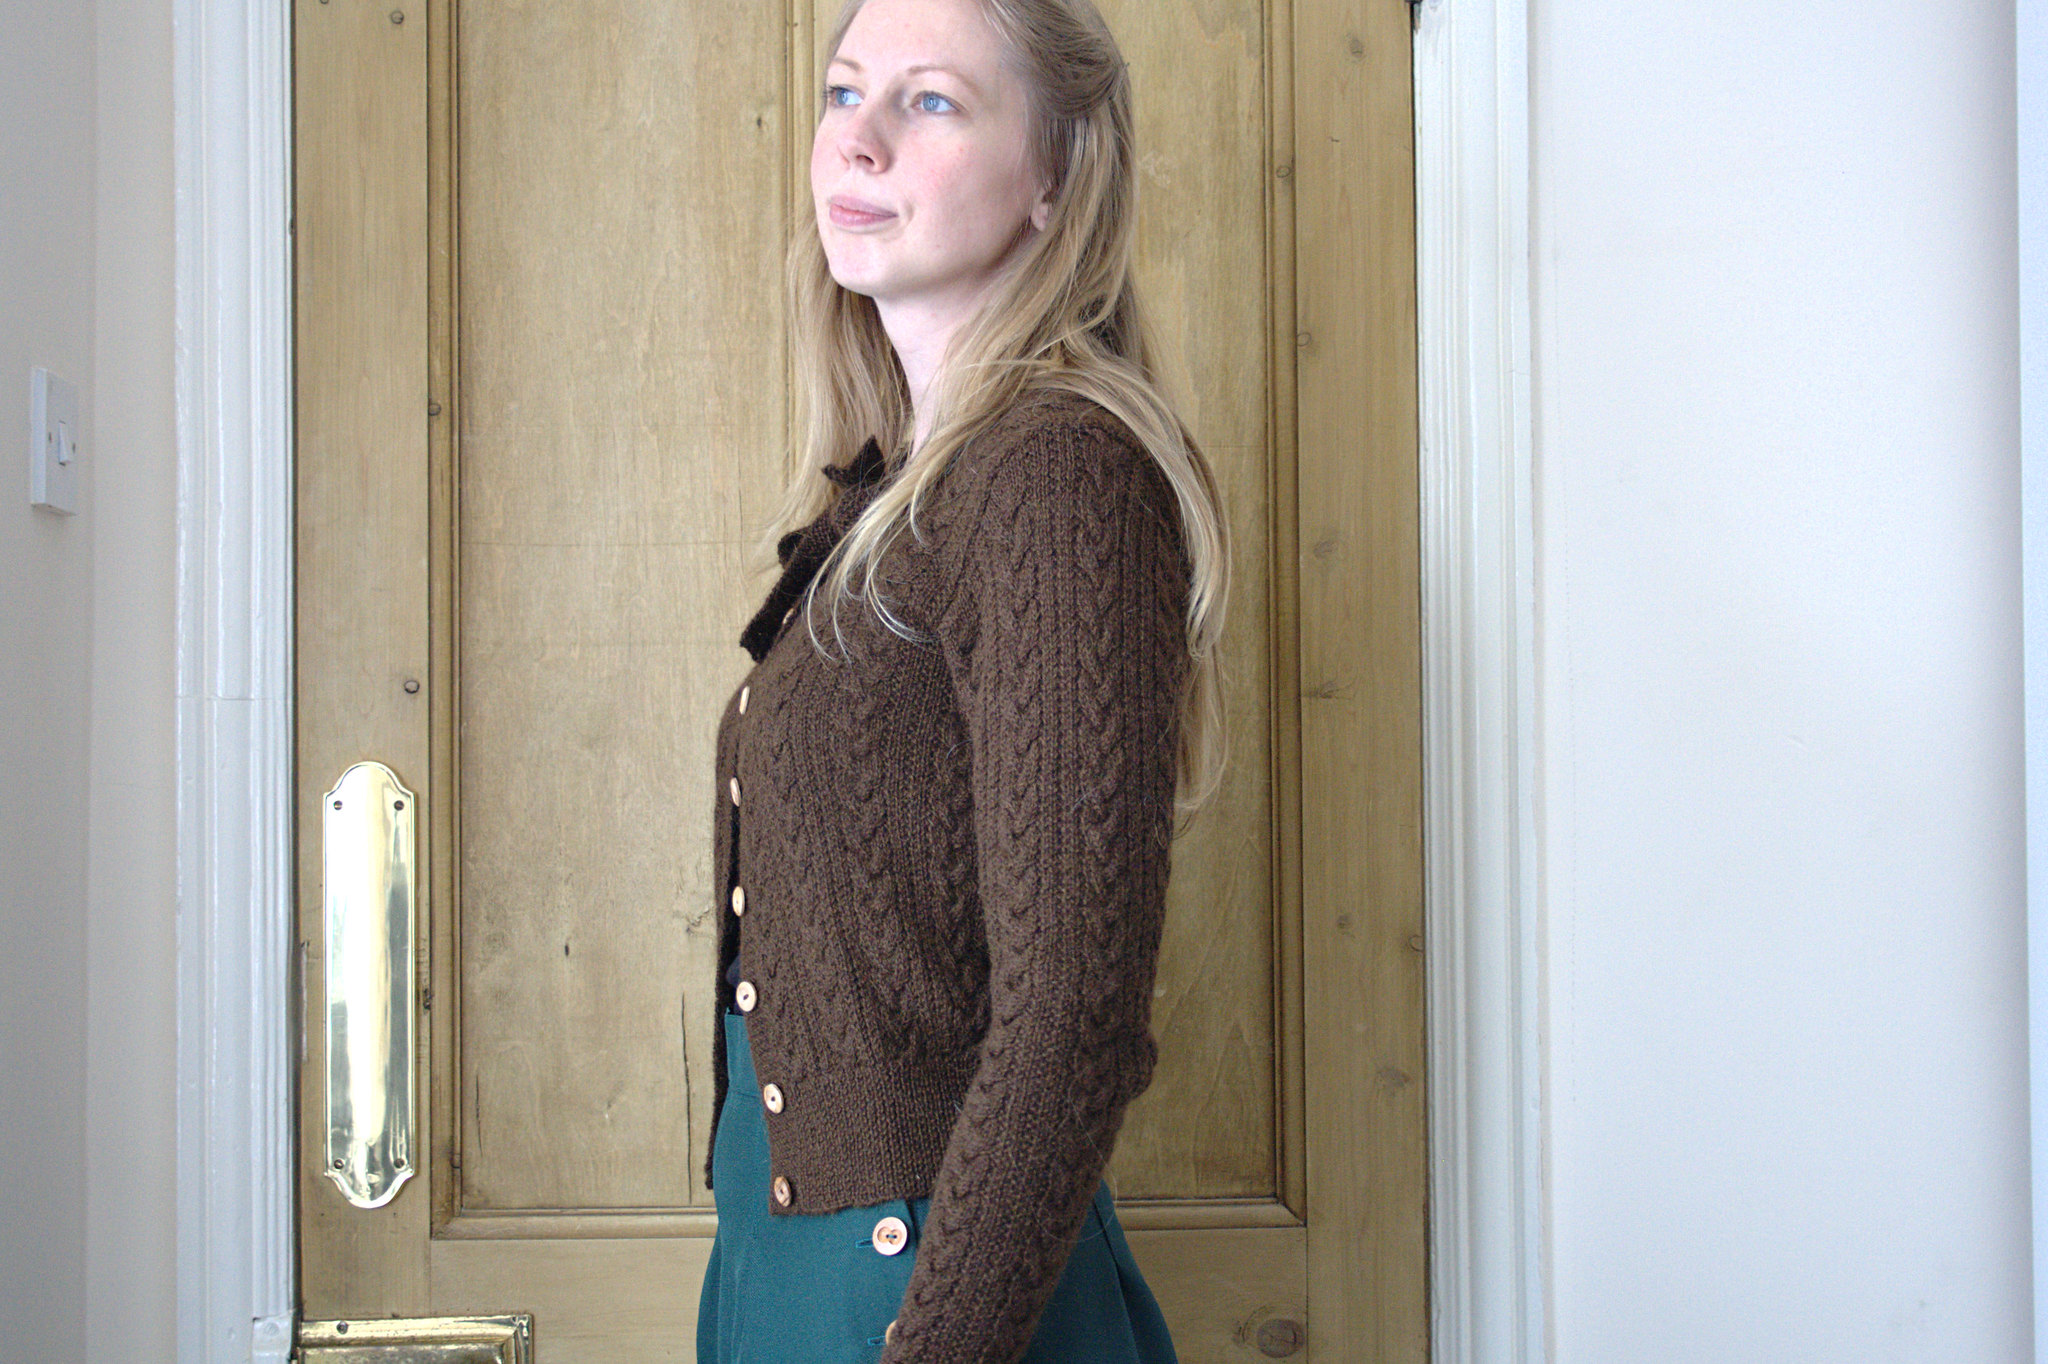
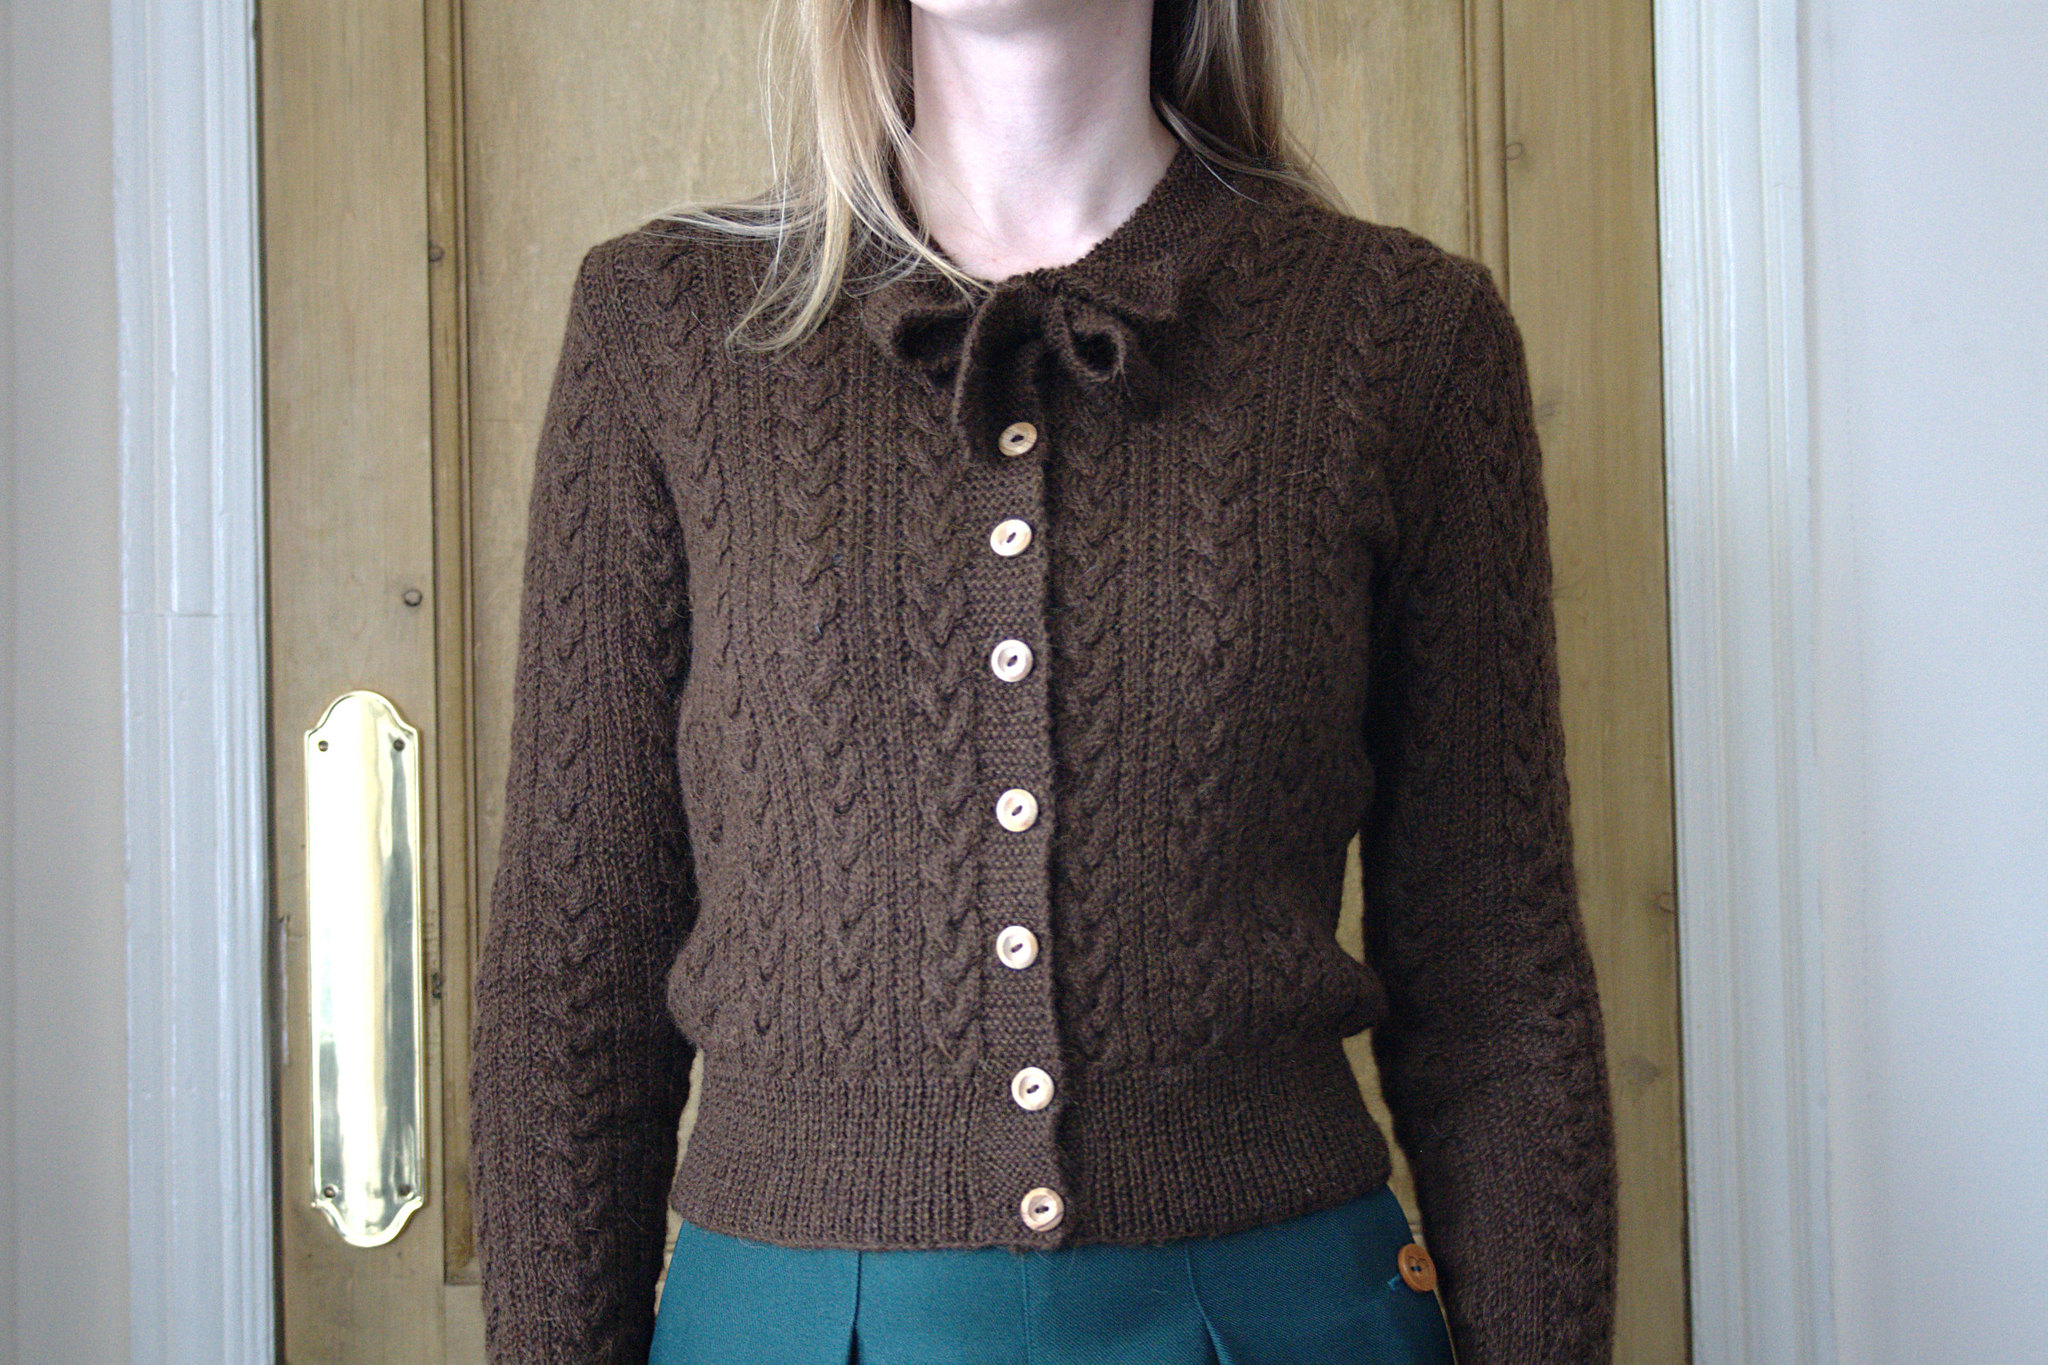
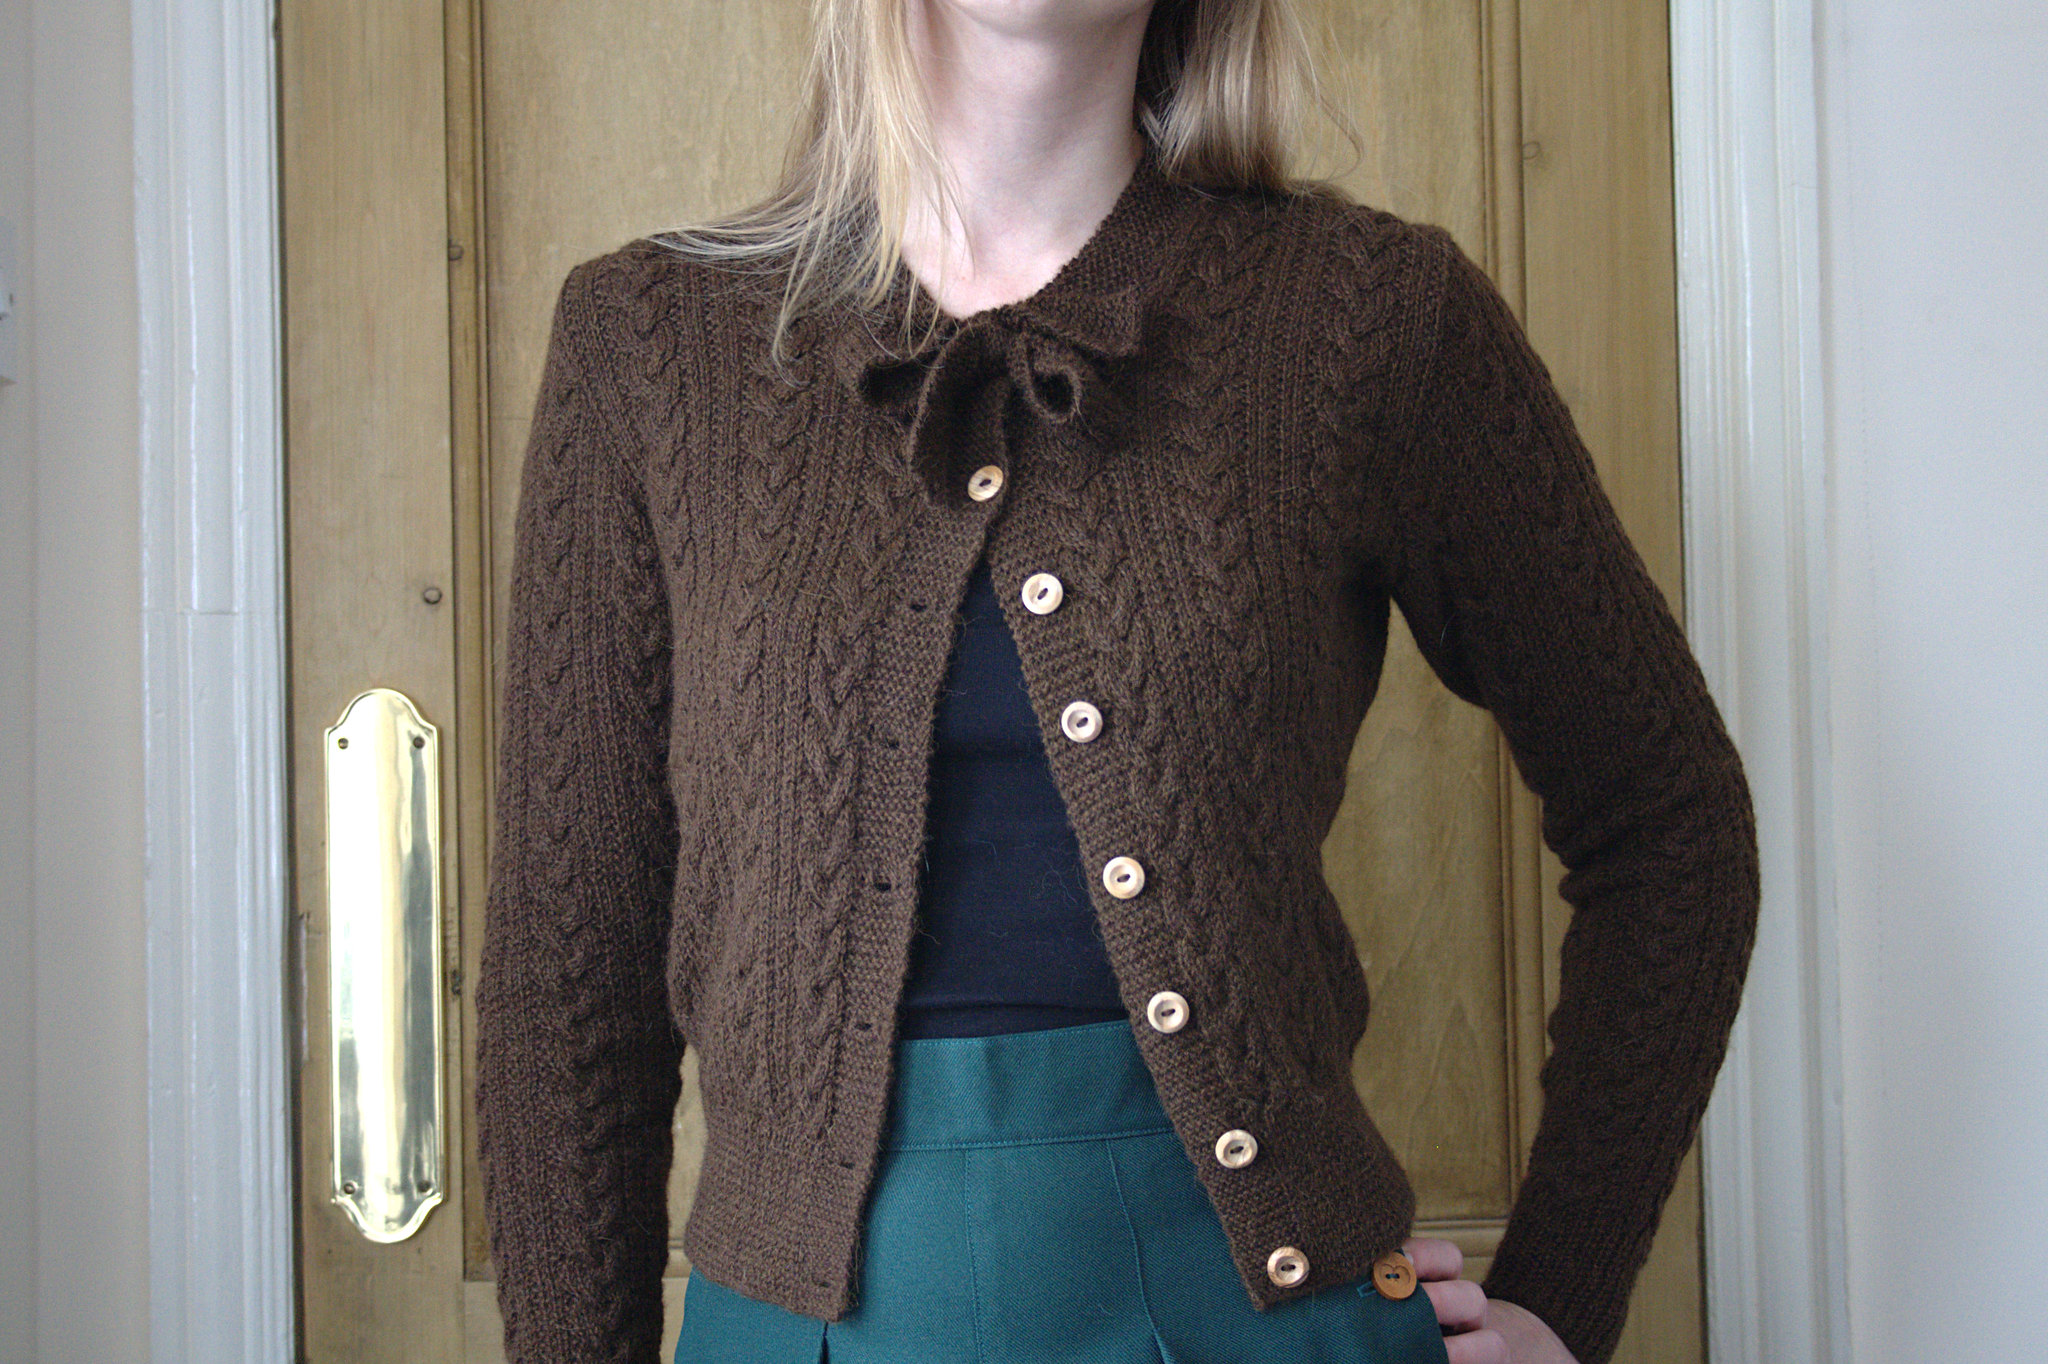
I have been wanting a cozy cabled jumper for ages, so I was happy when I finally got around to knitting the "Tri-cable Stitch Jumper" - another pattern from one of the A Sitch In Time books (Vol. 2) by Susan Crawford. It's a 1930's knitting pattern that Susan has reproduced for modern yarns and sizing.

I immediately knew I wanted to knit this cardigan in brown, I just couldn't see it in any other color. The only problem was that I had two sweater quantities of brown yarn in my stash that I could use: Drops Alpaca and Malabrigo Sock. But after a lot of hemming and hawing and making some swatches, I realized I am simply a fuzzy yarn type of girl. Malabrigo sock feels and looks very luxurious and has an amazing stitch definition, but the "smoothness" of the yarn just doesn't do it for me. I want fuzz!

Knitting this cardigan was pretty much smooth sailing. The stitch pattern is very easy which made it even more surprising that it took me this long to knit it. I only had one little mishap, where I accidentally purled a wrong side row on the garter stitch button band instead of knitting it and didn't find out until the front was finished. Oh well!
I also had a moment after blocking where I was a bit shocked at how low the neckline was sitting. It seemed to me that even with the neckband added the neckline would be very low at the front. But luckily when I sewed the neckband on it turned out to be fine.


I am very happy to have another cardigan to add to my wardrobe. I definitely need more because I've noticed that I am much more inclined to wear cardigans than jumper/pullovers. Luckily the next one is well on it's way!

Pattern: Tri-Cable Stitch Jumper - from A Stitch In Time Vol. 2 by Susan Crawford
Yarn: Drops Alpaca - Color 601 (Dark Brown)
Started: January 7th
Finished: March 5th
Used: 7 skeins, 350 gr. , 1161 meters, 1270 yards
Buttons: Wood, eBay
Mods: None

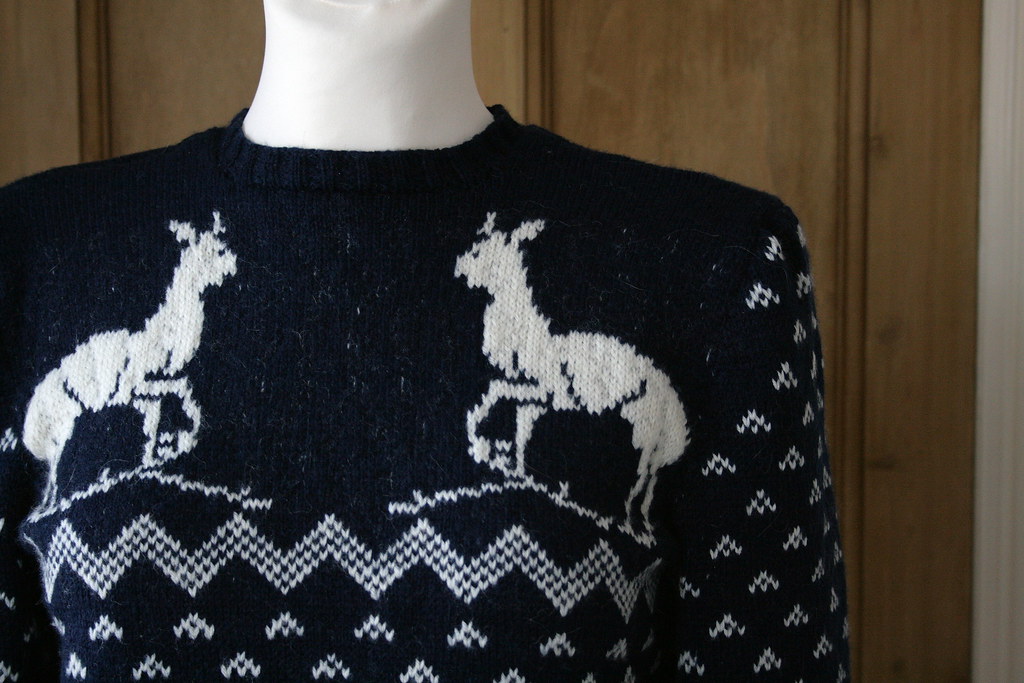
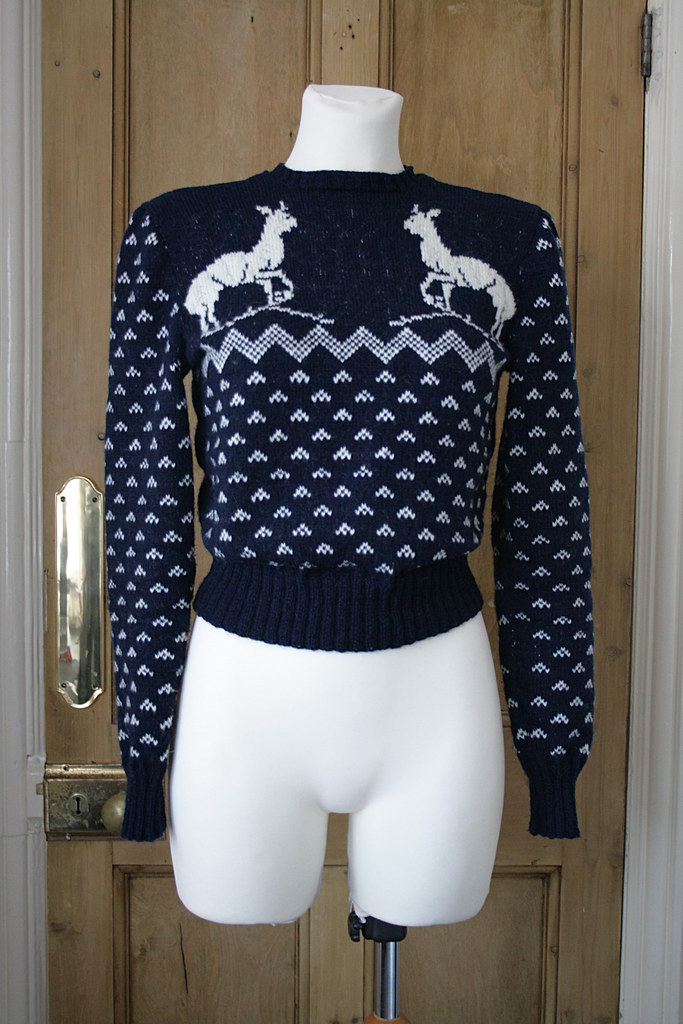
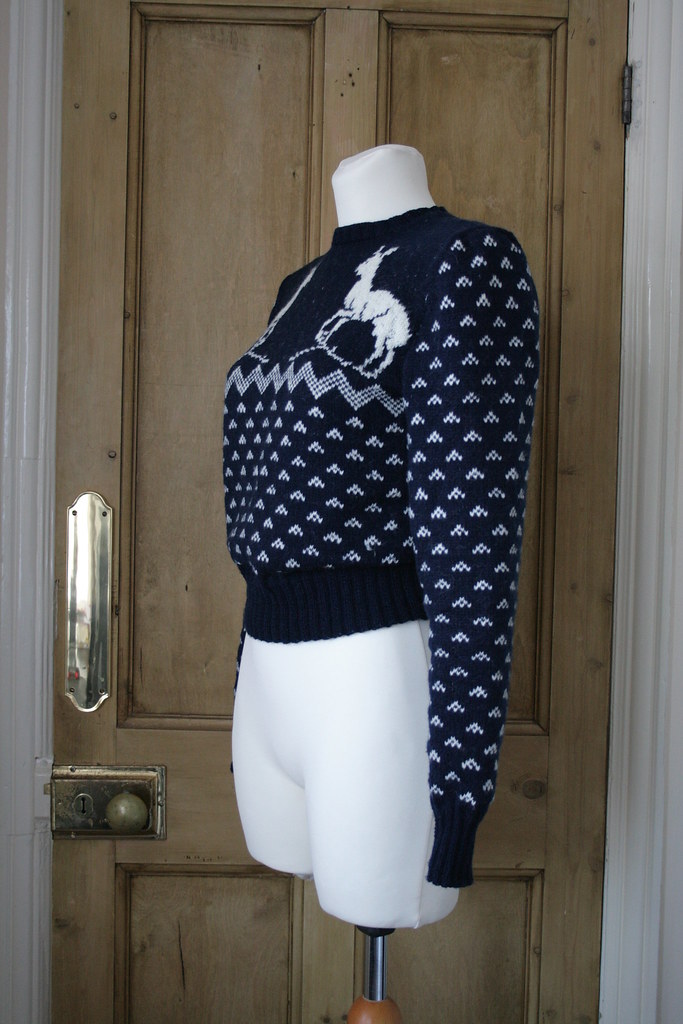
Finished: 2015 Christmas Sweater - 1940s Reindeer Sports Jumper

Just before Christmas 2014 I came up with the idea to knit myself a Christmas sweater every year. It was already too late to cast on at that point, so I was finally able to start my new tradition this Christmas. At first I considered knitting The Perfect Christmas Jumper by Susan Crawford, but it seemed like too obvious a choice, since so many people have already knitted it. So I looked a bit further and was reminded of a pattern in my Ravelry favourites called the Reindeer Sports Jumper.


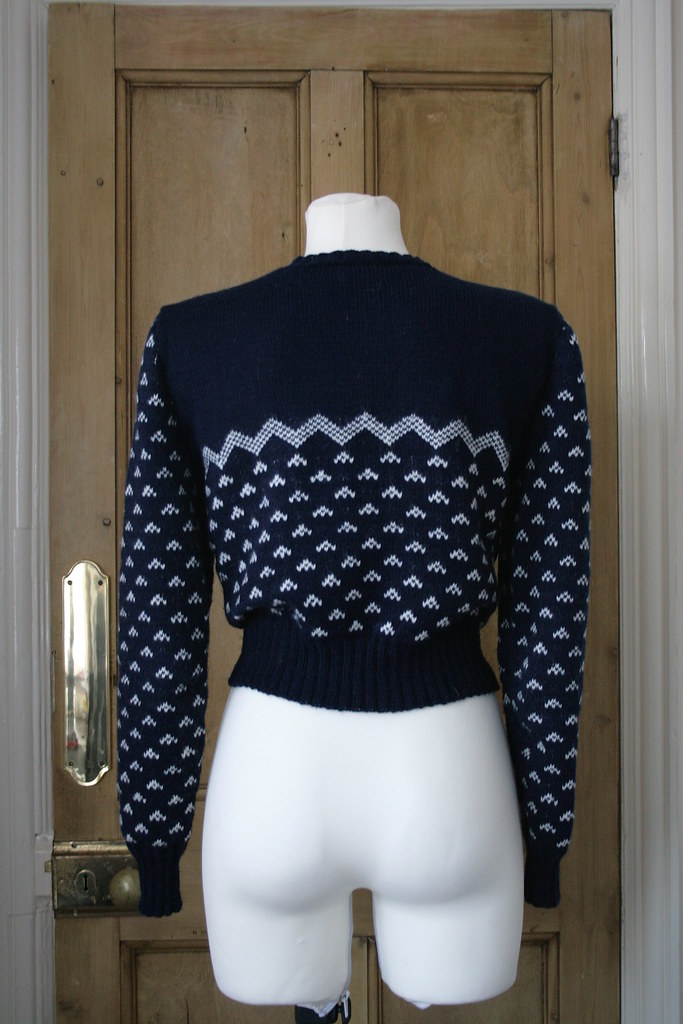
Since this was my very first attempt at stranded colour knitting, and because this jumper was mostly for fun, I decided to use acrylic from my stash. Quality wasn't that important for me with this project and I didn't want to waste lovely wool in case my first stranded knitting attempt turned out disastrous. I had both a red acrylic 4 ply as well as a navy blue 4 ply in my stash in a sweaters quantity so I swatched with both. After a long internal debate I decided to go with red. However, after knitting the ribbing for the waistband and starting the actual pattern, I suddenly realised something was off. I re-checked my gauge swatch and discovered I had calculated my gauge wrong. The red yarn is actually more like a sport weight and I simply could not get the gauge I needed without the fabric getting much too thick and stiff. So I ripped it all out and switch to the navy blue instead. In the end I am glad I had to switch to the blue because I actually like the colour a lot better! Although I started well in time on October 11th, I actually finished it on Christmas morning :') When I was working on the sleeves (I knit them at the same time) I got little fed up with the triangles and wasn't very motivated to work on it for a while. I also had to re-knit the sleeve heads because they where way too big (in the end they still where, but I managed to ease them in).



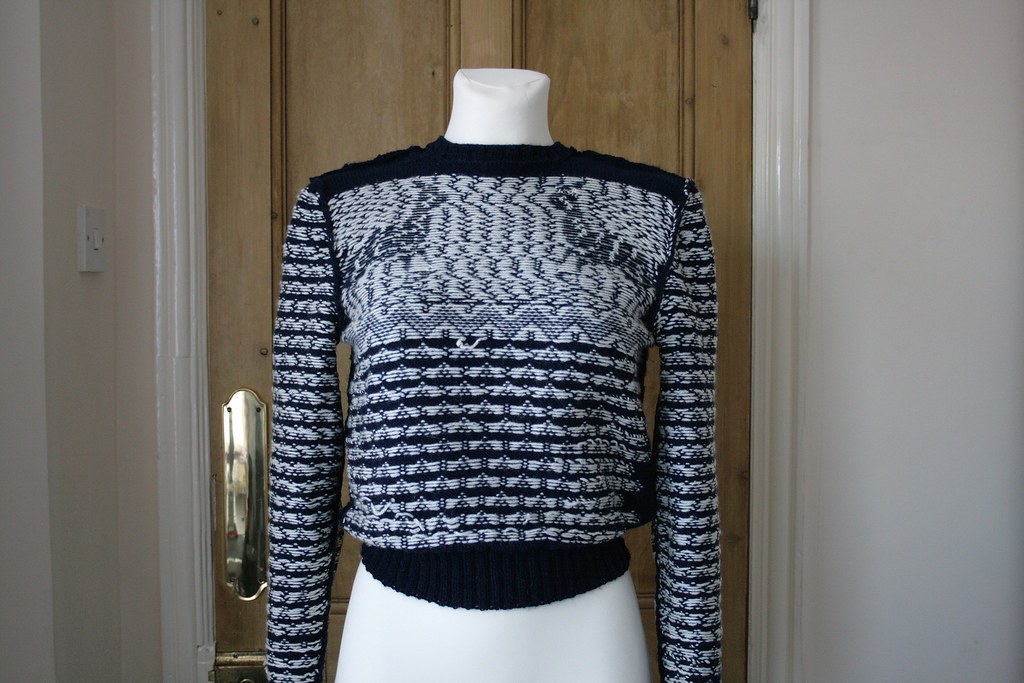
My first attempt at stranded colour knitting turned out better than I expected, but I definitely need to improve my skills a lot more. At first, I caught some floats at the same stitch in a few rows because I figured it would give a neat result, but I soon learned that this is something you should not do. You need to stagger them as much as possible instead. This is why a lot of the white is peeking trough between the reindeer. I also made my floats too tight at the reindeer, not taking into account that the blue yarn has a lot less 'bounce' than the white yarn, and thus had to be looser on the back. It is causing some puckering at the reindeer which you can kind of see in the first picture. I also made my longest floats too long (only 6 sts.), evident by the major snag you see in the innards picture below, where I caught my nail on it. One thing I also learned from this project: I am definitely knitting colour work in the round from now on! Purling was incredibly tedious.


I'm guessing that this design was very popular in the 1940's. The picture that the original pattern uses is a photo of actress Joan Lorring from Warner Bros. They seemed to have reproduced the pattern from the picture but slightly inaccurately. The pattern's snouts of the reindeer are not as pointy as in the picture and the ground that the reindeer are standing on is quite different. The same jumper also appeared in the Sears and Roebuck catalogue of 1946 (which pre-dates the pattern from 1949), but here the pattern on the sleeves mimics that of the body in stead of having the triangles all over. (I would LOVE to knit that jumper in the middle for next year, by the way!)

Reindeer Sports Jumper
Reindeer Sports Jumper, Australian Home Journal, 1949

Sears and Roebuck, 1946, via Tuppence Ha'penny