

Finished: Dragon Scale Cardigan
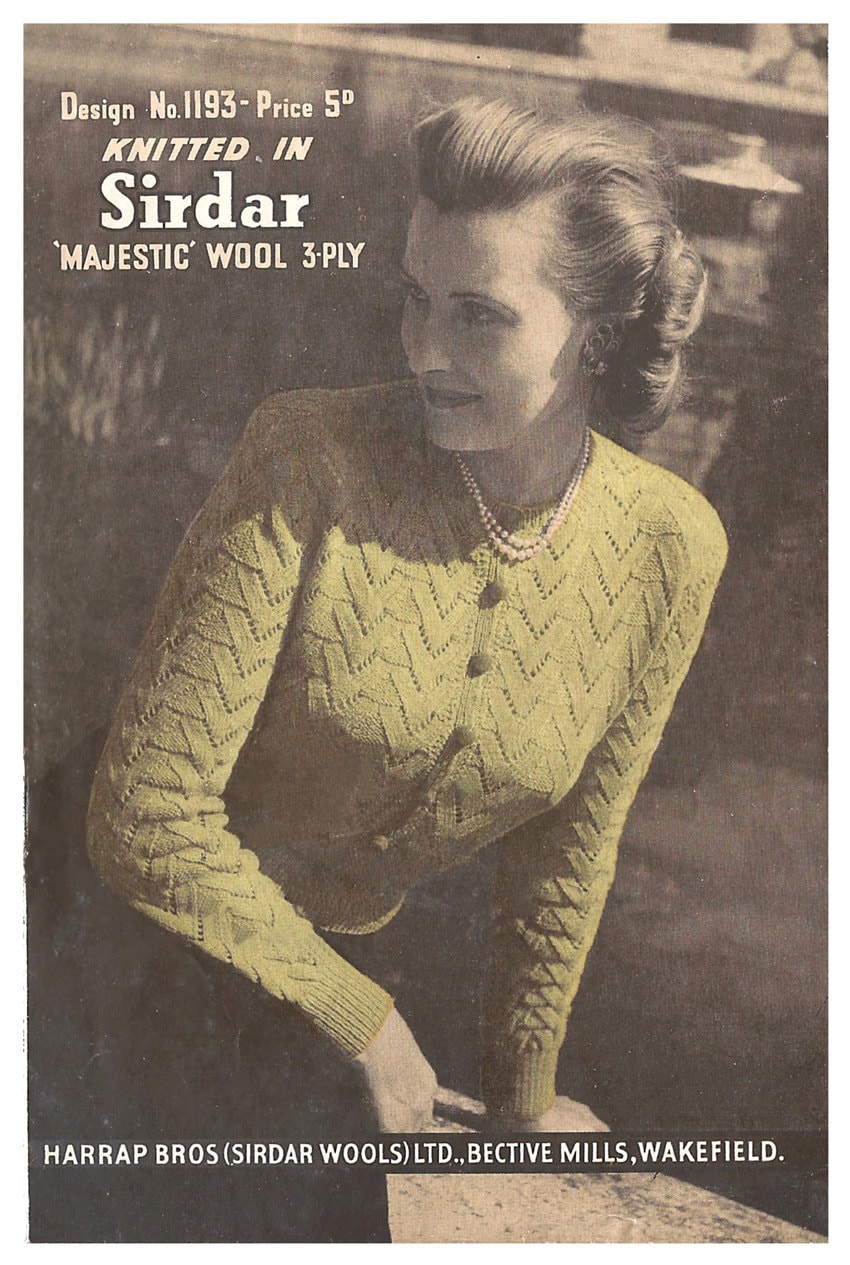
A while ago, I picked up this lovely 1940's pattern through eBay: Sirdar no. 1193. The original pattern is designed for a 38" bust but I liked it so much that the rather extreme resizing I had to do for my 31.5" bust was worth it. I really wanted to knit this one in green and I also decided that I wanted to knit it in a more unusual shade of green. I settled on Artesano Alpaca Silk 4 ply in the Lily Pad colorway and was really excited when I received it because the yarn is really beautiful. I made the first swatch quite a while ago, around march I think, but I wasn't in right frame of mind to deal with the resizing and I had doubts about my yarn choice. I don't remember why, but I didn't like the way my swatch looked. Finally in August I decided I really wanted to knit it up and that the yarn was fine. I couldn't remember what needle size I had used for the first swatch so I ended up having to knit 3 more swatches before I got the gauge I needed.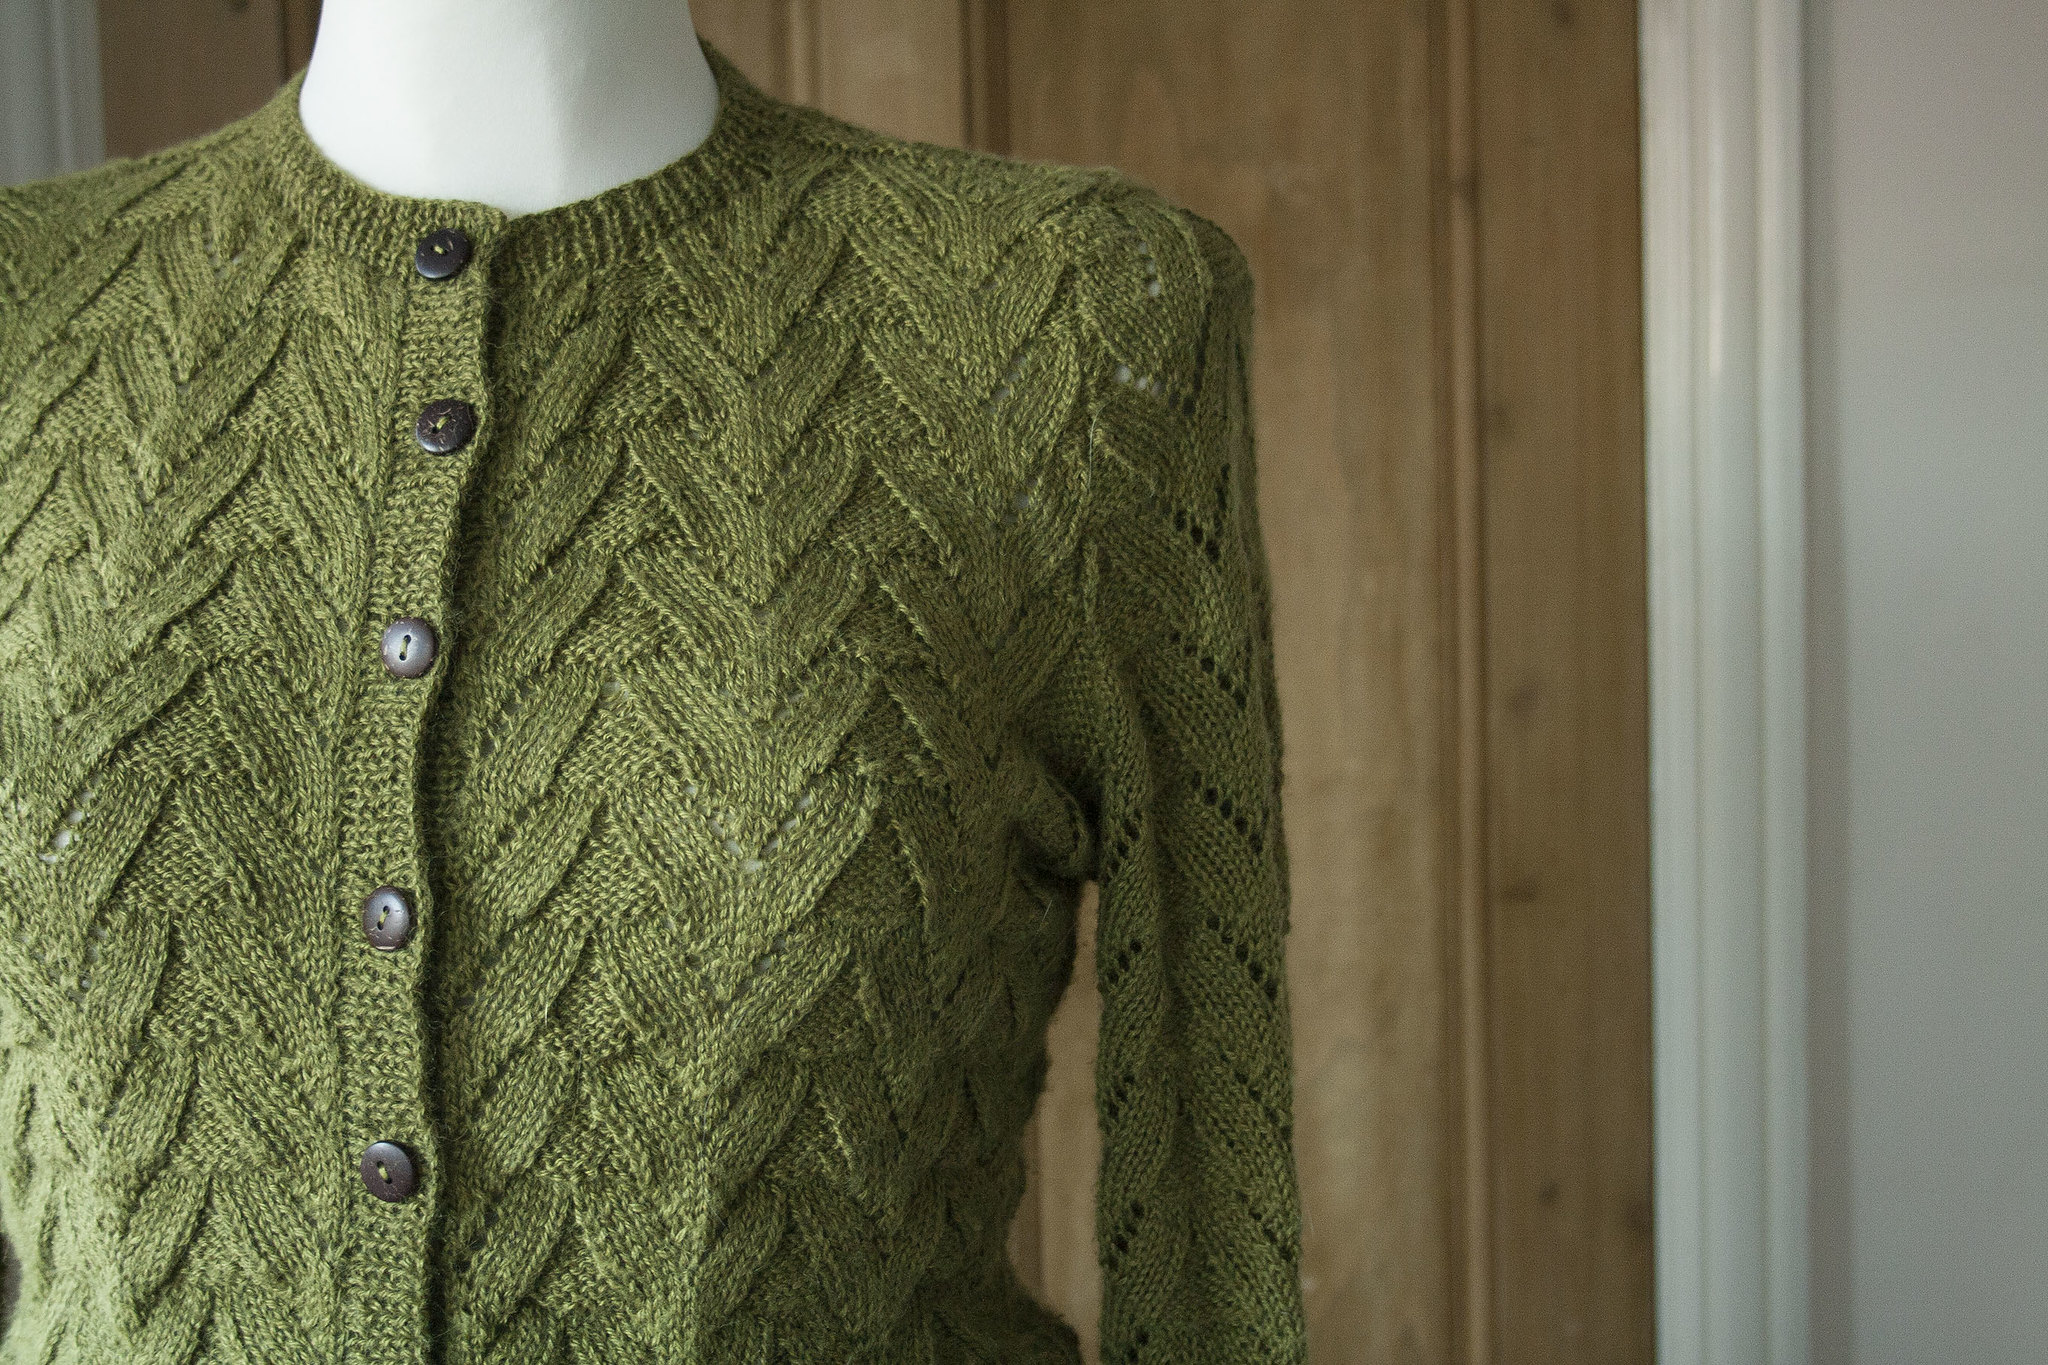
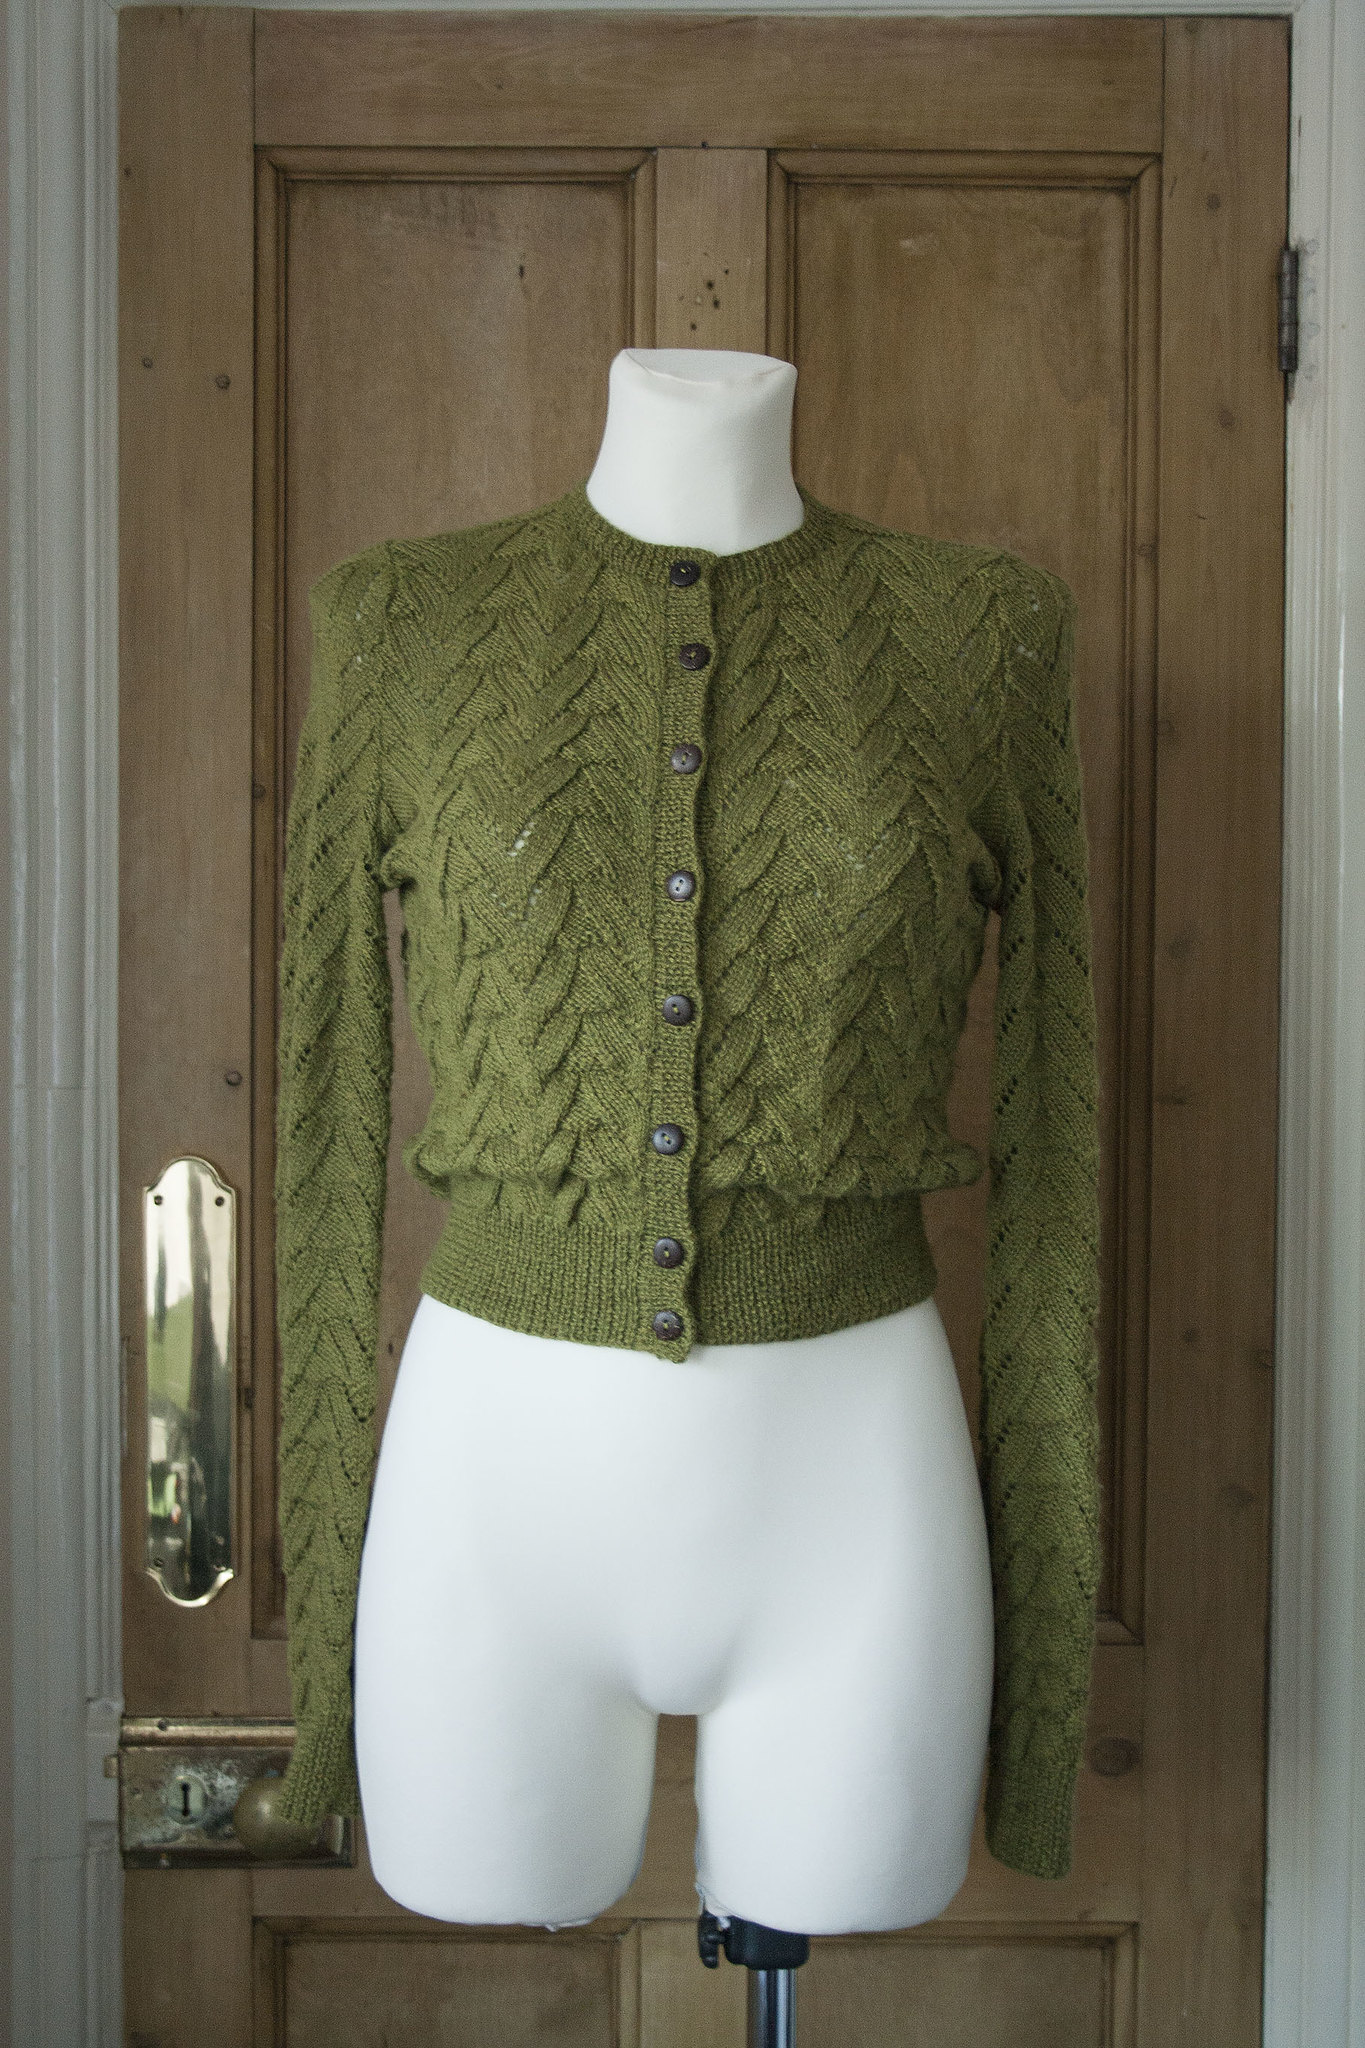
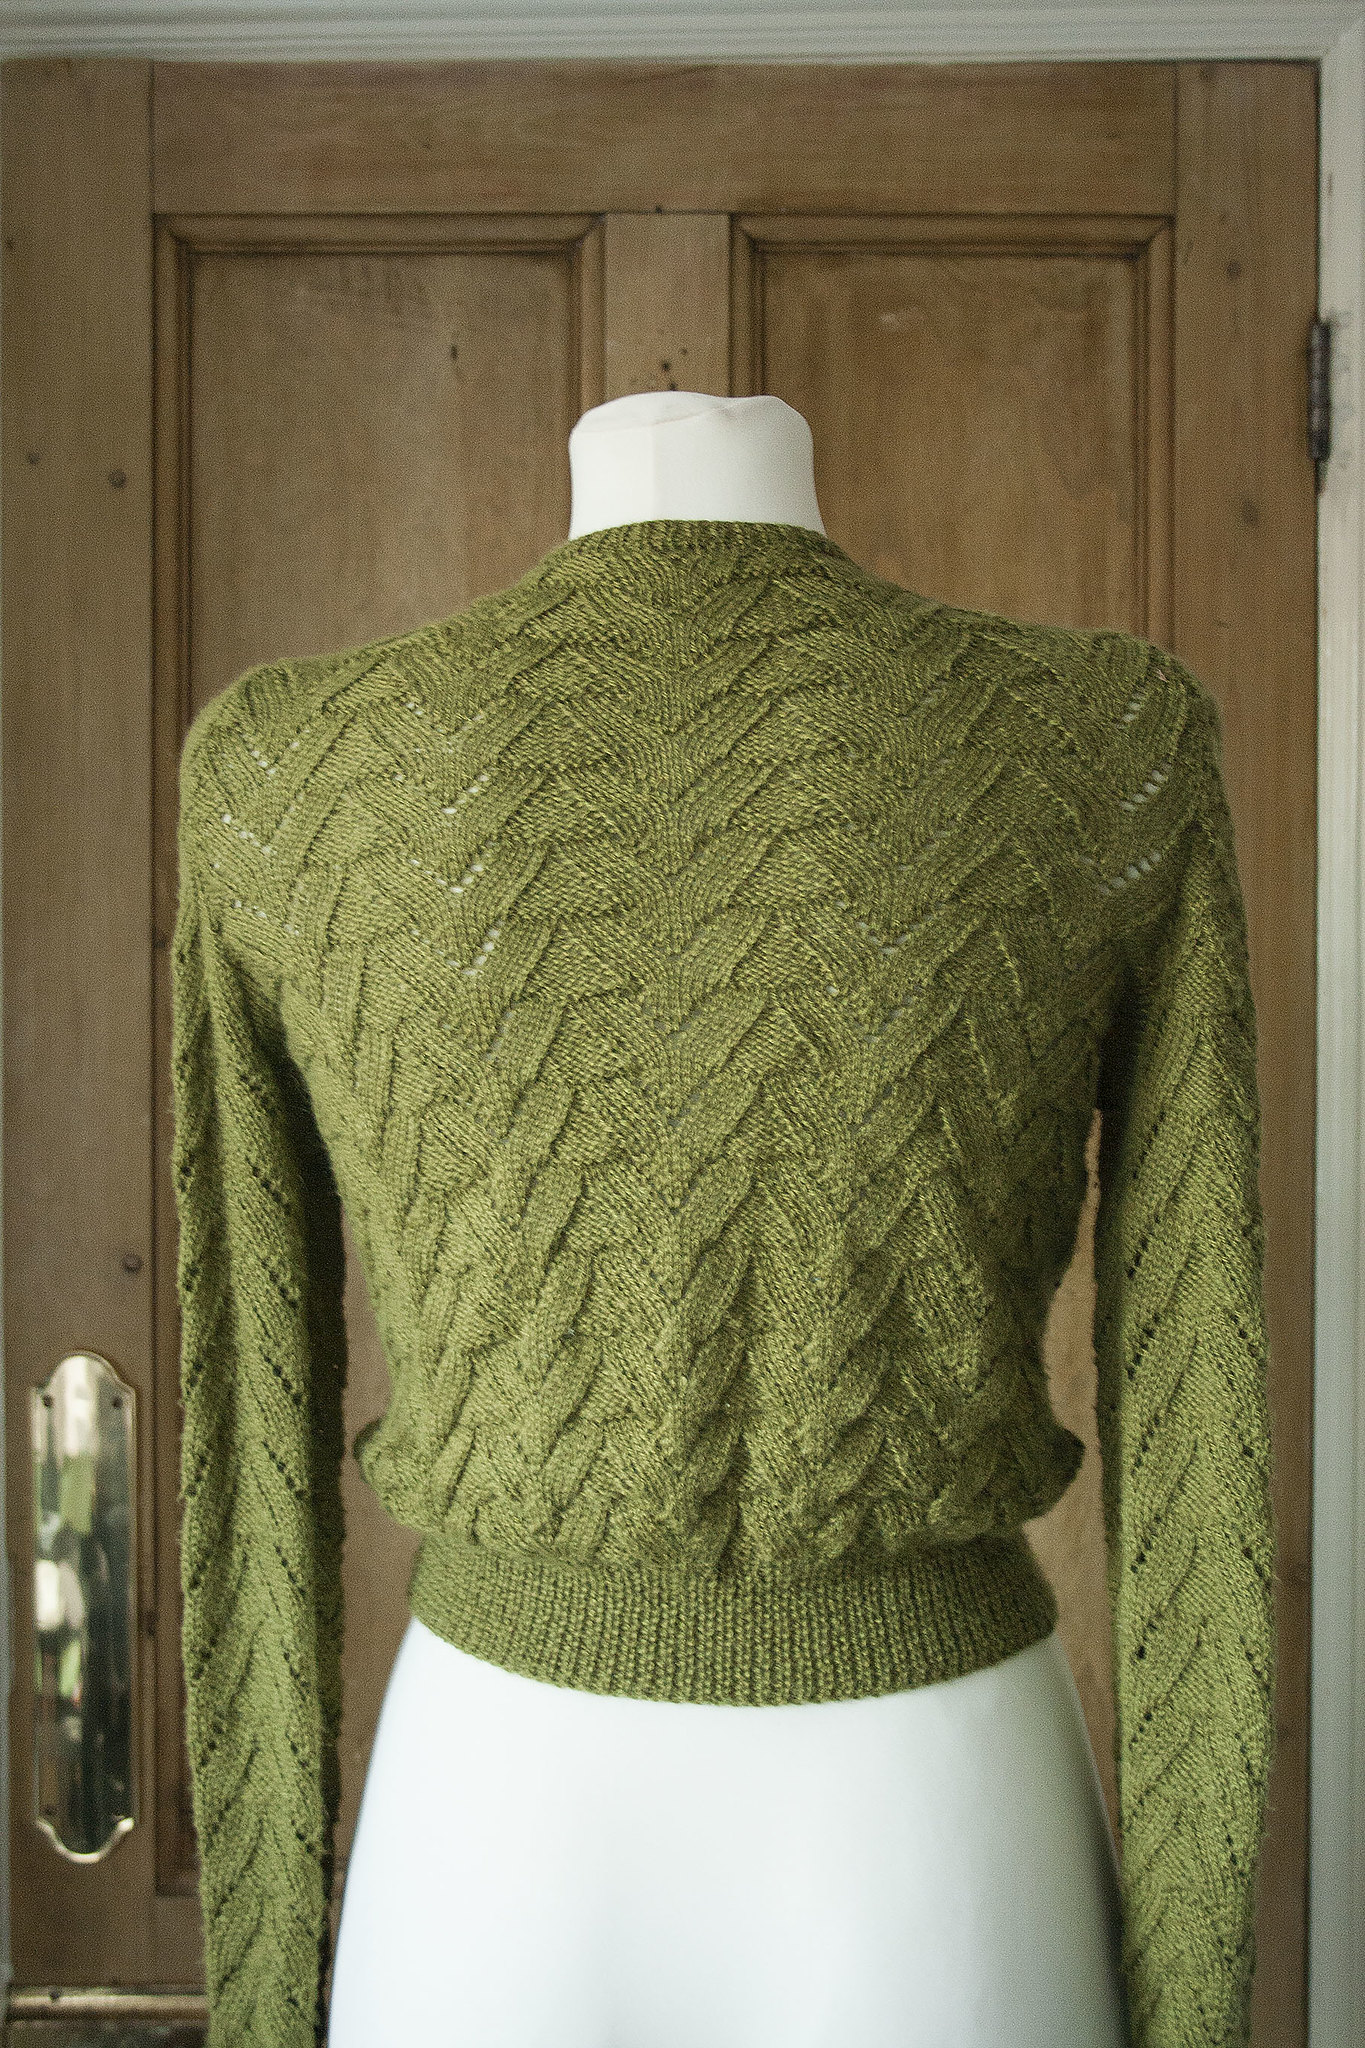
I ended up knitting 5 pattern repeats on the back and 2.5 on each front. I had to completely rewrite the armholes and thus sleeve head shaping. I have done this before, but in previous projects I always just winged it (and often had to rip back the sleeve head and re-knit it to get it to fit) but this time I decided to do it properly and used the wonderful tutorial that Tasha from By Gum, By Golly wrote (I used the math method). (Although be aware: I noticed that there are a few typo's in it that could cause some confusion but if you read her instructions carefully you'll notice them.) This gave me a perfectly fitting sleeve head in one go and I was really pleased!
While I was working on this cardigan I suddenly realized that the stitch pattern in combination with the green color made the fabric look just like a dragon's scale. So I thought: how can I not name this the Dragon Scale cardigan?
Originally, the pattern has a very strange way of working the button band. After you've worked the ribbing for the waist, you put the 8 sts for the button band on a stitch holder and when the fronts are finished you pick the 8 sts back up and knit the button band separately. And by the way - nowhere in the pattern does it tell you to sew the button bands on to the fronts?! This method seemed incredibly tedious to me and I have been wanting to make a button band by picking up and knitting so that's what I decided to do. I just did a simple K 1, P 1 rib. Looking back, I could've picked up fewer stitches because the ribbing is very dense, but it's fine and I'm very pleased with my first try.
The buttons I used are coconut shell. I also used these for the Butterscotch Cardigan but this time opted for the dark side of the buttons (they are dark on one side and light on the other). I am absolutely in love with this cardigan because it is so beautiful and the alpaca silk yarn makes it look and feel quite luxurious. Unfortunately, this yarn PILLS LIKE CRAZY. Somehow you can't really see it in the picture but it already started pilling after the first day! So I just have to restrain myself and not wear it too often :(


This is gorgeous! That color is wonderful, but I am sorry to hear about the pilling :( I hate it when that happens. You did great with the resizing. I would totally wing the sleeve heads, as I am currently doing with the Leaf jumper ;)
ReplyDeleteThis is such an amazing piece of work! I cannot even imagine how you could restrain yourself not to wear it too often.
ReplyDeleteMy that's a gorgeous cardigan, and you did a fabulous job! I love the colour and the sheen. Very Dragony! x
ReplyDeleteWhat a gorgeous cardigan ~ it's so sad about the pilling! I knitted up a cardigan that was pilling as I knitted it, but I didn't even think about the problem that was going to be!! It really bites when it does that... ❤
ReplyDeletexox,
bonita of Lavender & Twill
It has turned out beautifully, it looks better than the original!
ReplyDeleteIt has turned out beautifully, it looks better than the original!
ReplyDeleteThis is beautiful. You have done a great job on the resizing.
ReplyDeleteGorgeous! I love the dragonscale lace. Sorry to hear about the pilling, but it may get better over time. I had a few yarns that were pilling a lot in the beginning, I shaved off the loose parts and the pilling got less and less. So maybe you're lucky and it will stop to pill eventually.
ReplyDeleteGreetings
Ingrid
Such a lovely cardigan. The stitch pattern paired with such a scrumptious yarn yielded a very nice result.
ReplyDeleteCheers!
Brigid
the Middle Sister and Singer
Exquisite! The pilling is heart-breaking.
ReplyDelete